

Today we are going to look at how to create lip-sync videos using the popular extension Wav2Lip. Could this finally spell the end of bad lip syncing videos?? Only time will tell...
Wav2Lip is an all-in-one solution:
Just choose a video (MP4 or AVI) and a speech file (WAV or MP3), and the extension will generate a lip-sync video.
It improves the quality of the lip-sync videos generated by the Wav2Lip tool by applying specific post-processing techniques with Stable diffusion tools.
Finding a source video
We could really use any video, but I looked through YouTube and found a video of Elon Musk talking. (Super hard to find one of those.)
Using a Youtube Downloader
We need to download this video so I use the following site https://api.com.net.ai/ to download YouTube videos.
Feel free to use any YouTube downloading tool. Simply paste the url of the YouTube video and hit download.
Editing the video
Once we have our downloaded video, we need to cut it to create a short video clip.
I use Lightworks to cut videos which can be downloaded from here https://lwks.com/ but you can use any video editing software.
If you are using lightworks you can import your video and then drag it onto the timeline. For our first video I am going to use my own voice so I will need to mute the video by right clicking on the Audio timeline and setting the Audio gain to to muted.
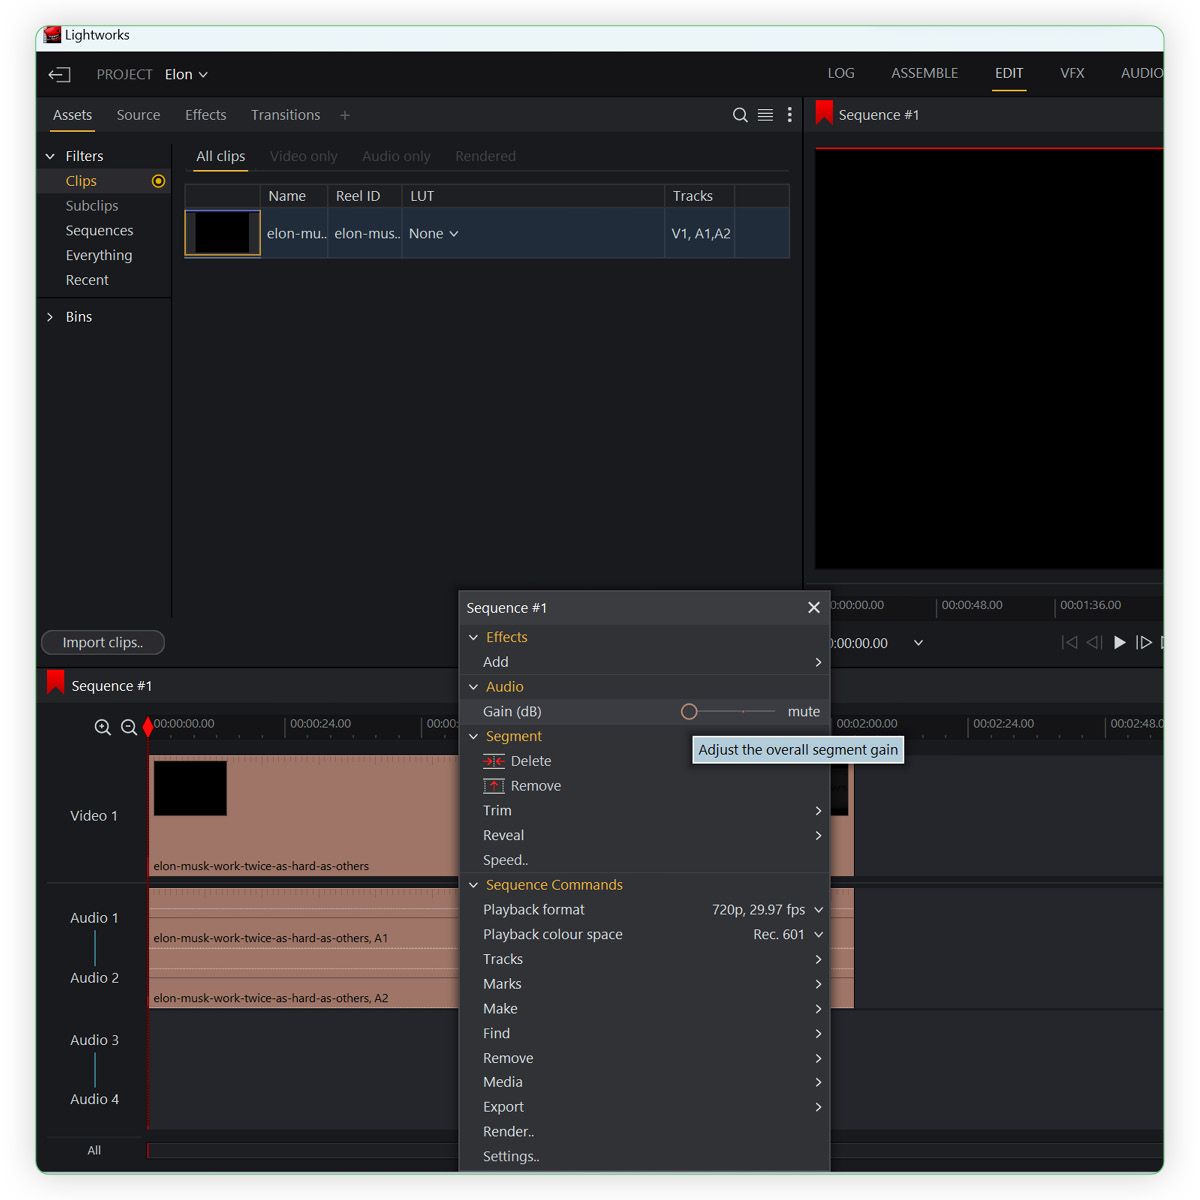
We can then cut the video to give us a short 5 to 10 second clip. In lightworks, you can find the part of the video you want and hit 'c' on your keyboard to create a splice. You can then delete the parts you do not want.

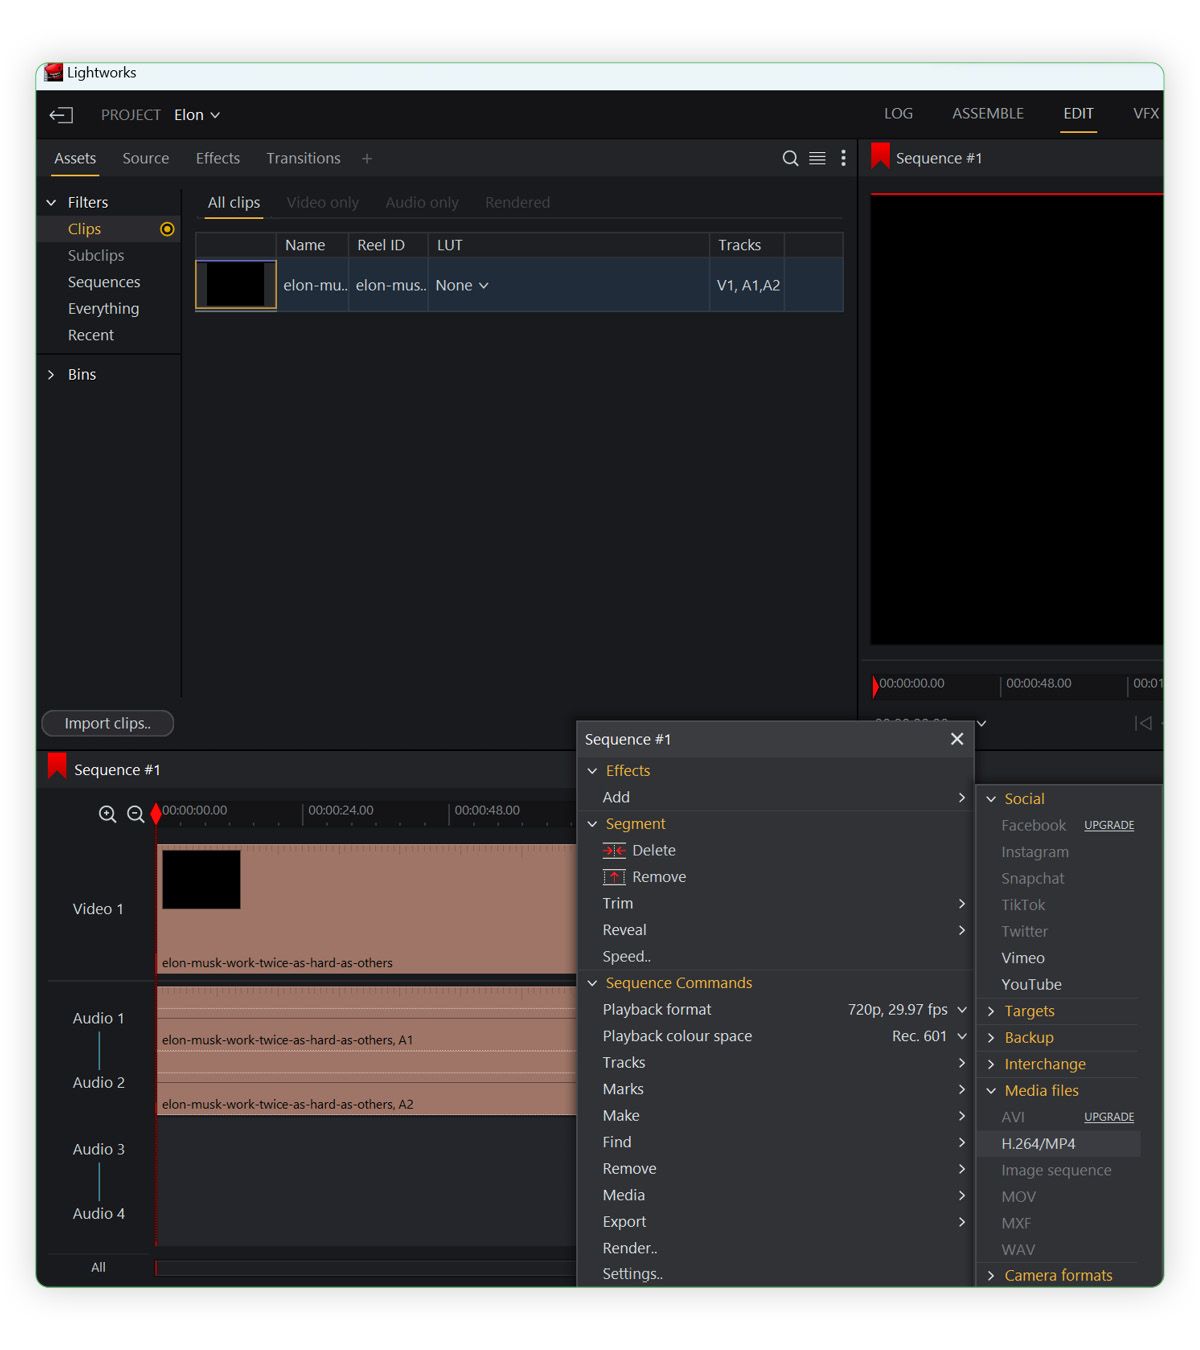
Now we are set it, we can simply extract the new video to our desktop.
Finding your audio
Next we want to create a sample audio file. There are multiple methods but for this one I will use my own voice.
I use the in built sound recorder within windows to generate a .mp3 file. My cut video is 7 seconds long so I will record audio that is approximately 7 seconds long.
Putting it together with Wav2Lip
Now we have our input files ready, we can head over to Stable Diffusion and open the Wav2Lip tab
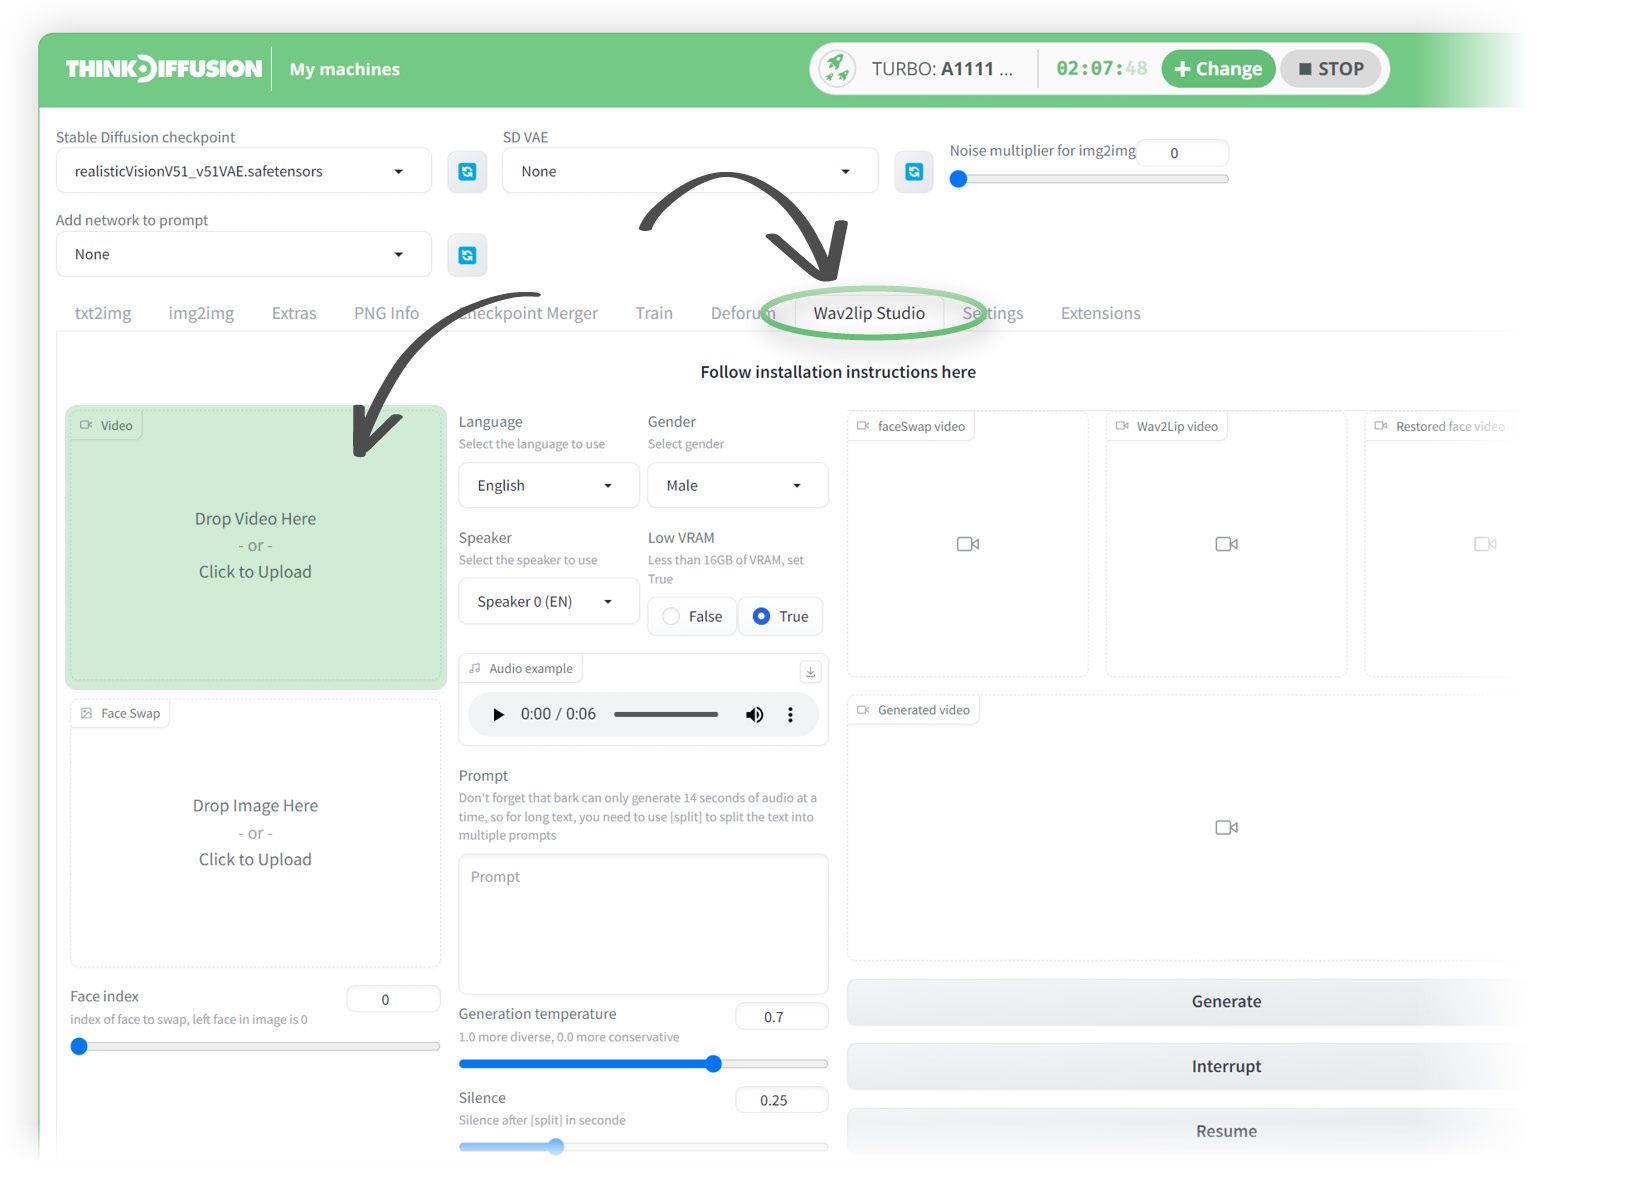
We can now upload our input files:
- Drop the video in the 'Drop Video here' box
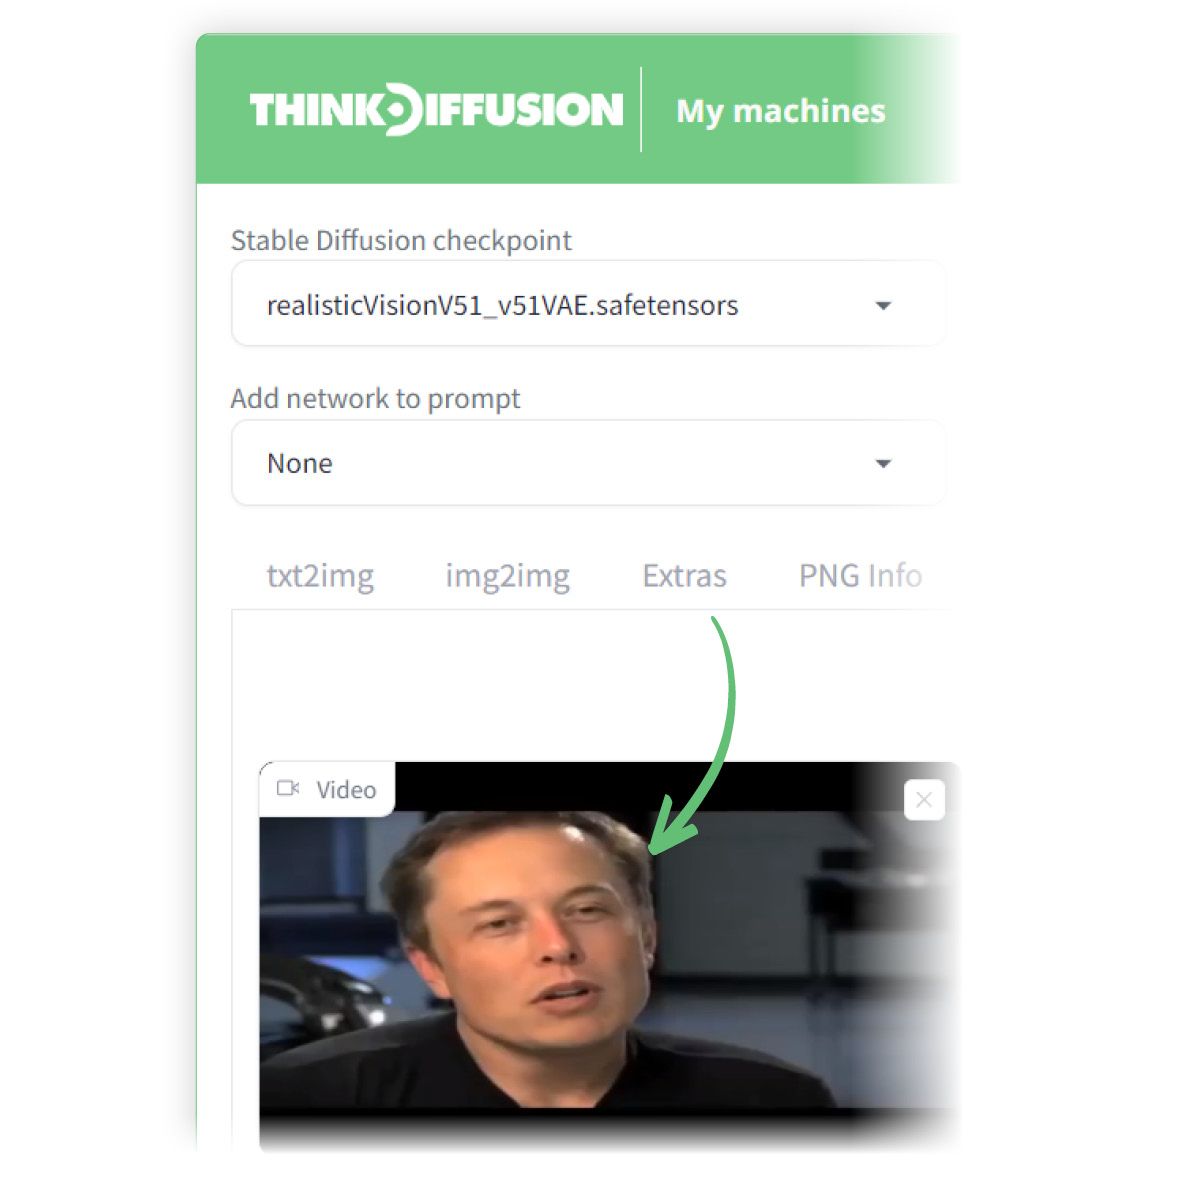
- We can then upload our .mp3 recording to here.
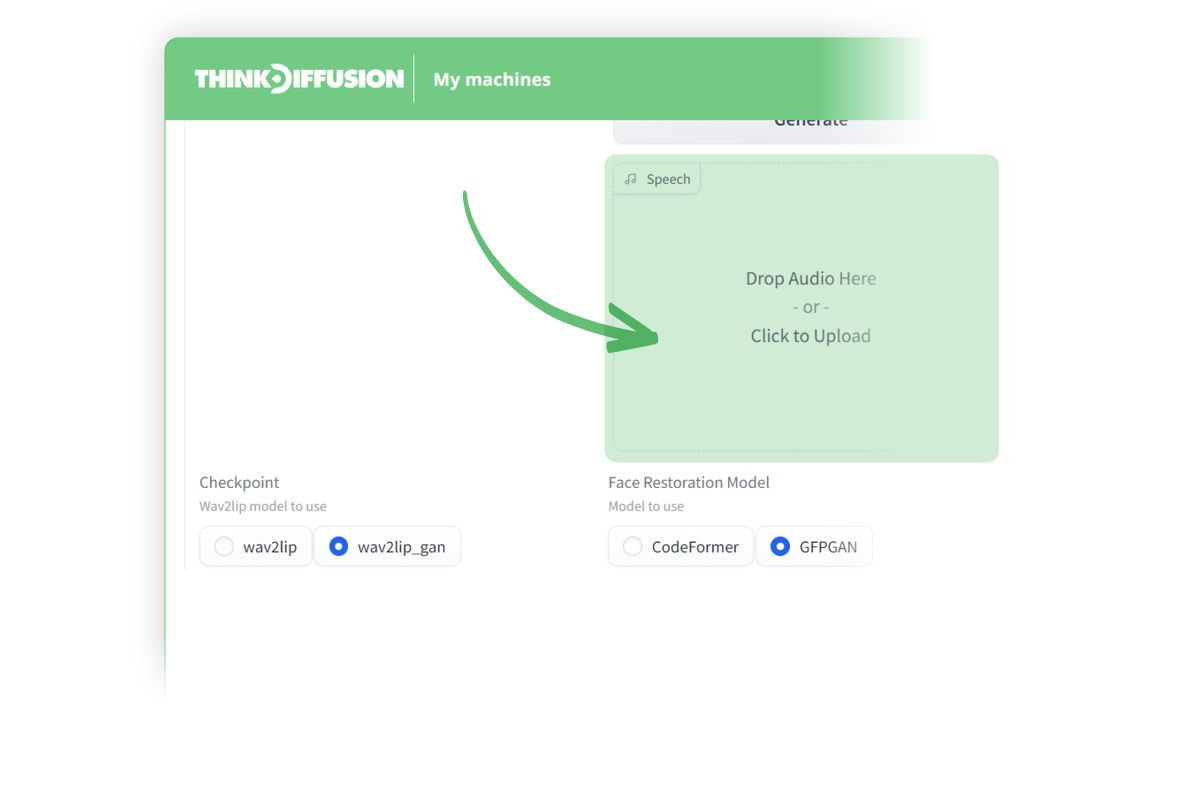
- Hit generate to see your first Wav2Lip video
Wav2Lip using built-in voice generation
For our next video we will not use our own voice but we can use bark to generate the voice. The only change from our previous video is typing what audio we want to be generated by entering text into the Prompt field.
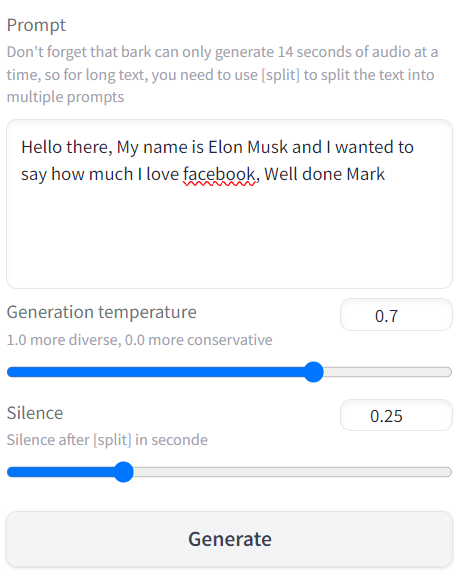
Please note that if the audio that you are generating is longer than 14 seconds then you will need to use the split function as follows:-
- "This is the first part of my text [split] This is the second part of my text"
You can now hit generate for our second Wav2Lip video
Settings explained
There are various settings you can tweak before generating your video. Here is a run through of the various options
Video and Face Selection
Choose a video in either AVI or MP4 format that contains a face.
- Note: AVI files won't appear in the video input, but the process will work.
- Ensure that there is at least one frame in the video with a face; otherwise, the process will fail.
Face Swap
- Face Swap:
Select an image of the face you want to swap with the face in the video. - Face Index:
If the selected image contains multiple faces, choose the face you wish to swap. Index 0 represents the first face from left to right.
Audio Options
For text-to-speech, choose the following parameters:
- Language: Turkish, English, Chinese, Hindi, Italian, Japanese, Korean, Portuguese, Russian, Spanish, Polish, German, French.
- Gender of the speaker.
- Select your speaker; you can hear a sample in the "Audio Example" section.
- Choose "Low VRAM" if you have a video card with less than 16GB VRAM.
Write your text in the text area under "Prompt."
Note: Bark can generate a maximum of 14 seconds of audio. For longer audio, use "[split]" in your text. Example: "This is the first part of my text [split] This is the second part of my text."
- Adjust the Temperature: 0.0 for a closer voice, 1.0 for a more creative voice. Experiment with values to find the best fit.
- Set the Silence duration in seconds between punctuation (。!!.??,). The default is 0.25 seconds.
Refer to the Bark documentation for more details.
- Below is a list of known non-speech sounds and annotations you can use in your text:
- [laughter]
- [laughs]
- [sighs]
- [music]
- [gasps]
- [clears throat]
- Use "-" or "..." for hesitations.
- ♪ for song lyrics.
- CAPITALIZATION for word emphasis.
- [MAN] and [WOMAN] to bias Bark toward male and female speakers.
Additional Settings
Adjust the following parameters if necessary:
- Padding:
Used to move the mouth if it's not in the correct place. Default value is usually sufficient, but some videos may require adjustments. - No Smooth:
Check this option to retain the original mouth shape without smoothing. - Resize Factor:
This resizes the video. Default is 1.0, but you can adjust as needed. - Only Mouth:
Track only the mouth, excluding other facial movements. - Mouth Mask Dilate:
Expands the mouth mask to cover more area around the mouth, depending on mouth size. - Face Mask Erode:
Shrinks the face mask to remove some area around the face, depending on face size. - Mask Blur:
Blurs the mask for smoother results. Keep it under or equal to Mouth Mask Dilate. - Code Former Fidelity:
Adjust the fidelity value. 0 offers higher quality but may alter facial appearance, 1 provides lower quality but maintains consistency. - Active Debug:
This option generates step-by-step images in the debug folder.
Well that was fun
Any of our workflows including the above can run on a local version of SD but if you’re having issues with installation or slow hardware, you can try any of these workflows on a more powerful GPU in your browser with ThinkDiffusion.
If you’d like another way to mess with an existing video, this time changing their style completely, check out my post using Deforum and ControlNet here.
Most importantly, y'all have fun out there making people's lips move against their will, for whatever it is you're doing...

Member discussion