Textual inversion, also known as embedding, provides an unconventional method for shaping the style of your images in Stable Diffusion. In this tutorial, we will dive into the concept of embedding, explore how it works, showcase examples, guide you on where to find embeddings, and walk you through the process of using them effectively.
Embedding explained
Embedding results from textual inversion, a technique for introducing new keywords to a model without modifying the model itself.
How Textual Inversion Works
Textual inversion allows you to define new keywords for objects or styles, tokenizing them like any other prompt keywords. Each token is then converted into a unique embedding vector, enabling the model to generate images based on these embeddings without altering the model structure.
Where to Find Embeddings
Civitai and Hugging Face's Stable Diffusion Concept Library are go-to sources for downloading embeddings. The Concept Library filters embeddings with textual inversion.
Using a Textual Inversion file
For our first example, I am going to use the following textual inversion file of Emma Watson:
https://civitai.com/models/53778/emma-watson-jg
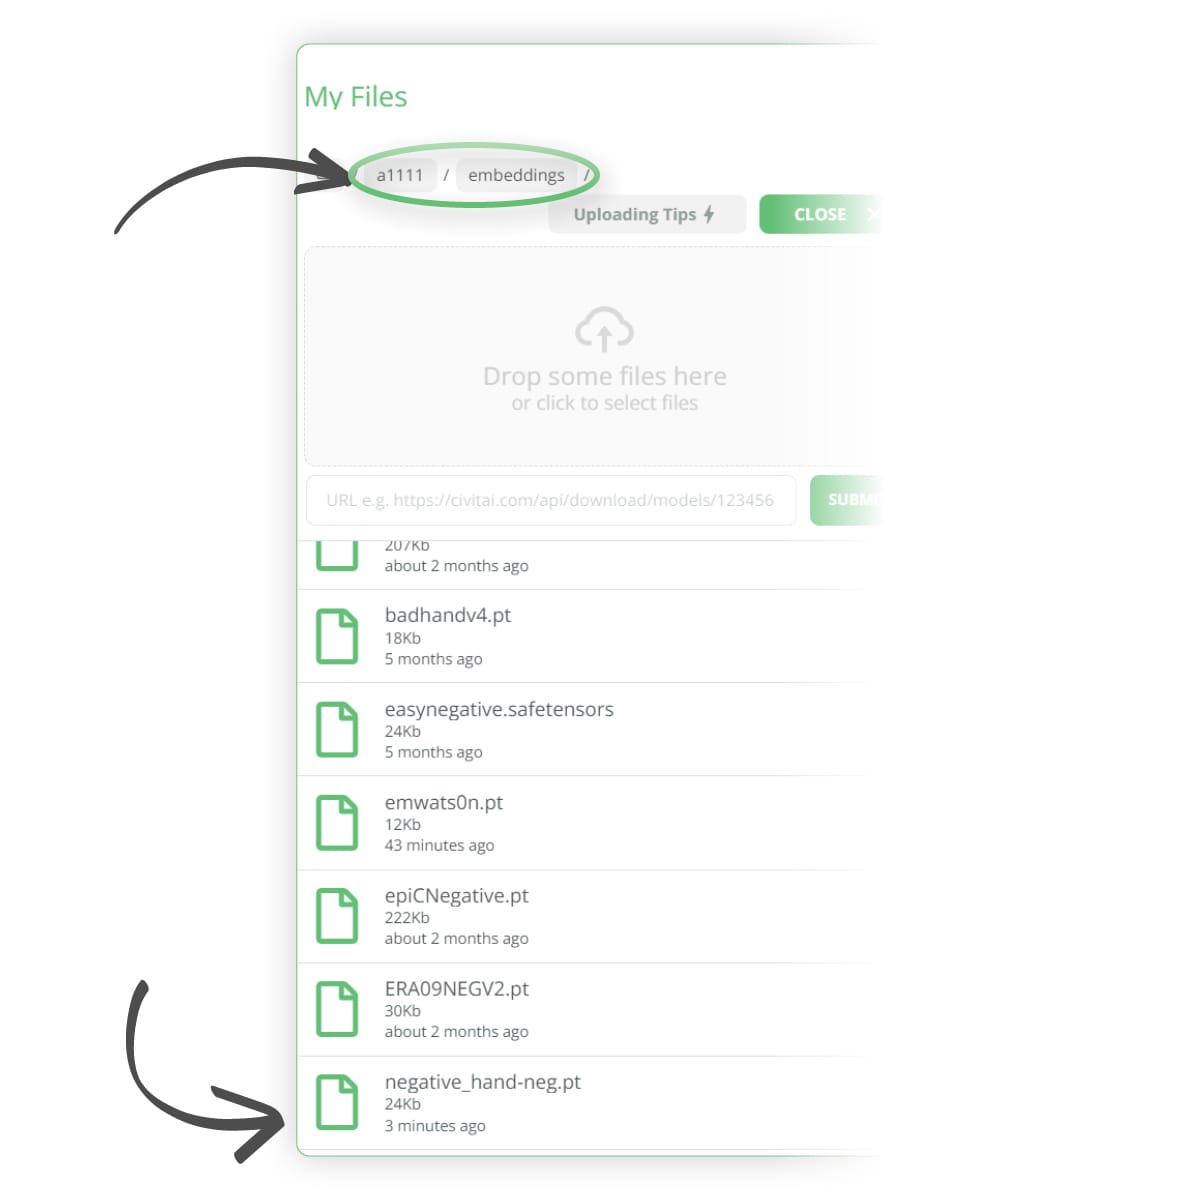
To upload this to ThinkDiffusion you will need to upload it to the following folder, ../a1111/embeddings/ as shown in the images below

Once uploaded, you will see the file appear in that folder

Now that we have it set up correctly, we can generate an image of Emma Watson.
- (1) Positive Prompt:
photo of beautiful (emwats0n:0.99), a woman in a (movie premiere gala:1.1), perfect short hair, hair upsweep updo, wearing (gryffindor wizard outfit:1.1), modelshoot style, (extremely detailed CG unity 8k wallpaper), professional majestic (photography by tim walker:1.1), (Sony a6600 Mirrorless Camera), 24mm, exposure blend, hdr, faded, extremely intricate, High (Detail:1.1), Sharp focus, dramatic, soft cinematic light, (looking at viewer), (detailed pupils), (upper body), 4k textures, adobe lightroom, photolab, elegant, ((((cinematic look)))), soothing tones, insane details, hyperdetailed, low contrast - (2) Negative Prompt: NSFW
- (3) Sampling Method: DPM++ 2S a Karras
- (4) Sampling Steps: 30
- (5) Resolution: 512 x 512
- (6) CFG Scale: 7

Here is our generated result:-
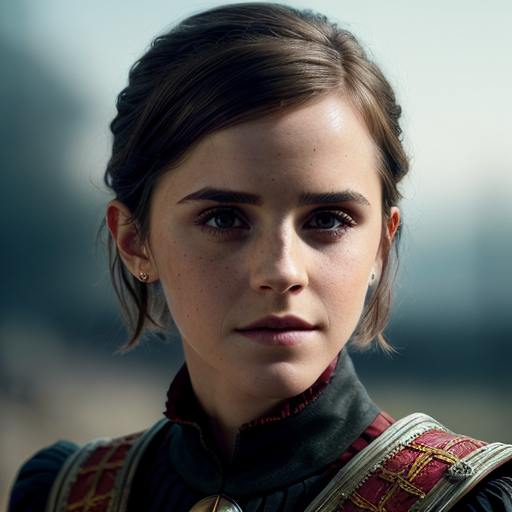
The benefits here of using a textual inversion file as opposed to a LoRA is that the size of the textual inversion file is much smaller than a standard LoRA. However, with that being said, I believe embeddings come into their own in the negative prompts section.
Using Textual Inversion in our negative prompts
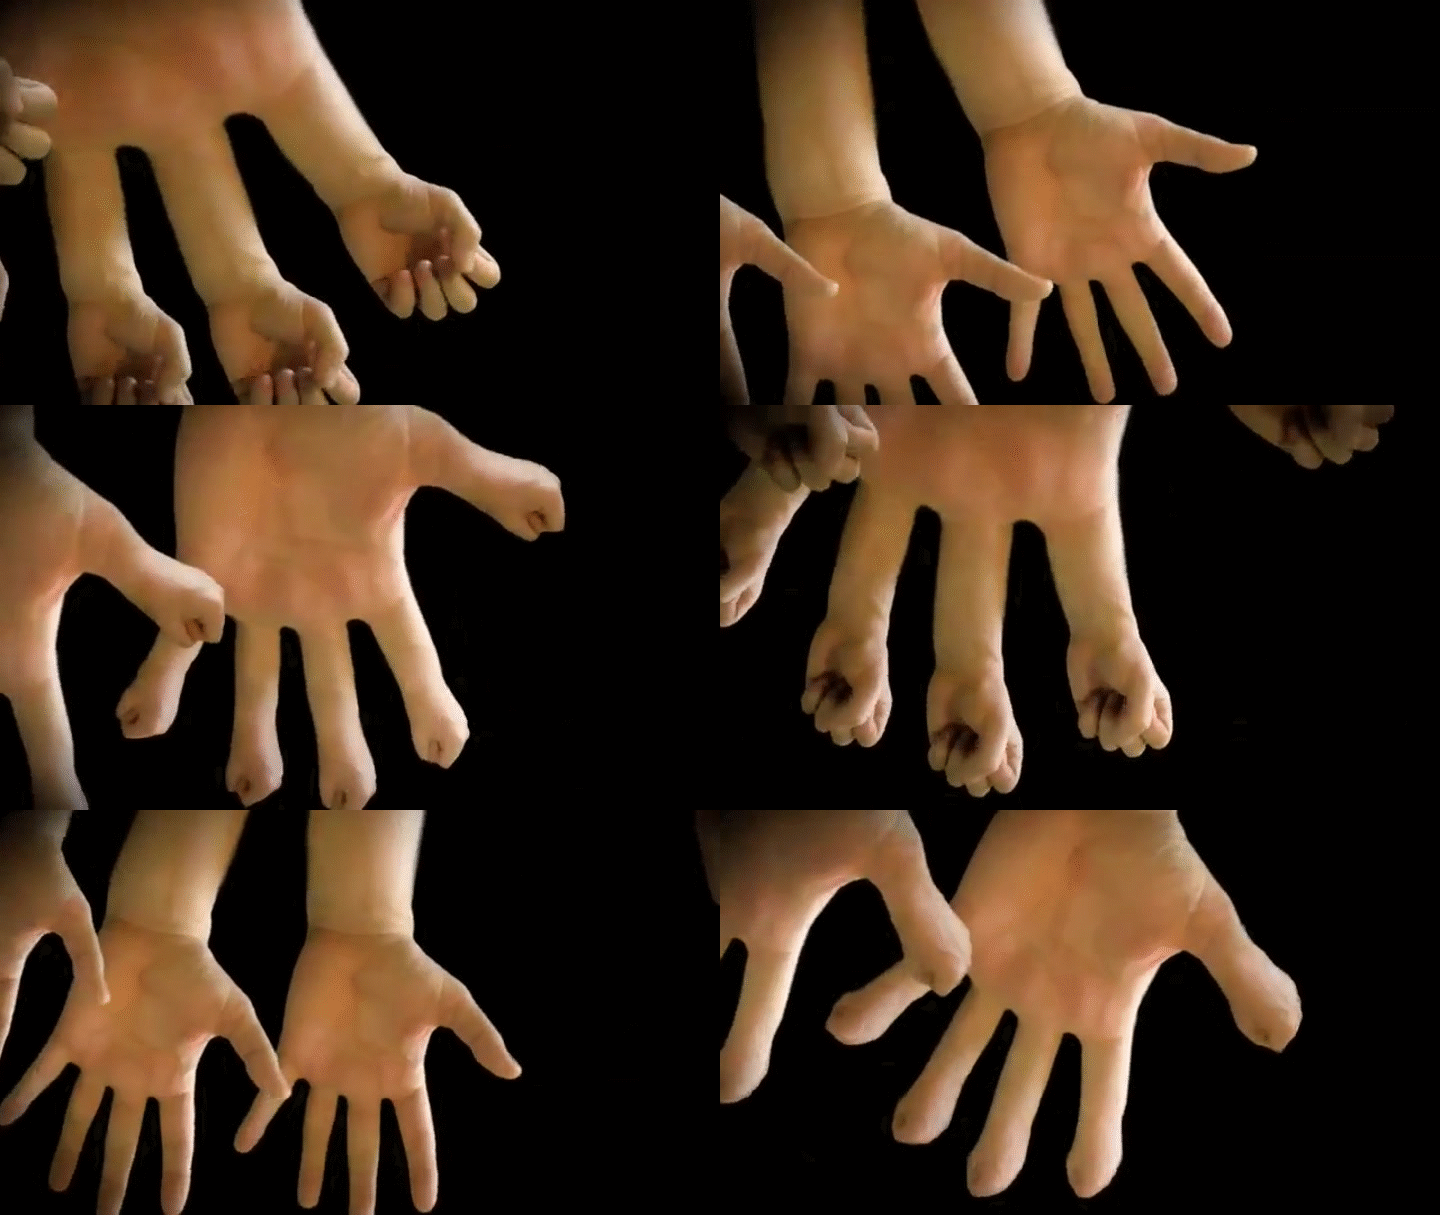
I will run the same image but I will add 'holding hands in the air' to the positive prompt and we can see the age old problem of Stable Diffusion, struggling to reproduce a hand with the correct number of fingers!

To try and help fix this issue, we can download the following negative hand embedding from here: https://civitai.com/models/56519?modelVersionId=60938 Follow the previous steps to upload the file to the following folder, ../user_data/a1111/embeddings/ as shown in the images below:-
We can then adjust our negative prompt to add in the following trigger word negative_hand-neg

We can now see that we get a slightly more accurate render of the hand by using the negative hand embedding. Please note that this can help in some instances but Stable Diffusion still struggles with hands at the time of writing.

Useful Textual Inversion links




Any of our workflows including the above can run on a local version of SD but if you’re having issues with installation or slow hardware, you can try any of these workflows on a more powerful GPU in your browser with ThinkDiffusion.
If you’d like another way to tweak images, this time with images as a reference, check out my post about mastering image prompts with IP-adapter.
Most importantly, y'all have fun out there embedding with Stable Diffusion and let let's see those hands!


Member discussion