This Motion Brush workflow allows you to add animations to specific parts of a still image. It literally works by allowing users to “paint” an area or subject, then choose a direction and add an intensity.
In short, given a still image and an area you choose, the workflow will output an mp4 video file that animated the area you chose. Here is an example below:-
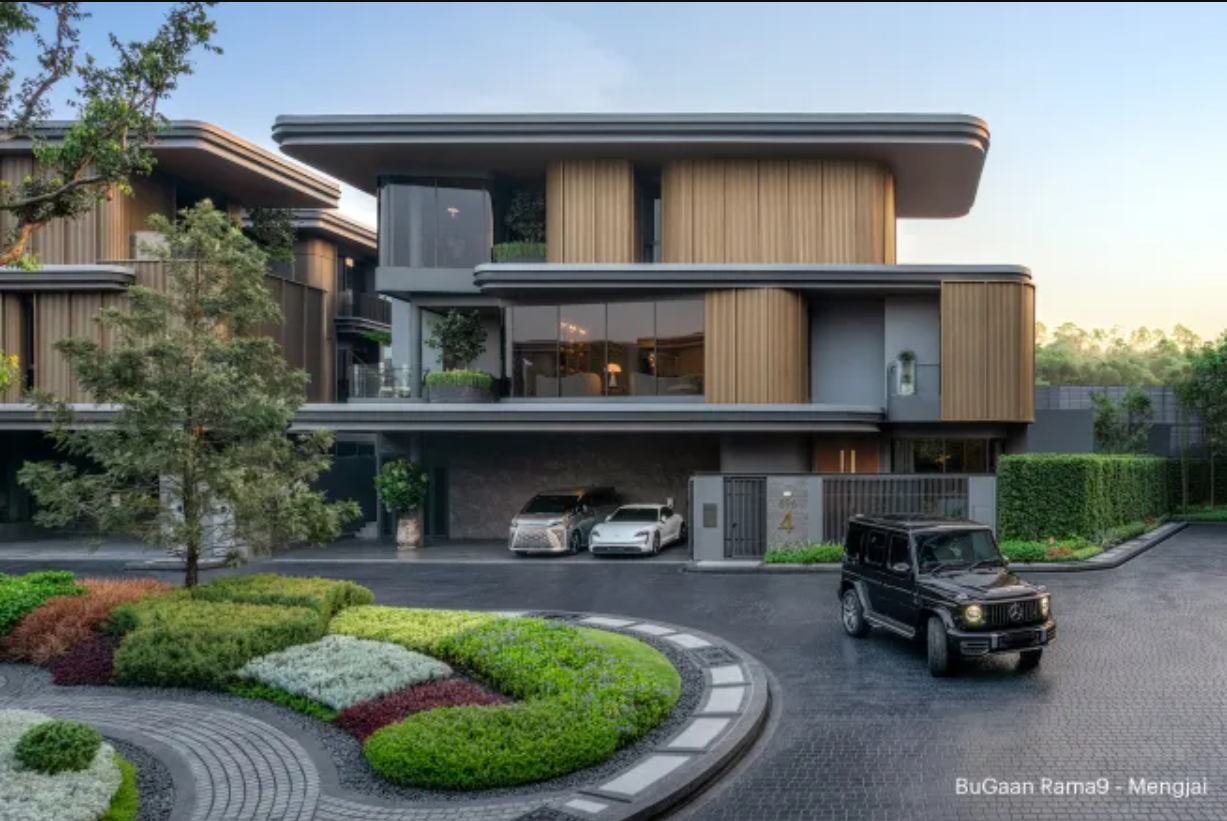
We can upload the above image into our ComfyUI motion brush workflow to animate the car
Animate a still image using ComfyUI motion brush
Recommended User Level: Advanced or Expert
One Time Workflow Setup
Let's get the hard work out of the way, this is a one time set up and once you have done it, your custom nodes will persist the next time you launch a machine.
- Download the workflow here Motion Brush Workflow
- Launch a ThinkDiffusion Turbo machine.
- Drag and drop the motion brush workflow .json file into your ComfyUI machine workspace.
- If there are red coloured nodes, download the missing the custom nodes using ComfyUI manager:
- ComfyUI Path Helper
- MarasIT Nodes
- KJNodes
- Mikey Nodes
- AnimateDiff
- AnimateDiff Evolved
- IPAdapter plus
- ComfyUI Frame Interpolation
- Rgthree
Recommended File – Download these files if not available in your Workflow’s node and restart the machine after uploading.
Download Files Here: https://drive.google.com/drive/folders/1-UzbFUw_tsT0IULuAau82xIJAGGdURCN?usp=drive_link
How to use the workflow
Now that the hard work is out of the way, let's get creative and animate some images. For most use cases, you only need to do the steps that are marked required change
1. Go to Inits and Conds Group Node
| Step | Description | Default / Recommended Values | Required Change |
|---|---|---|---|
| Select an image that you want to animate | The first step of the workflow, which allows you to upload an image that you want to animate | 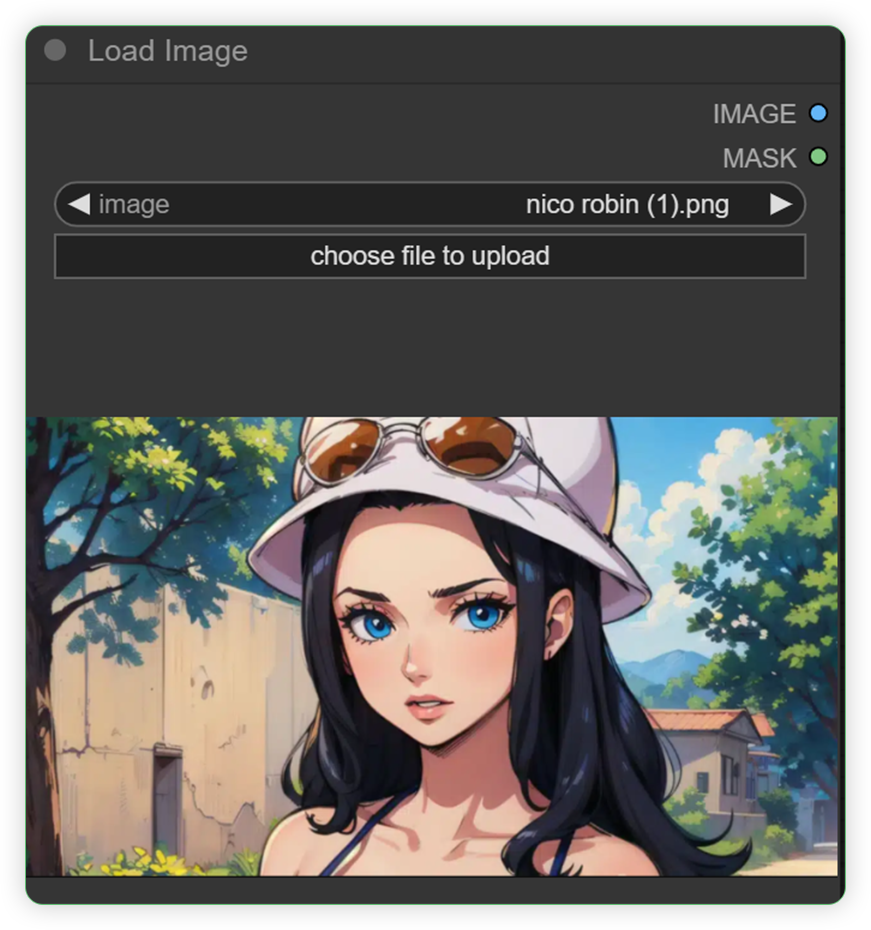 |
YES |
| Set the image resize and set True in keep_proportion | Keeping the aspect ratio and proportion of image while image is processed throughout the workflow | 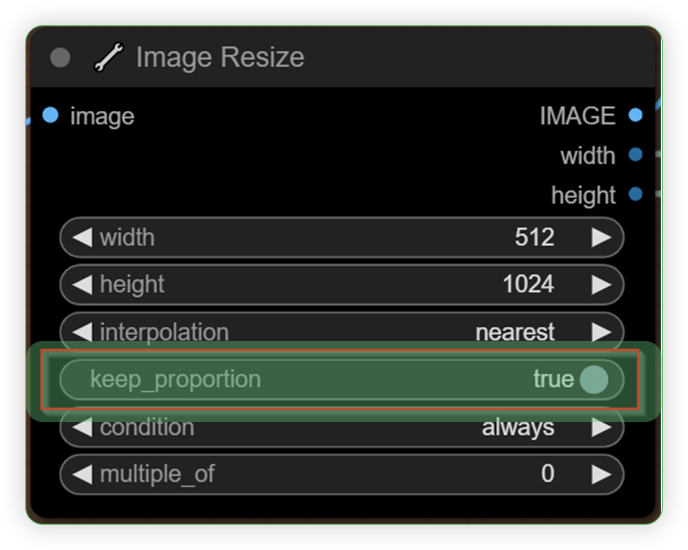 |
|
| Set Frame Count | Input your desired frames that will be processed. | 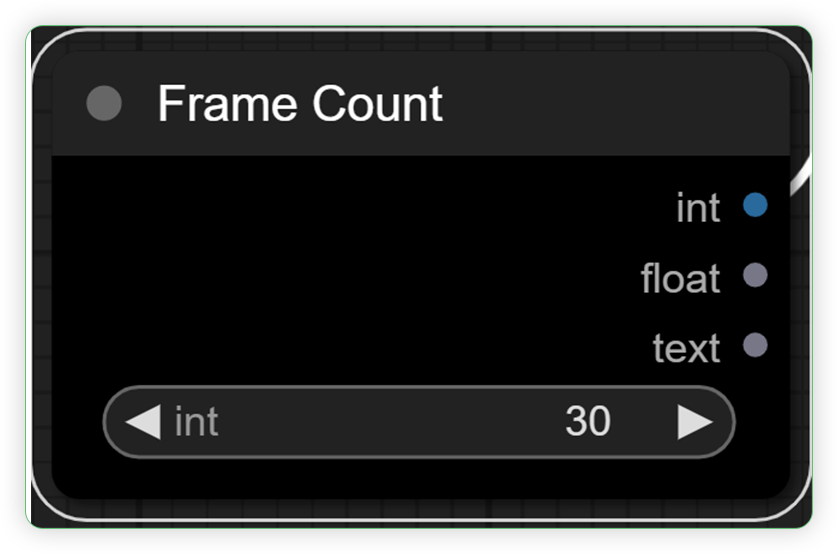 |
YES |
| Set the load checkpoint | Set the base model for the workflow Choose photonLCM if realistic image Choose everyjourneyLCM if anime image | 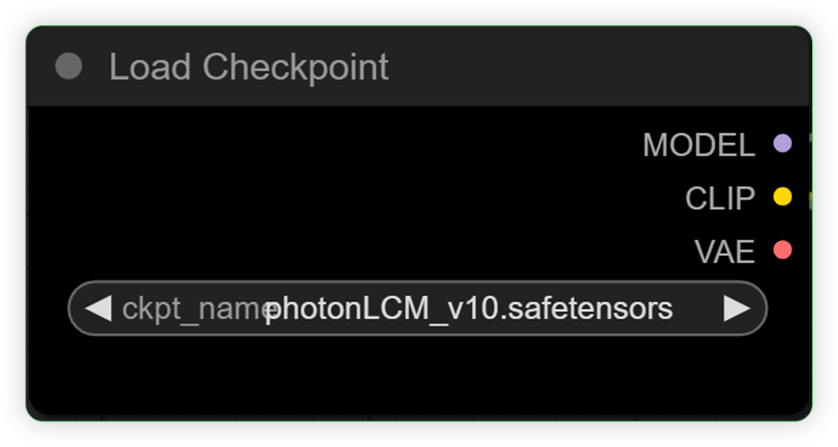 |
|
| Set the load VAE | Set a variable auto encoder for your neural network model |  |
|
| Type positive prompt in the text prompt node like moving, waving simple verb, etc. | Type simple verb words in text prompt which serves as a basic movement for your image | 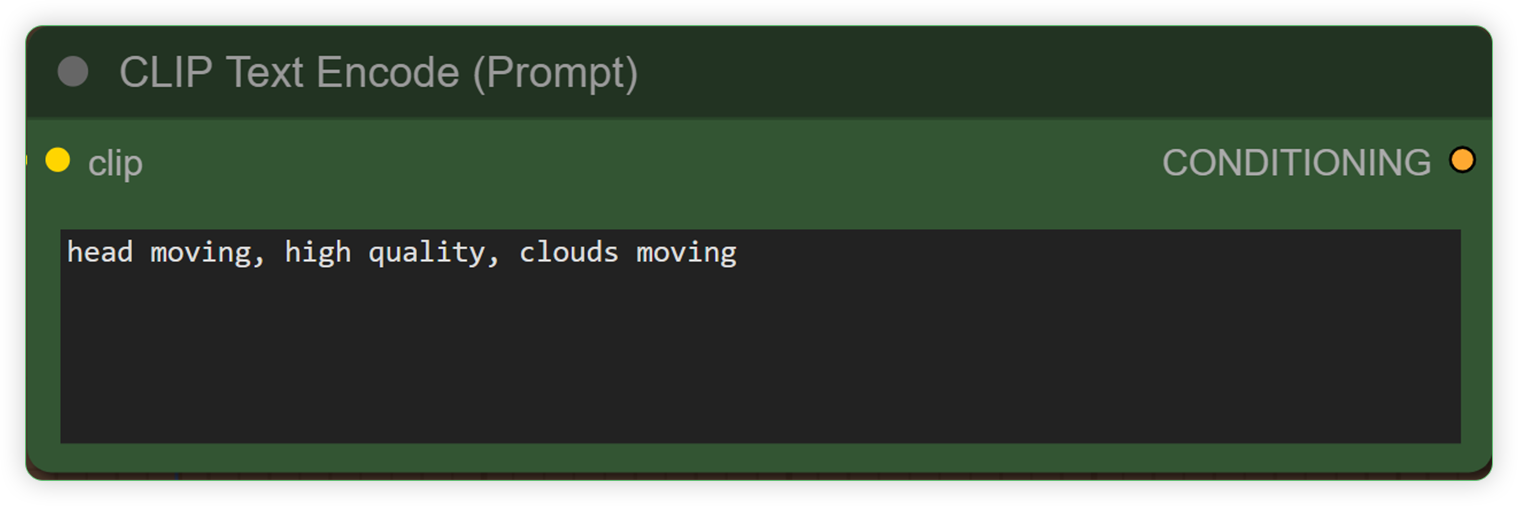 |
YES |
| Open the mask editor in image and inpaint the area that you want animate | Inpaint an image’s area where you want to animate | 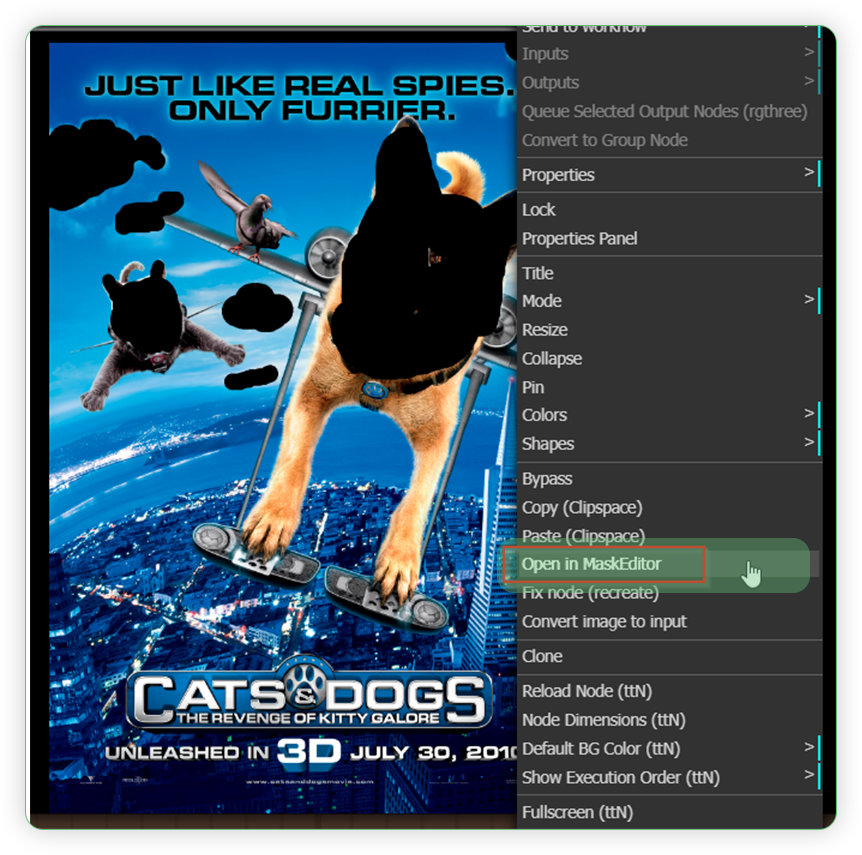 |
YES |
2. Go to Latent Mix Mask Group Node
| Step | Description / Impact | Default / Recommended Values | Required Change |
|---|---|---|---|
| Set your desired settings in Latent Mix mask for the mask grow settings, blur radius, etc | A node which you tweak the settings for the mask blur on how does it expand, how it grows, how strong its blur | 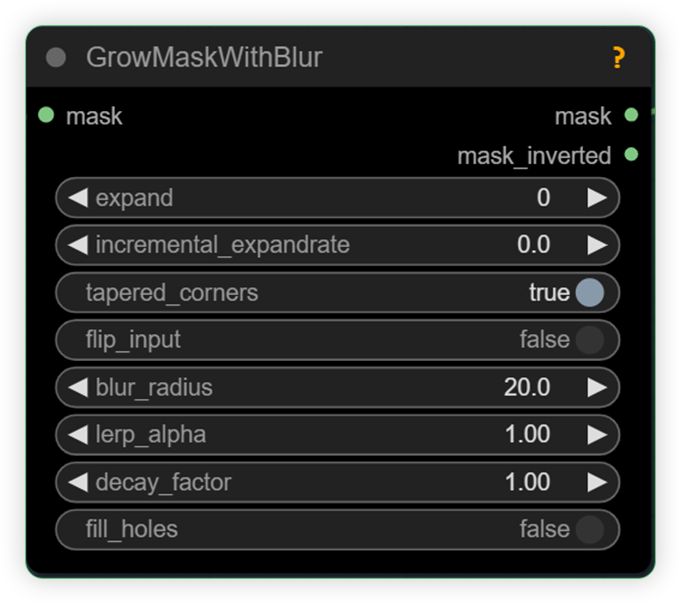 |
YES |
| Set the remap mask range | Set the value of animate in comparison to the original | 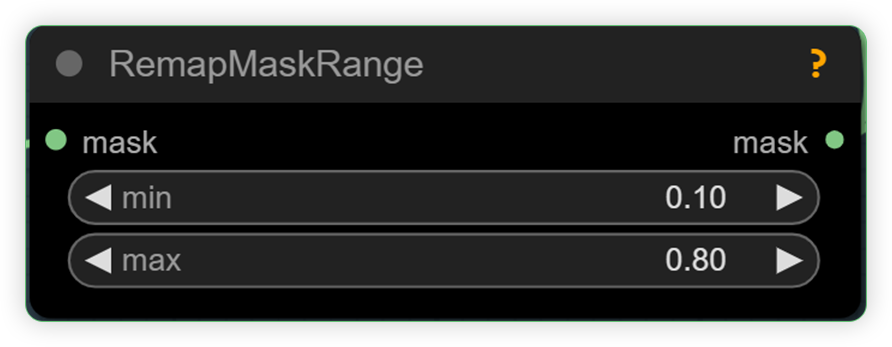 |
YES |
| Check the mask preview | Check the mask preview if how vast is the expand of mask blur and how strong is the mask blur |  |
3. Go to IpAdapter Group Node
| Step | Description / Impact | Default / Recommended Values | Required Change |
|---|---|---|---|
| Set the clip vision | CLIP vision models are used to encode images. | 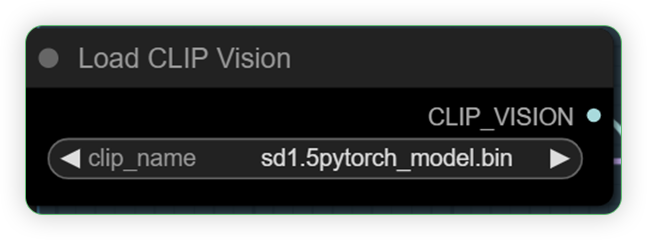 |
|
| Set the ipadapater | Adds image prompting capabilities to a diffusion model. | 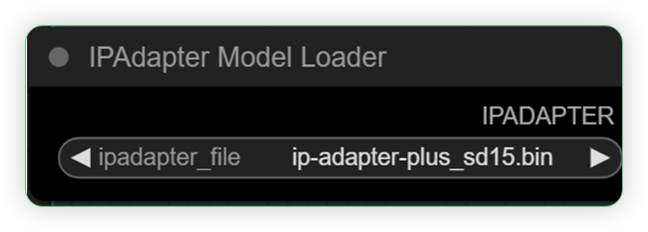 |
|
| Set the lora loader | Set a lora model | 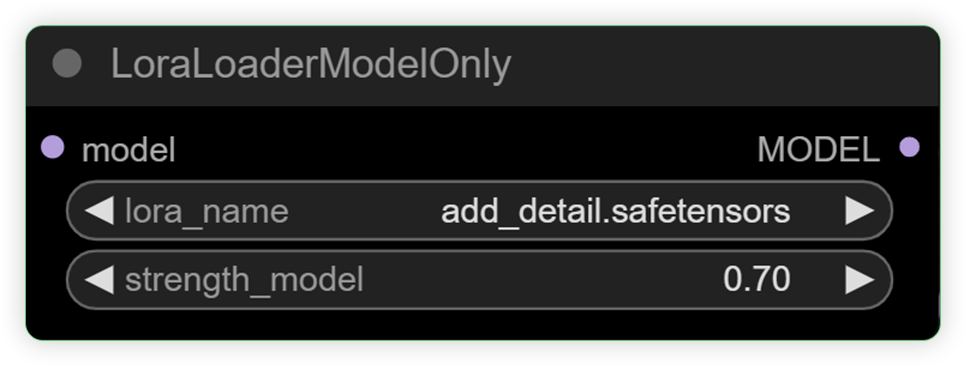 |
4. Go to ControlNet Group Node
| Step | Description / Impact | Default / Recommended Values | Required Change |
|---|---|---|---|
| Set the control_net | It empowers precise artistic and structural control in generating images |  |
|
| Set for the weight | You can play the strength value for controlnet | 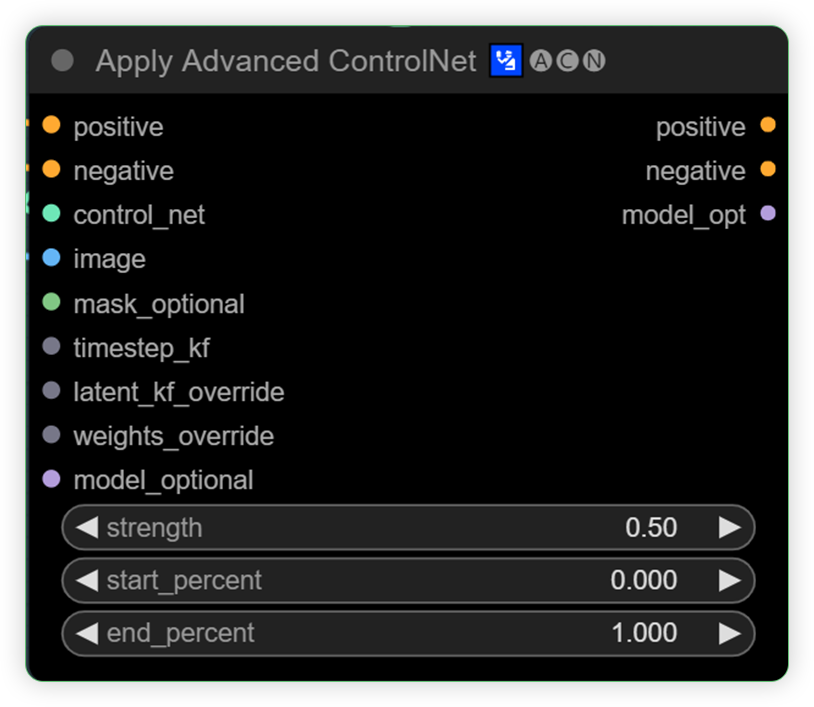 |
YES |
5. Go to Output Group Node
| Step | Description / Impact | Default / Recommended Values | Required Change |
|---|---|---|---|
| Set the motion model. | Set the base model of animatediff | 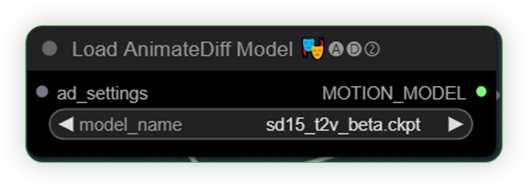 |
|
| Set the motion Lora | Set the motion lora for animate |  |
|
| Set the multival | Multival is the strength of motion lora. You can set if how clear is motion lora will be applied to the mask area. MultiVal Max is 1.500 and you can play with this value but above 1.500 may display video artifacts. | 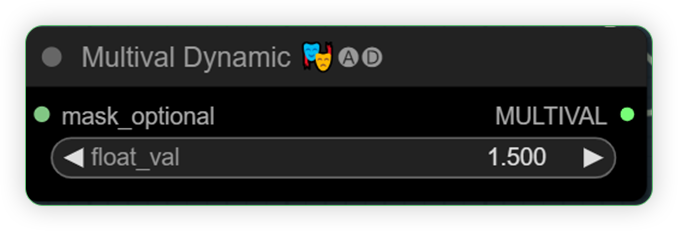 |
YES |
| Set your desired upscale model | You can select the upscale type either pixel or latent. Pixel generate faster while latent generates slower but add more details and good for higher resolution. | 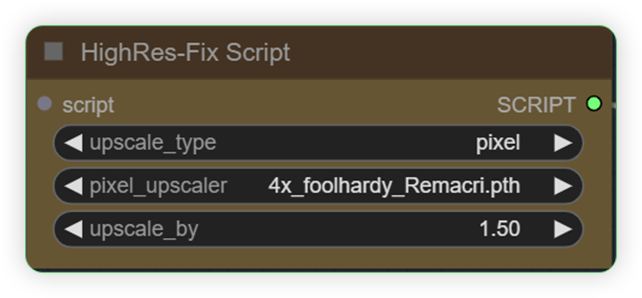 |
YES |
| Check the video combine node settings | Check for the loop count and frame rate | 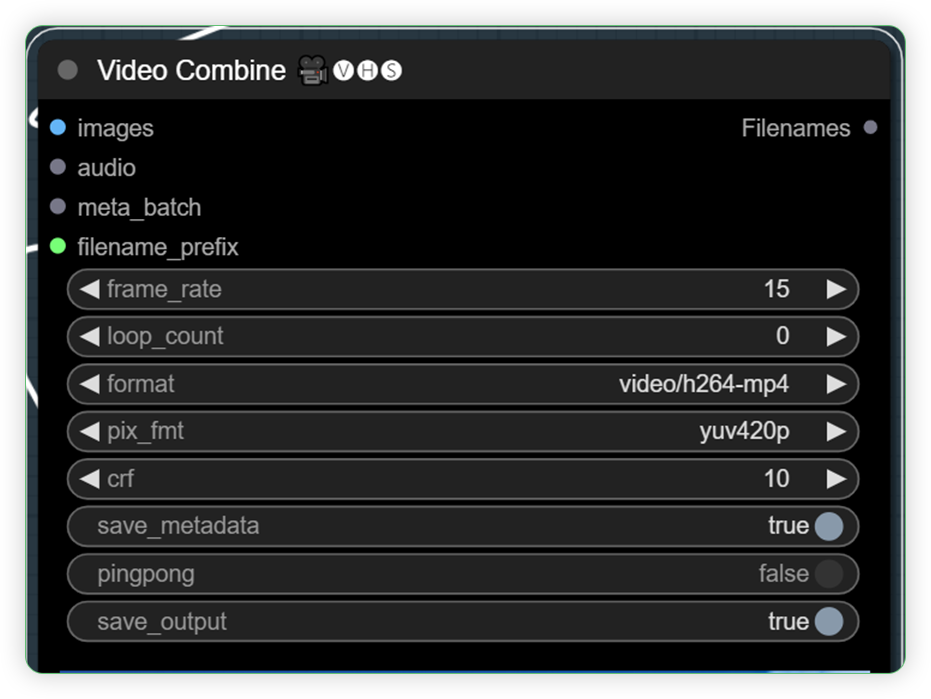 |
YES |
| Check the Film VFI for its multiplier | Set your desired multipler | 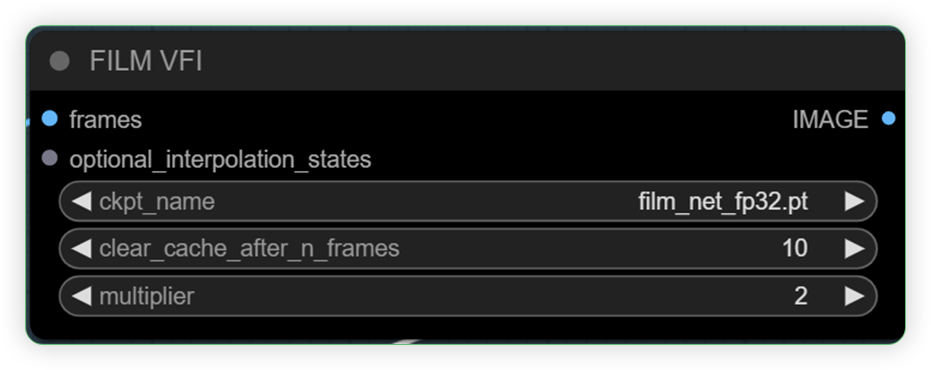 |
YES |
You can now click queue prompt to animate your still image!
More Examples
Download the input and output files here input / output.
30 int frames, 2 multiplier, 15 output frames, animeclosedeyessmile motion lora, 1.5 multival, rabbit head moving, photonLCM base model, blur radius 0, mask expand 0, 0.10 MIN remapmaskrange
60 int frames, 2 multiplier, 15 output frames, explosive motion lora, 1.5 multival, happy new year, photonLCM base model, blur radius 0, mask expand 0, 0.20 MIN remapmaskrange
30 int frames, 2 multiplier, 15 output frames, animeclosedeyessmile motion lora, 1.5 multival, moving hair prompt, photonLCM base model, blur radius 0, mask expand 0, 0.10 MIN remapmaskrange
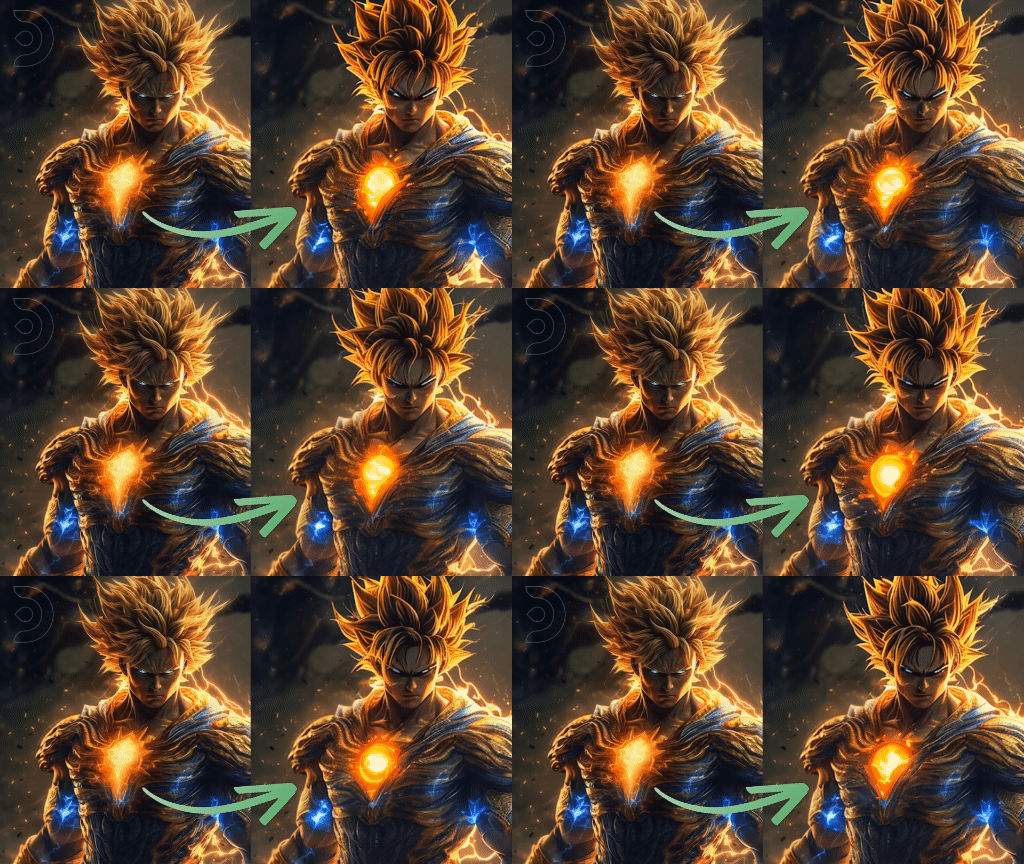
Photo Credit: Imagine Pidgeons 30 int frames, 2 multiplier, 15 output frames, organicspiral motion lora, 1.5 multival, son goku prompt, aura prompt, electricity, everyjourneyLCM base model, blur radius 0, mask expand 0, 0.10 MIN remapmaskrange Animated by ThinkDiffusion
If you’re having issues with installation or slow hardware, you can try any of these workflows on a more powerful GPU in your browser with ThinkDiffusion.
If you enjoy ComfyUI and you want to test out creating awesome animations, then feel free to check out this AnimateDiff tutorial here.

Member discussion