

What is AnimateDiff?
AnimateDiff is an extension, or a custom node, for Stable Diffusion. It's available for many user interfaces but we'll be covering it inside of ComfyUI in this guide.
It can create coherent animations from a text prompt, but also from a video input together with ControlNet. Today we'll look at two ways to animate. One simpler workflow, Text-to-Video, and a more advanced one, Video-to-Video with ControlNet and prompt scheduling.

We recommend downloading these starter workflows from Inner Reflections

How to use AnimateDiff Text-to-Video
Load the workflow by dragging and dropping it into ComfyUI, in this example we're using Basic Text2Vid
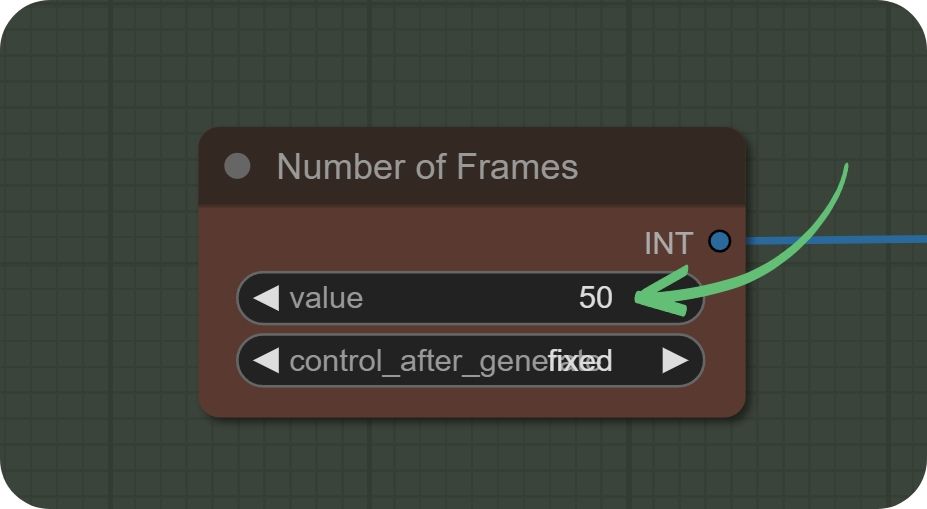
Set your number of frames. Depending on your frame-rate, this will affect the length of your video in seconds. It will always be this frame amount, but frames can run at different speeds. For example, 50 frames at 12 frames per second will run longer than 50 frames at 24 frames per second.
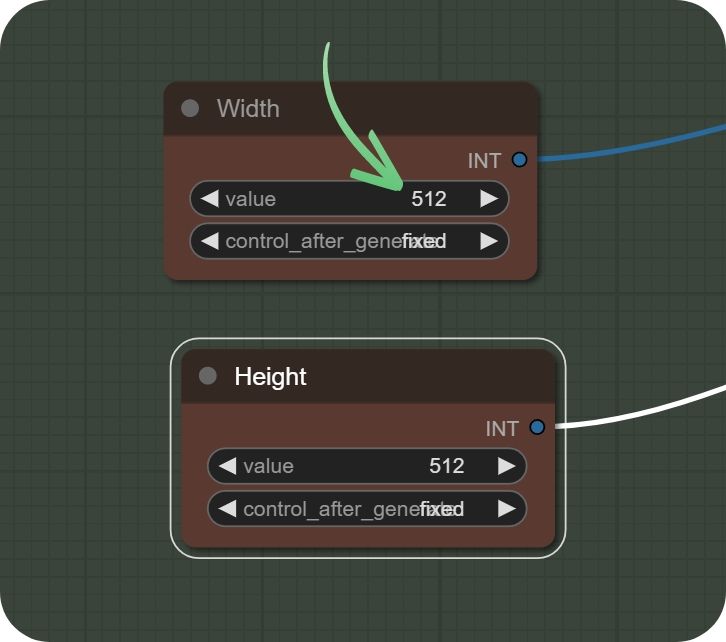
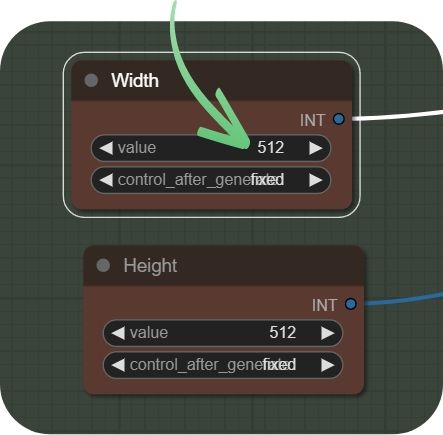
Set your desired size, we recommend starting with 512x512 or 768x768.
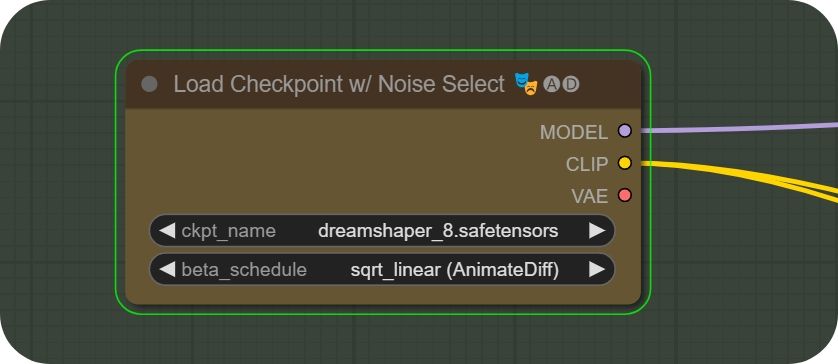
Select your desired model, make sure it's an 1.5 model. That means no model named SDXL or XL. Dreamshaper is a good starting model.

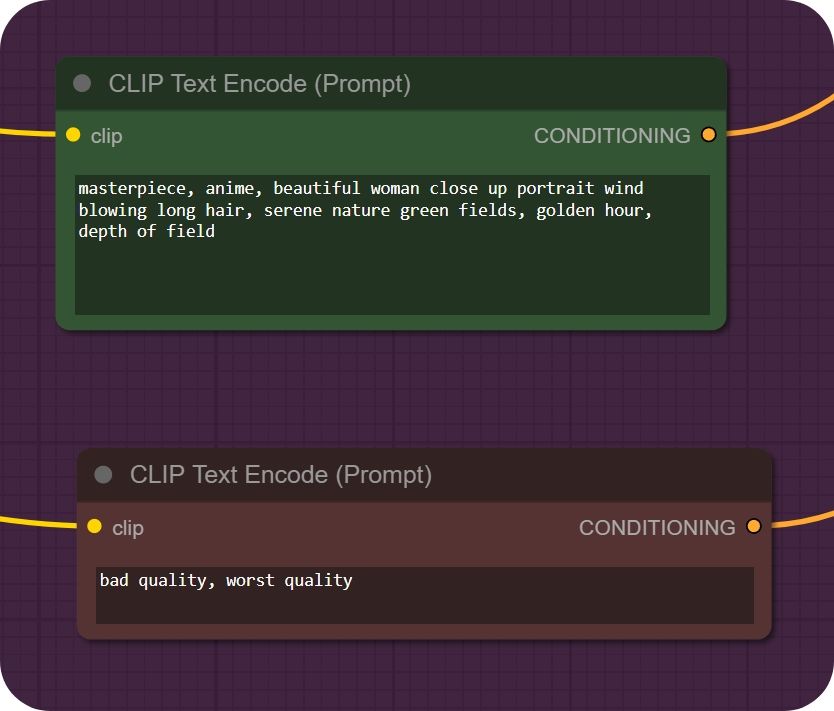
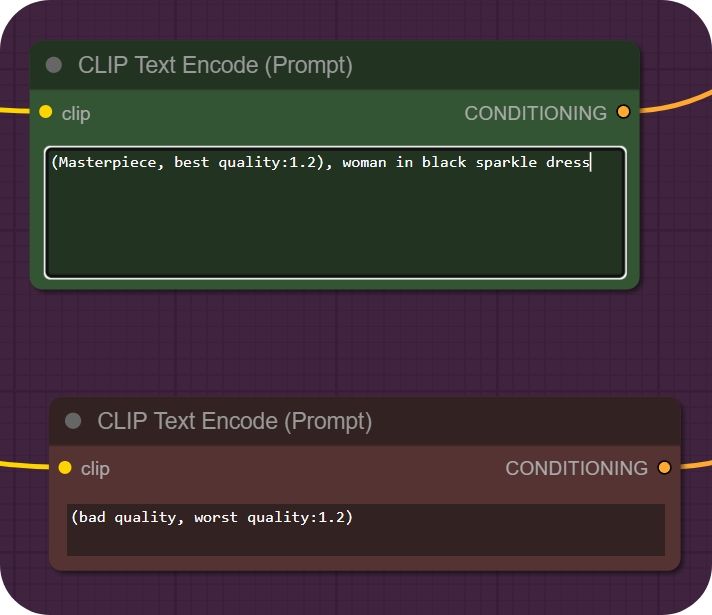
Set your desired positive (green) and negative (red) prompt (this is what you want, and don't want, to see).
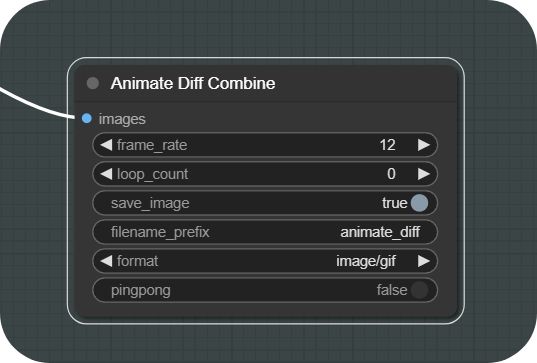
Set your desired frame rate and format (gif, mp4, webm). Pingpong means that in the end, the animation will reverse and keep looping by reversing.
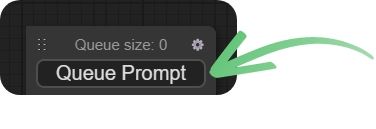
Start your generation by pressing Queue Prompt!
How to use AnimateDiff Video-to-Video
Load the workflow by dragging and dropping it into ComfyUI, in this example we're using Video2Video.
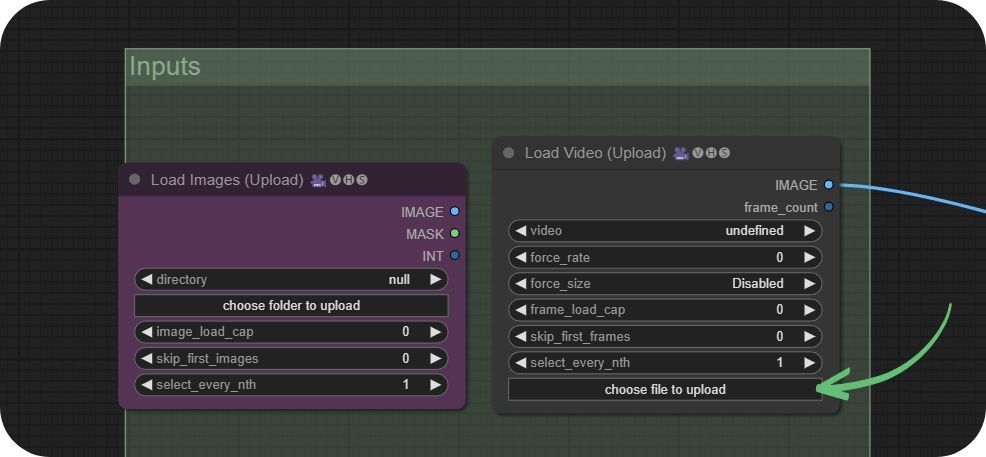
Start by uploading your video with the "choose file to upload" button. Some workflows use a different node where you upload images. We recommend the Load Video node for ease of use.
Set your desired size, we recommend starting with 512x512 or 768x768.
Select your desired model, make sure it's an 1.5 model. That means no model named SDXL or XL. Dreamshaper is a good starting model.
Set your desired positive (green) and negative (red) prompt (this is what you want, and don't want, to see).
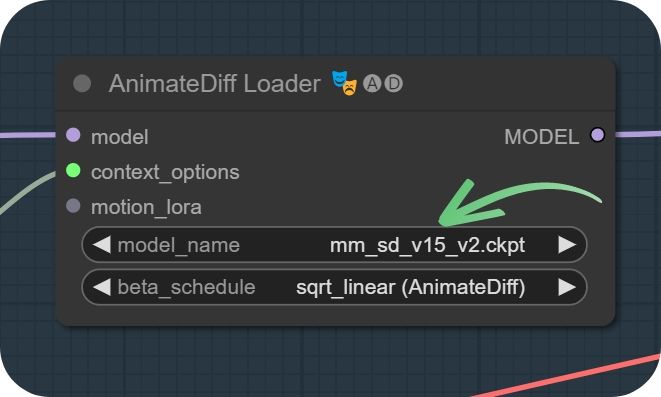
Make sure that your AnimateDiff Loader's model is set to mm_sd_v15_v2 or Temporaldiff. This can be changed for advanced users, but if you're a beginner, stick with this for now.
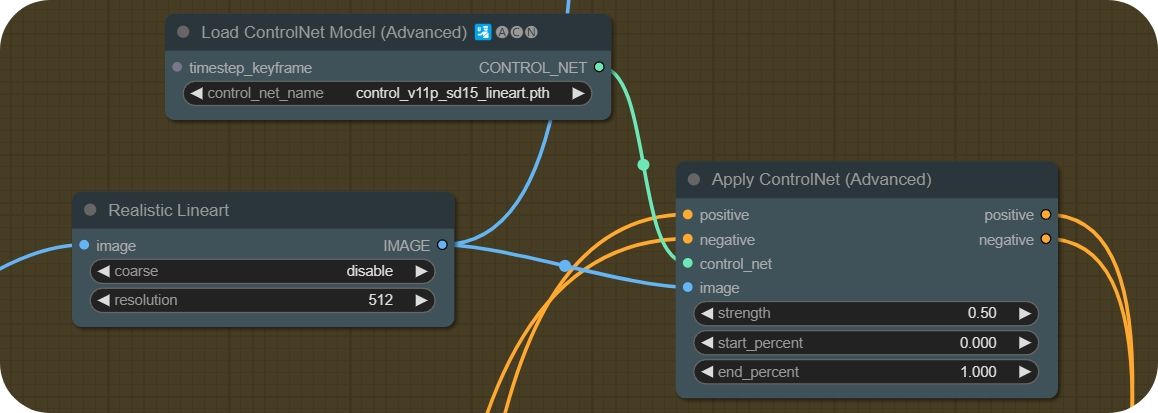
Video-to-Video makes use of ControlNet for coherent animations. You can try various models and even multiple ControlNets by linking them in a line. Experiment with models like lineart, openpose, canny and depth.
Set your desired frame rate and format (gif, mp4, webm). Pingpong means that in the end, the animation will reverse and keep looping by reversing.

Start your generation by pressing Queue Prompt!
For a video tutorial on the subject, check out this guide here:
Member discussion