
Introduction
In this session, we will explore the Inpaint Anything / Segment Anything extension and examine the simplicity of the inpainting process through this method. By utilizing the Inpaint Anything extension, stable diffusion inpainting can be performed directly on a browser user interface, employing masks selected from the output generated by Segment Anything.
Segment Anything empowers users to effortlessly designate masks by merely pointing to the desired regions, eliminating the need for manual filling. This approach enhances the efficiency and precision of mask creation, potentially yielding superior inpainting outcomes while minimizing the investment of time and effort.
Inpainting Tutorial with Sebastian Kamph
Inpainting Tutorial
Installing the extension
If you're using ThinkDiffusion, you can skip all the installation steps and get straight to experimenting.
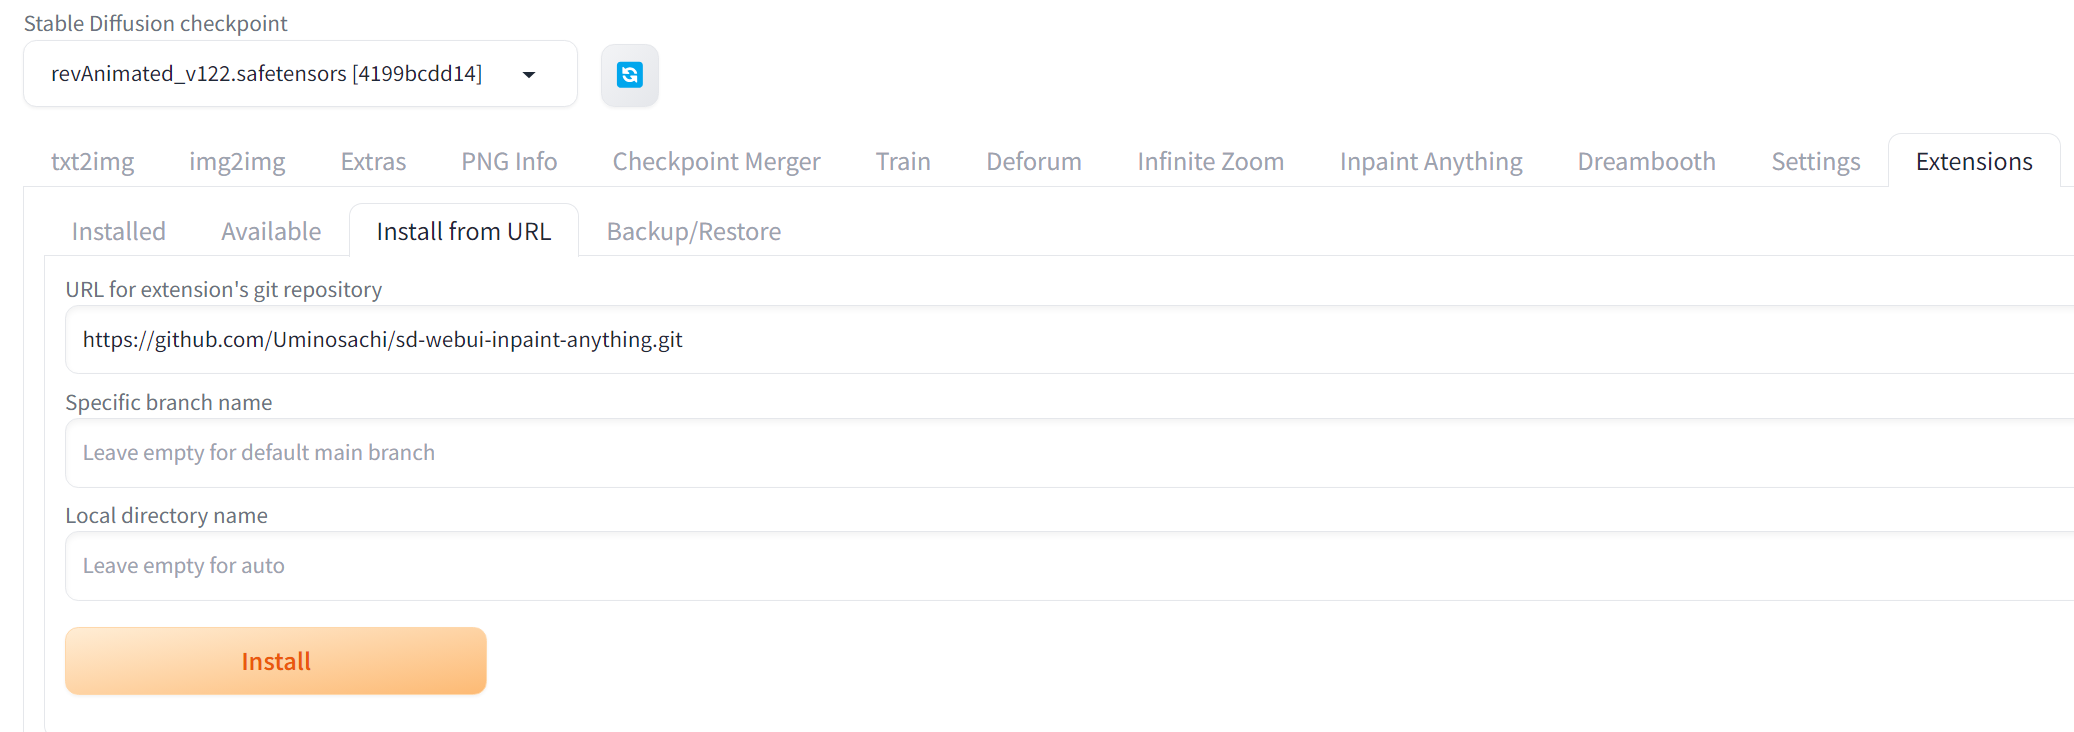
- Within stable diffusion you need to go to the extensions tab and then to the Install from URL tab and copy the following GitHub repository https://github.com/Uminosachi/sd-webui-inpaint-anything
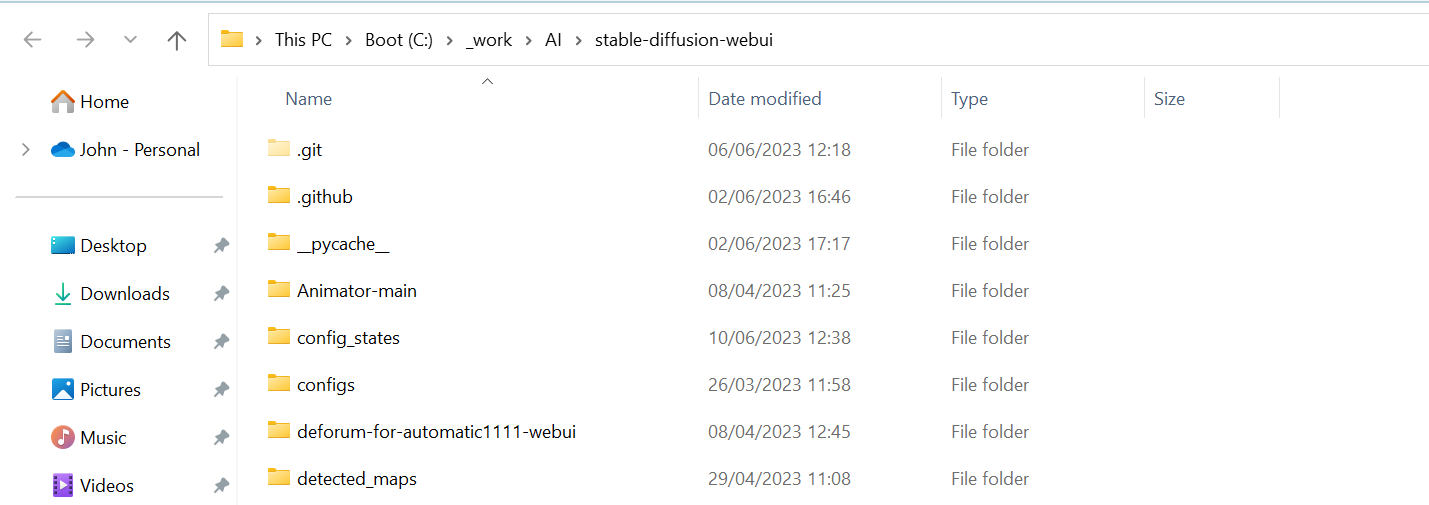
- Once you have done this it is recommended from the GitHub page to use xformers from the command line. To open the command line, go into your stable diffusion folder as shown below:
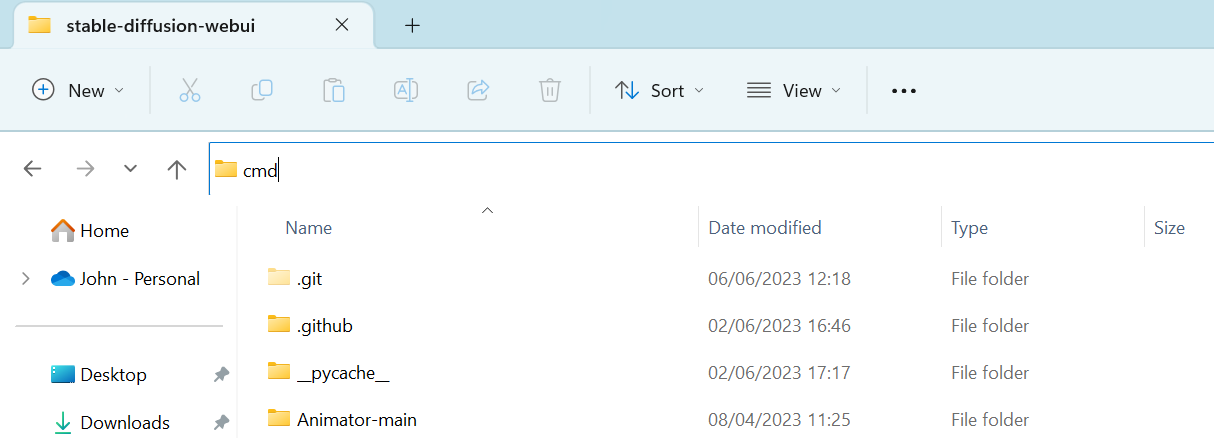
- Type cmd into the search bar and click enter to bring up the command terminal
- We can now type pip install xformers and click enter

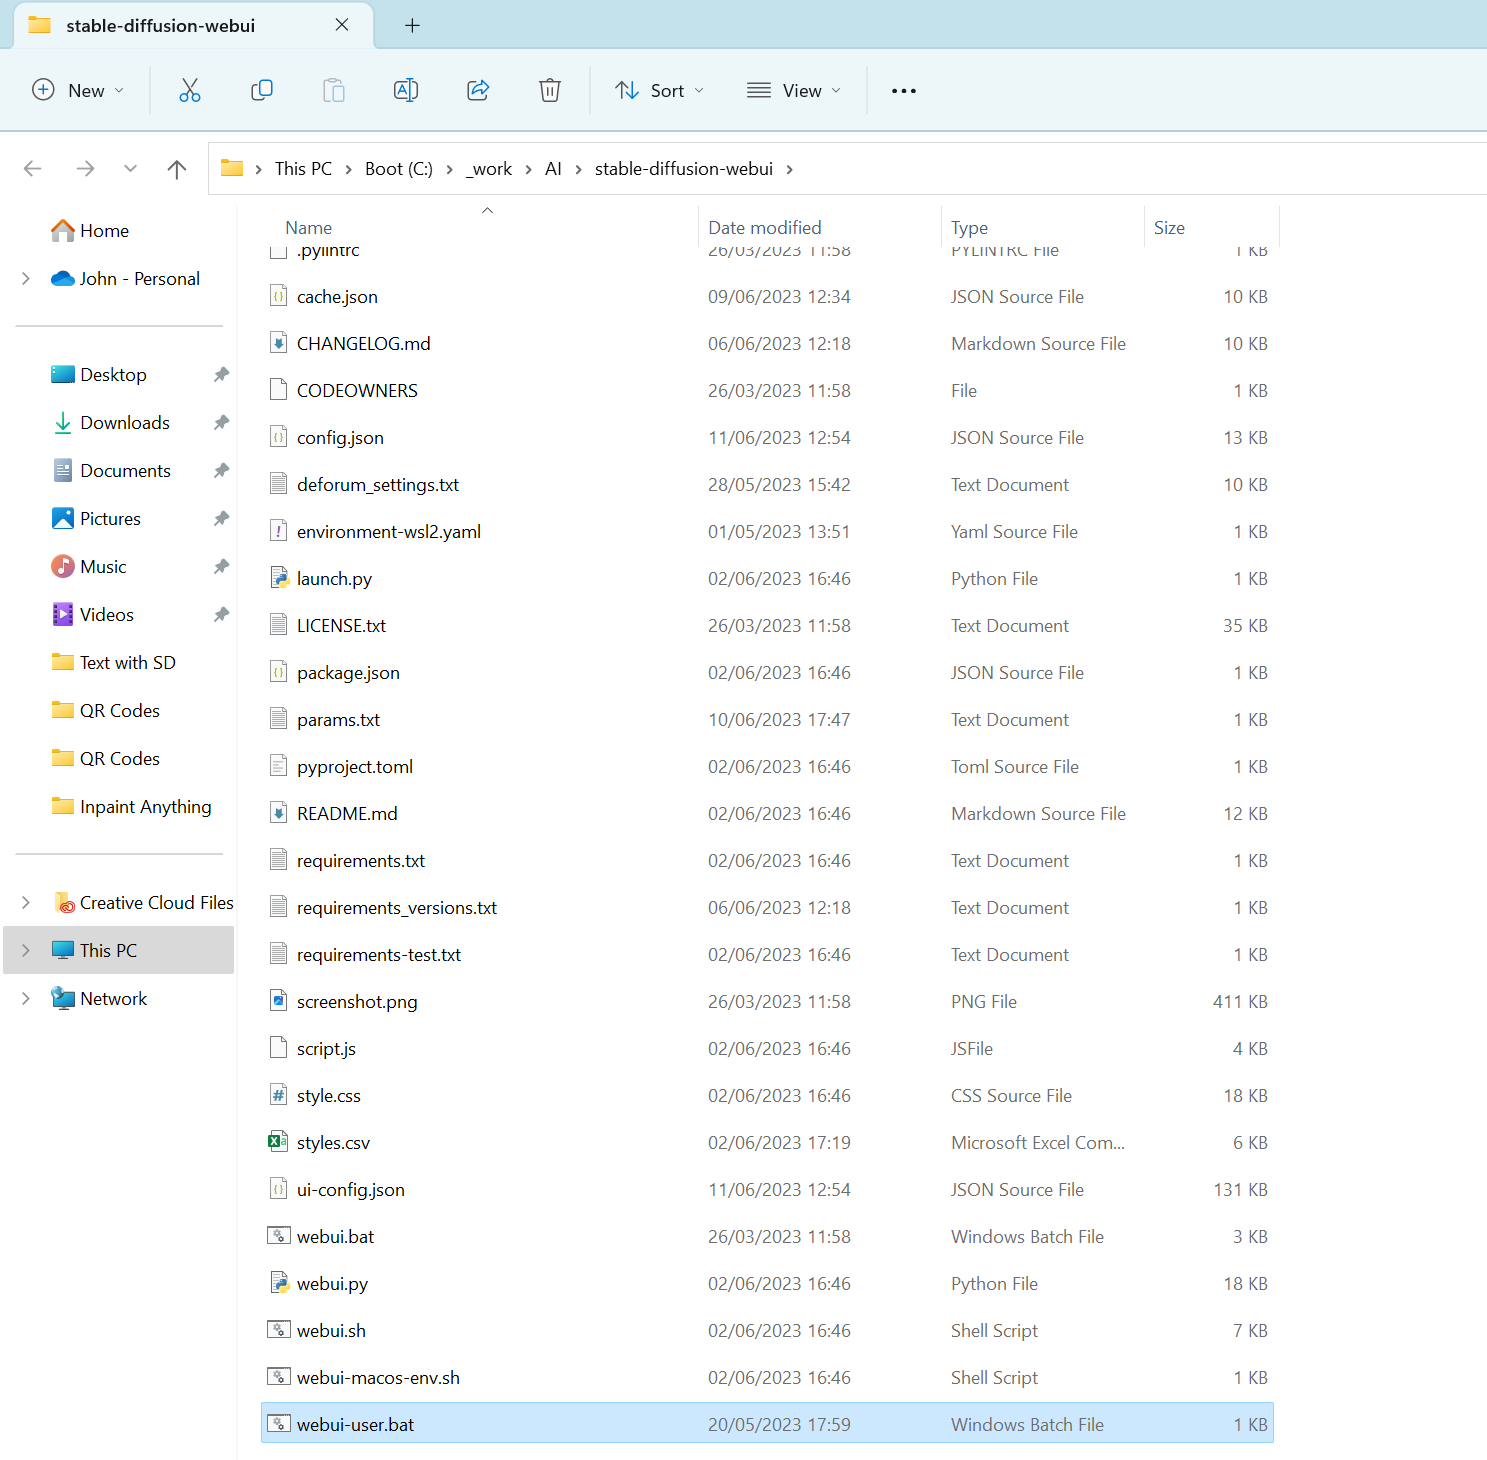
- Once installed we then need to modify the webui-user.bat file which can be located in your main stable diffusion folder
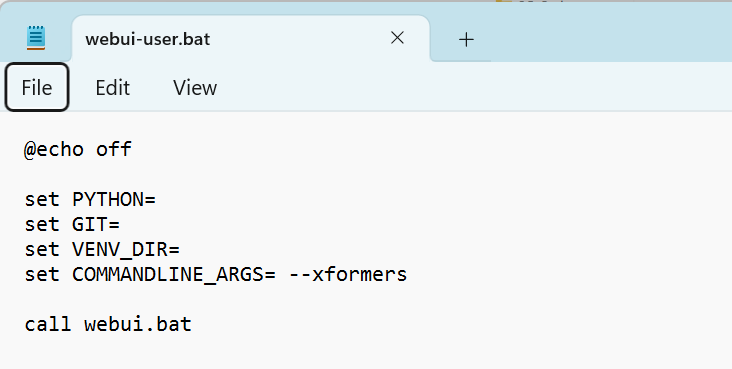
- Right click the webui-user.bat file and select edit and enter --xformers after the set COMMANDLINE_ARGS= --xformers as shown below:
If you're using ThinkDiffusion, you can skip all the command line steps above.
Example using Inpaint Anything
- The last thing we need to do before we can start using Inpaint Anything is to download the Segment Anything Model as shown below:

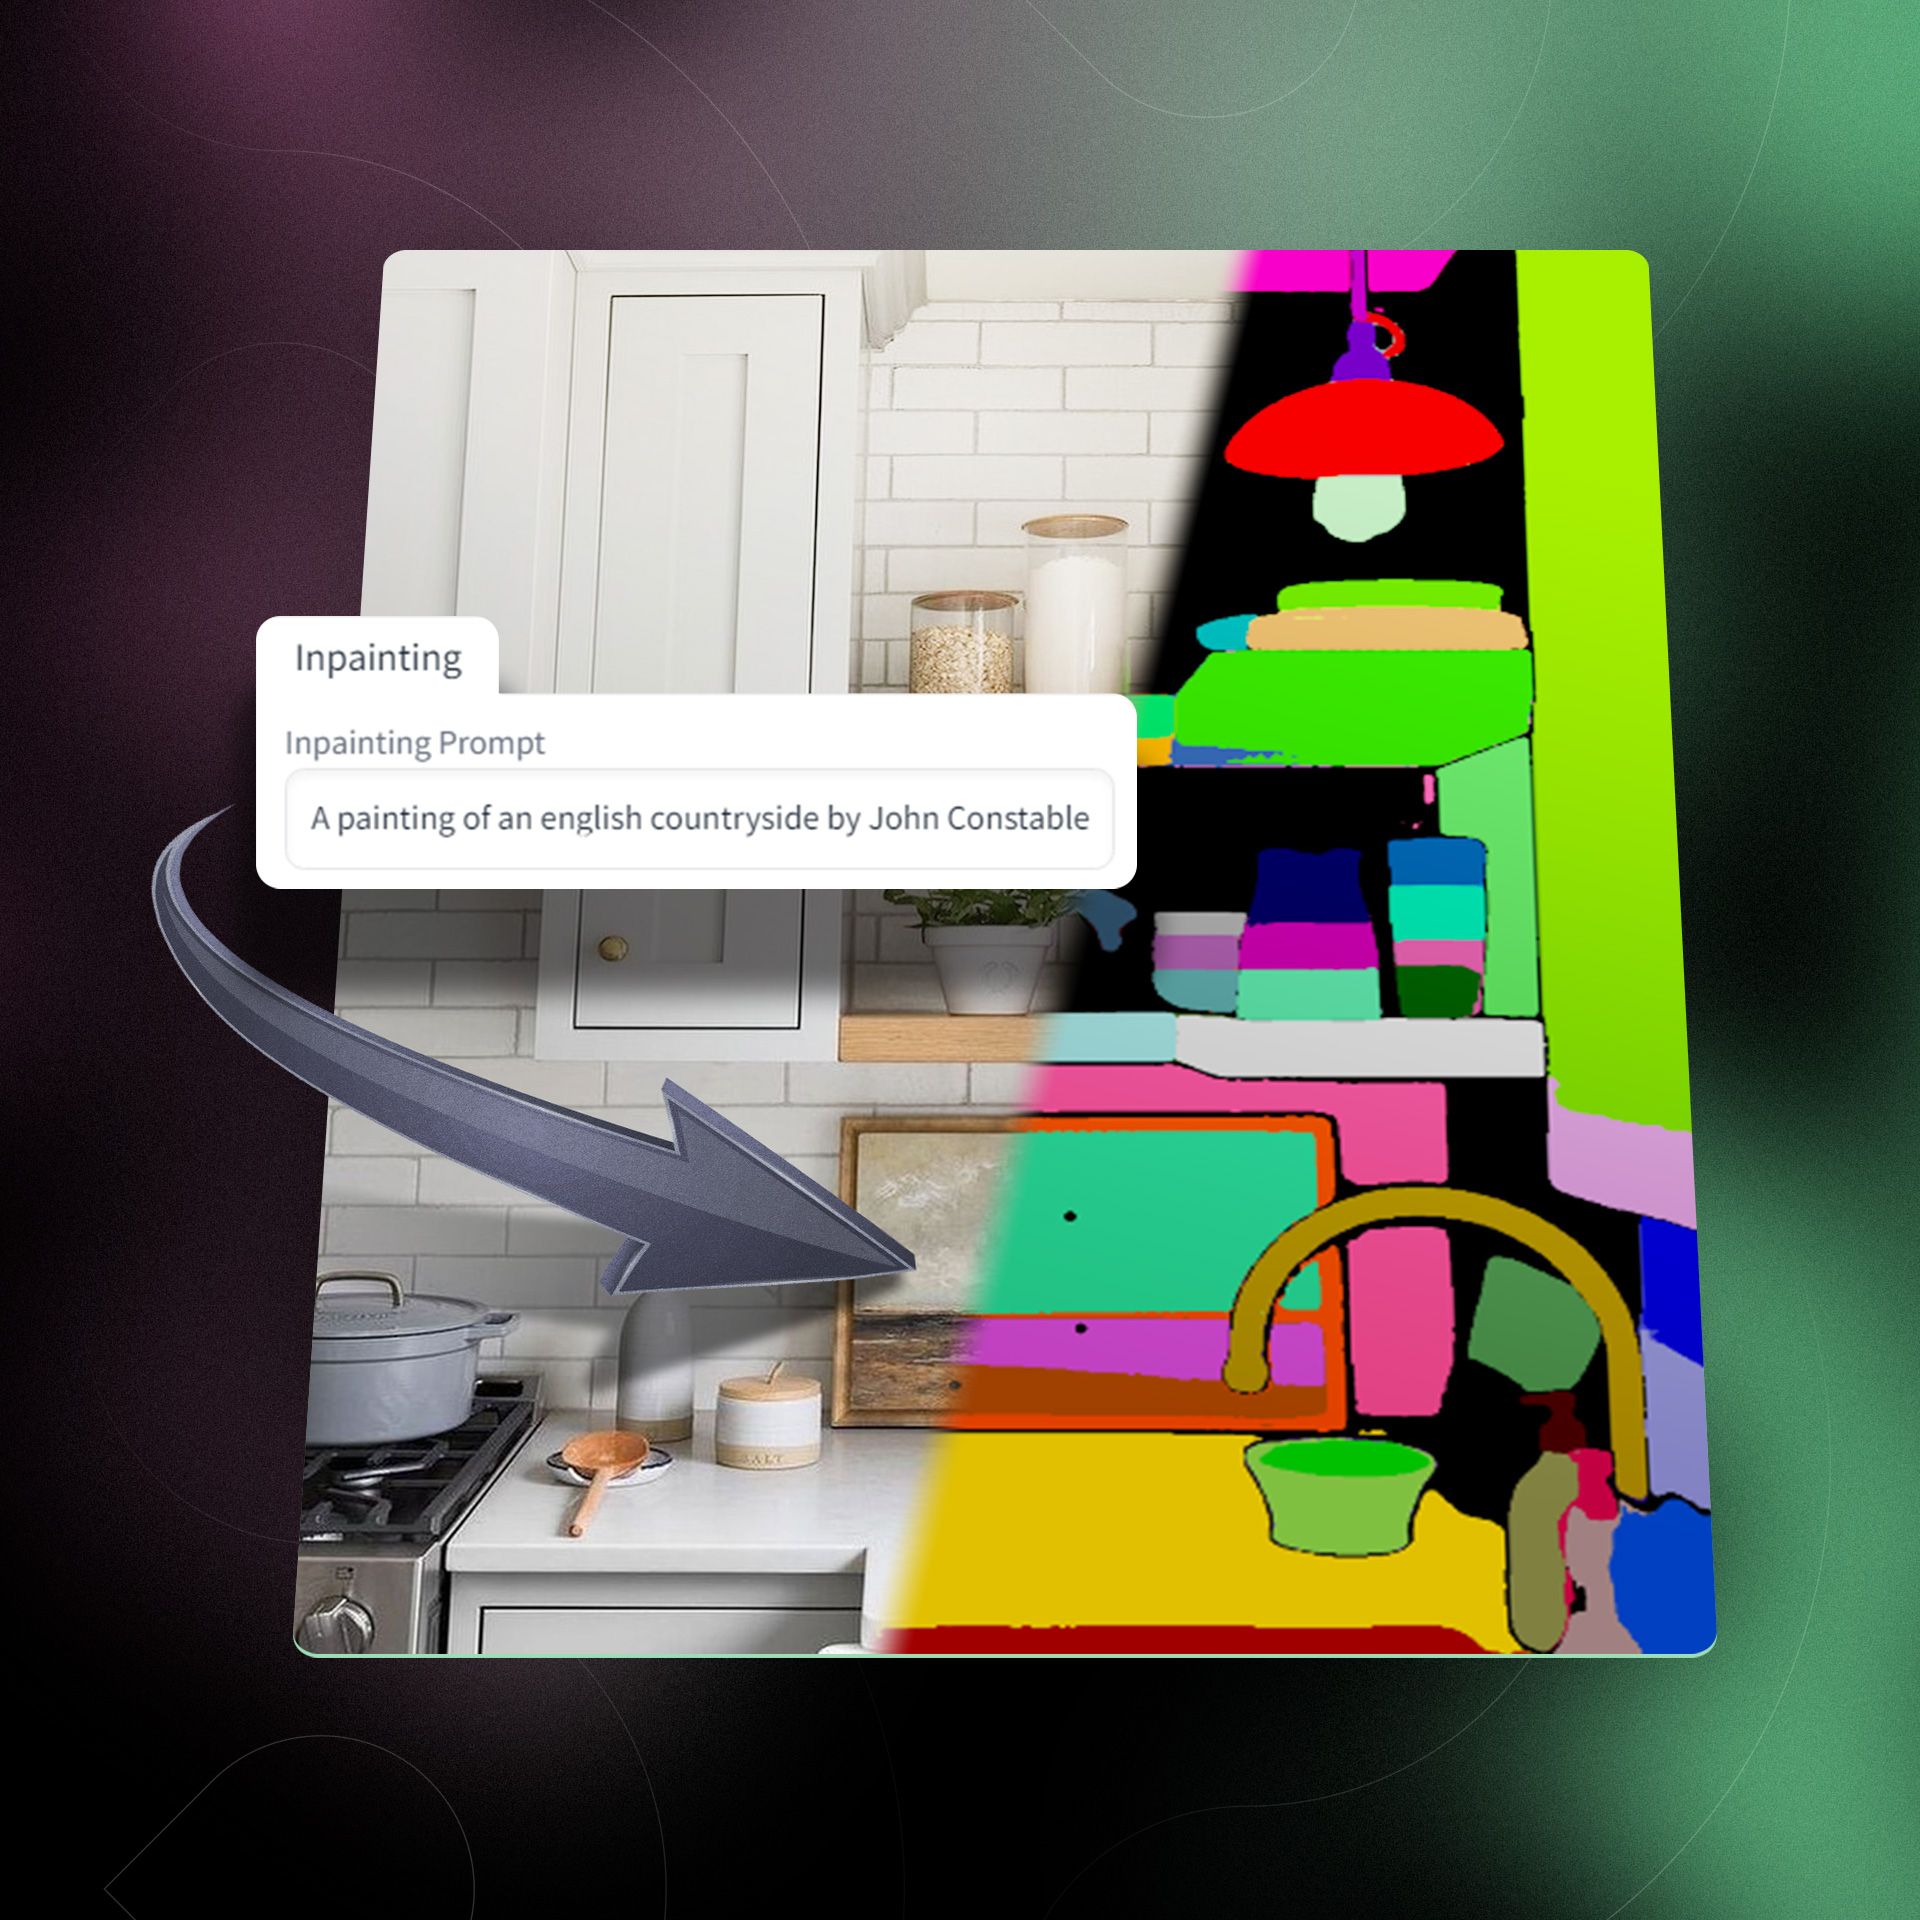
- We can then upload an image that we want to Inpaint into the input image and click Run Segment Anything so that it will segment it for you. I will use the following image of a kitchen, as shown below:
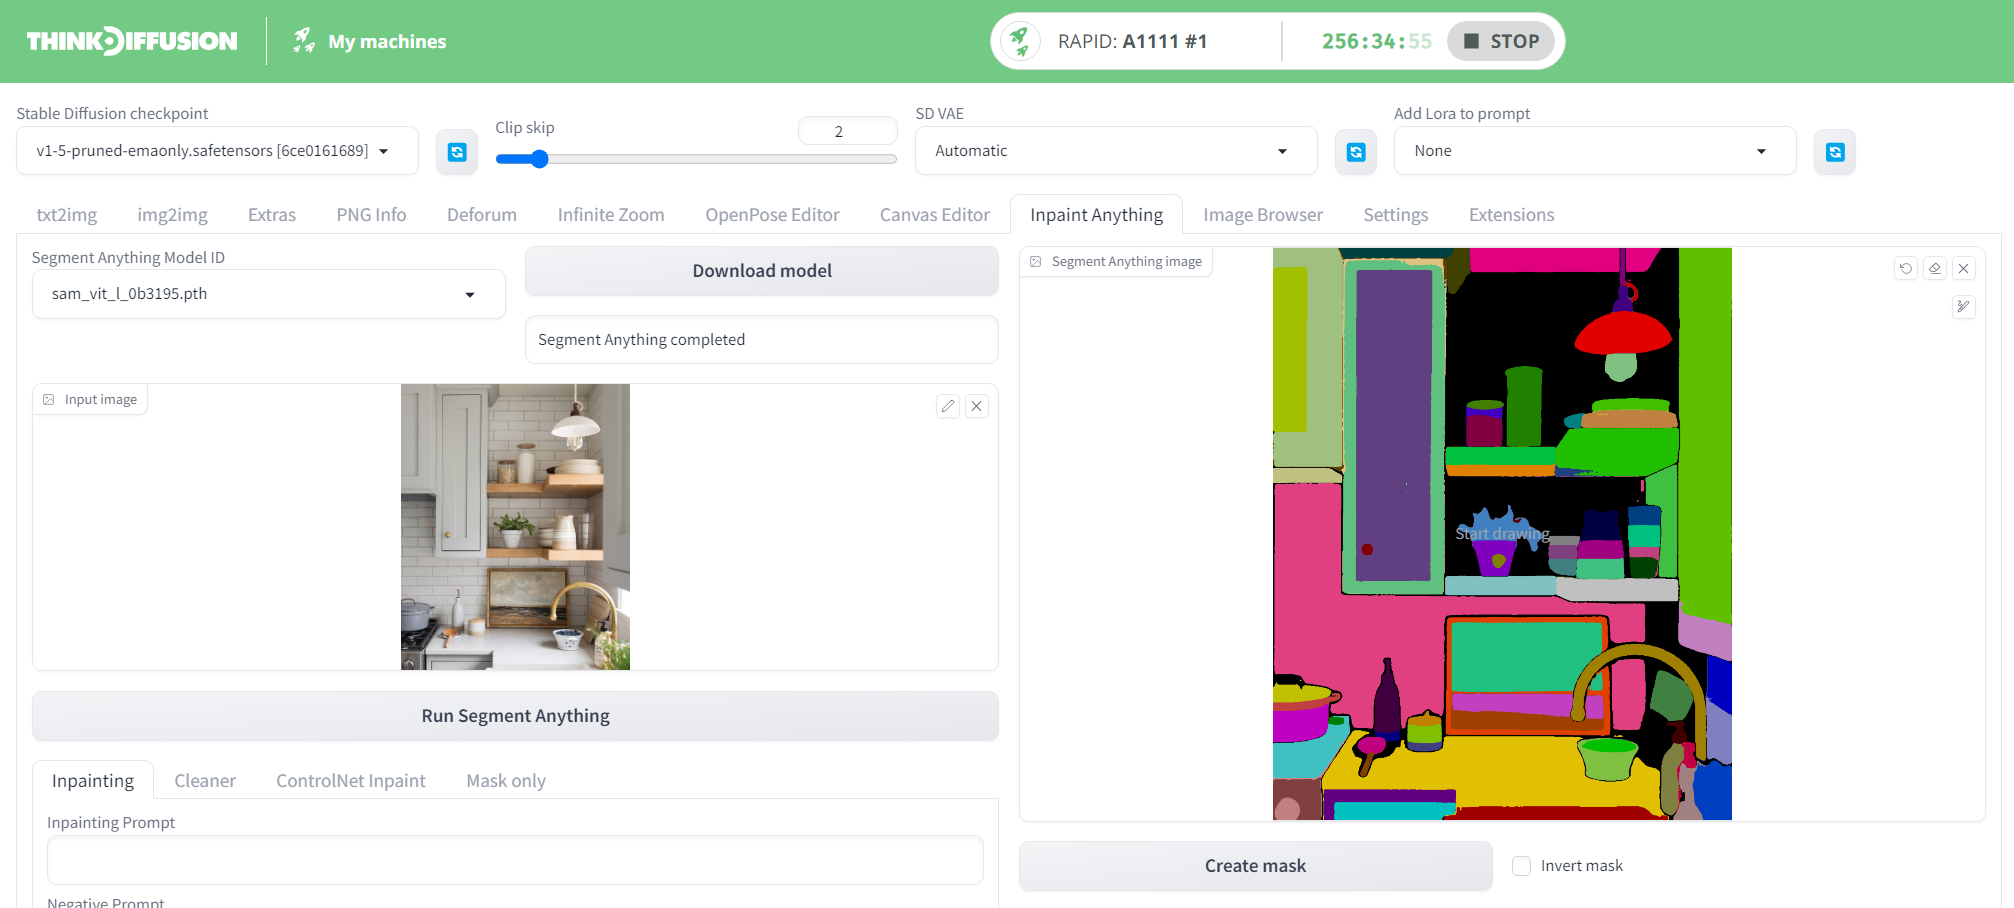
- We can then select the items that we want to mask by clicking on them and then click create mask. I have clicked on the painting, there are 4 different colours so to make sure it picks up all of it, I have clicked in 4 areas (See the little black dots!):
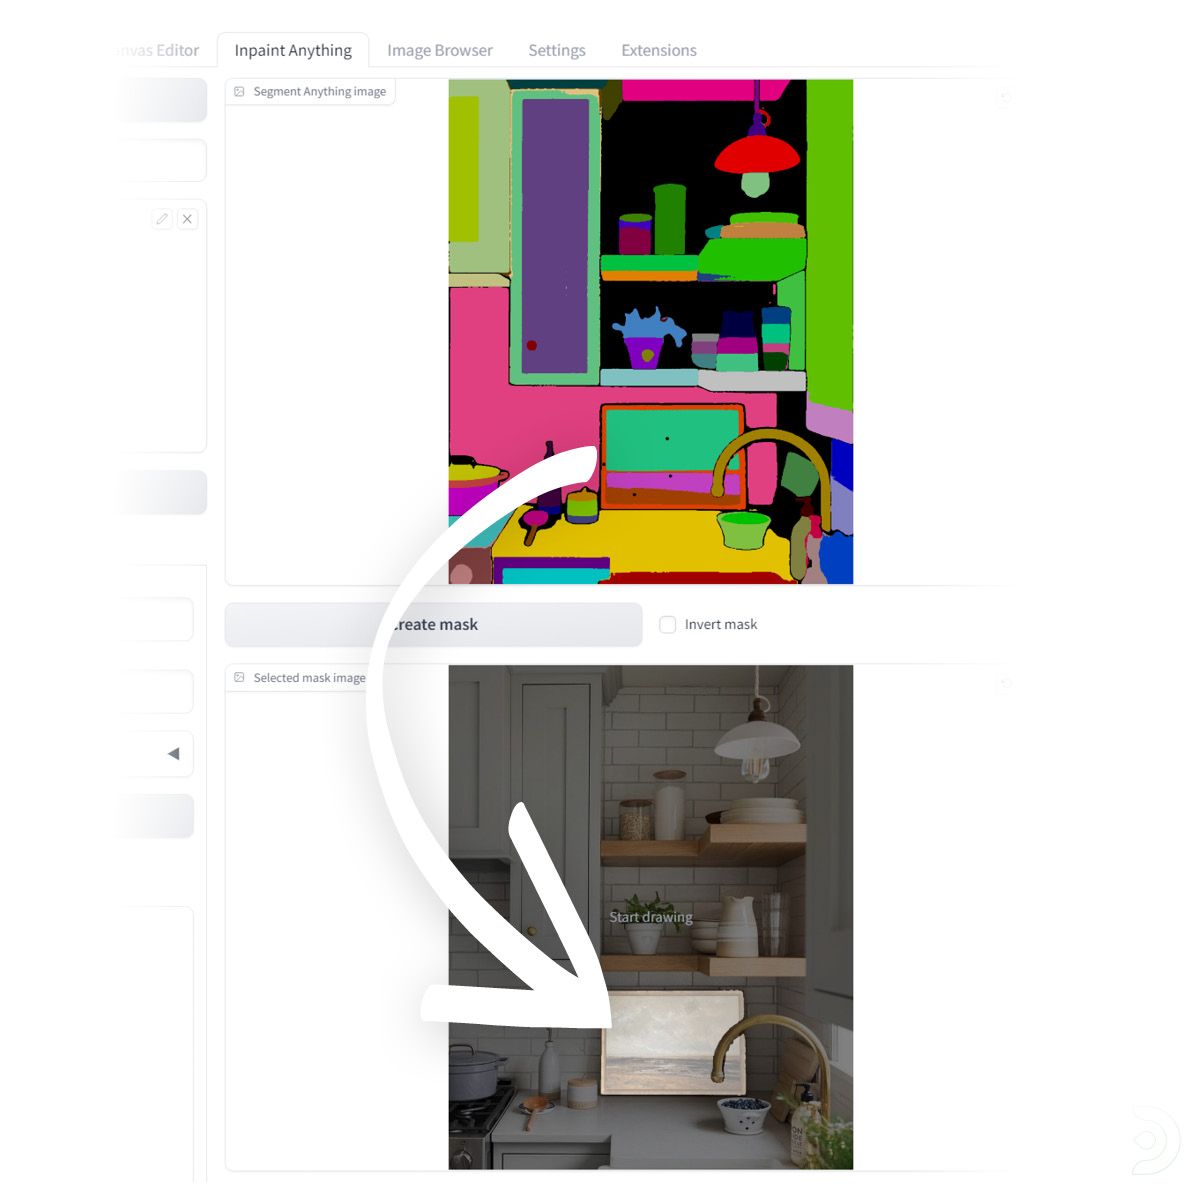
- We can see that it has picked up the painting!
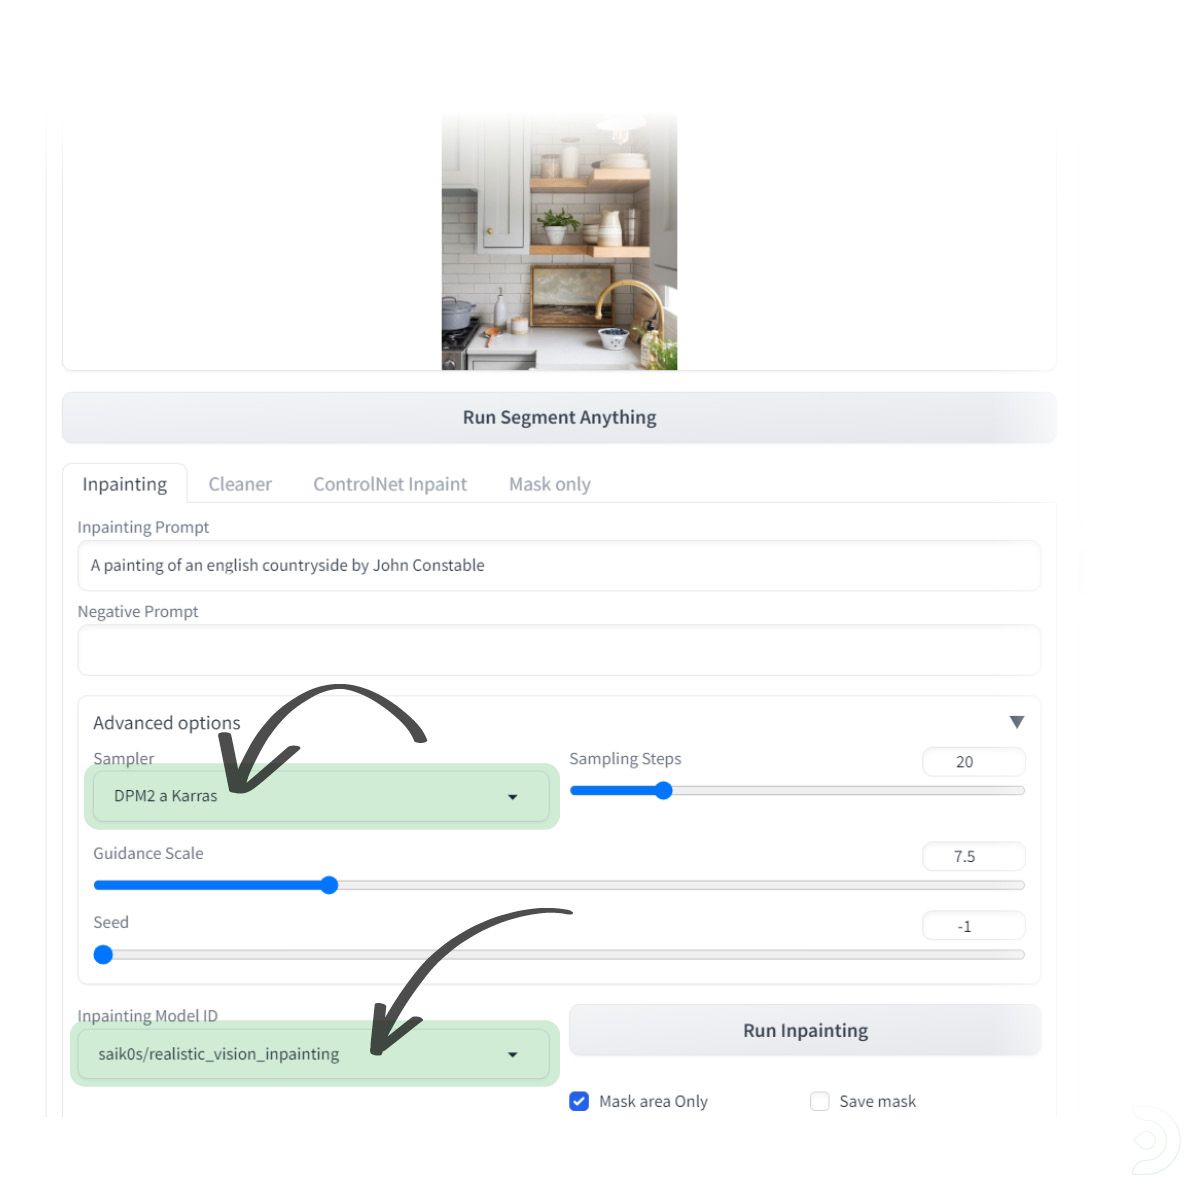
- On the Inpainting tab we can now enter some inpainting prompts, to change the painting. I am going to change the painting to: a painting of an english countryside by John Constable
- The advanced settings allow us to alter the sampler, sampling steps, guidance scale and seed as we would be able to do with basic txt2Img. We can also select our inpainting model. I have selected saikos/realistic_vision_inpainting as my model, DPM2 a Karras as the sampler and I have left the remaining settings as the defaults.
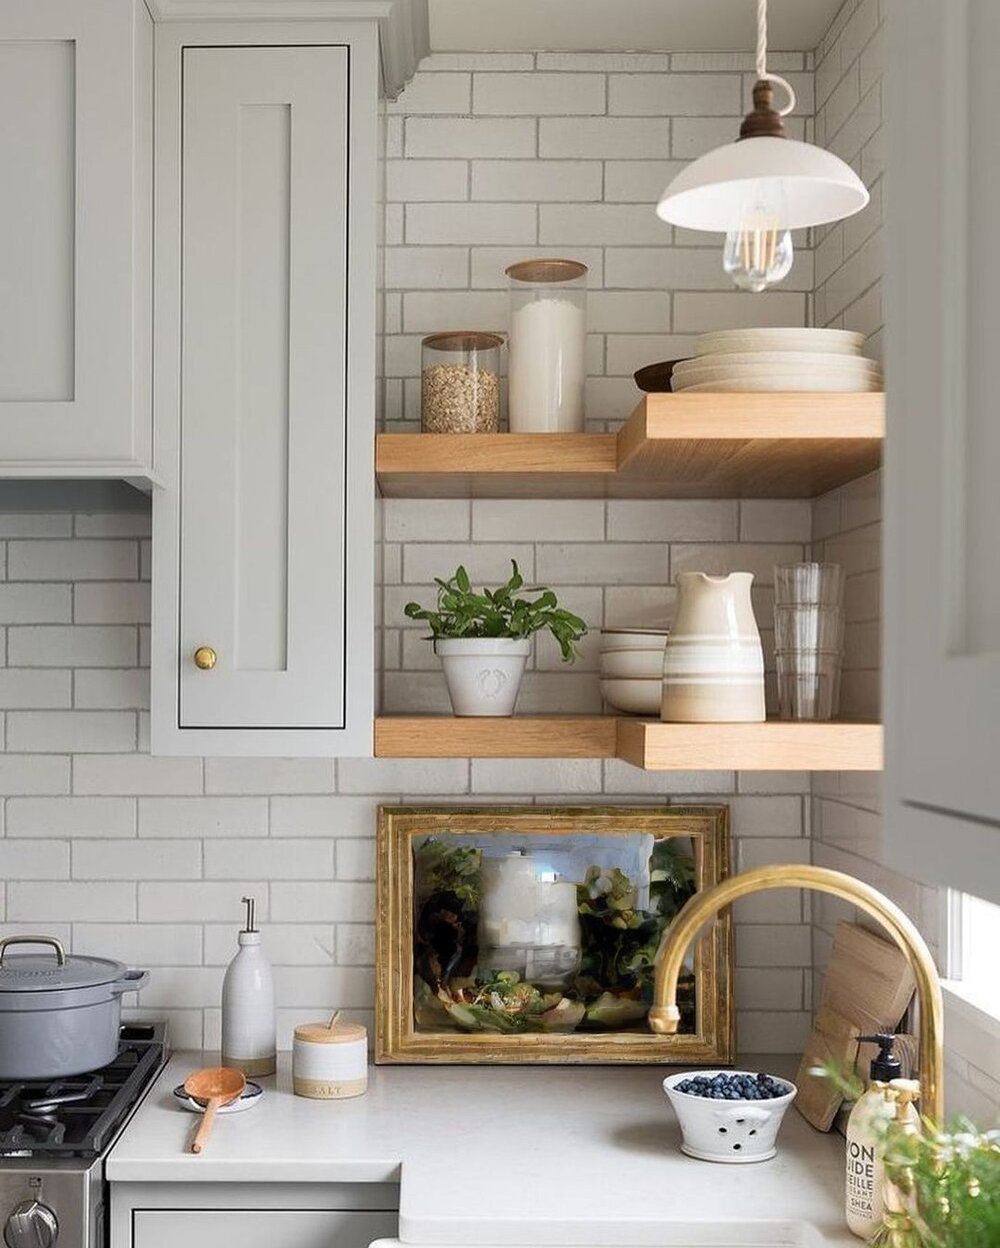
- We can now click Run Inpainting to generate our outputted image and we can see that we now have a new painting!
And if you’re having issues with installation or slow hardware, you can try any of these workflows on a more powerful GPU in your browser with ThinkDiffusion.
If you'd like to turn any of your masterpieces into a QR code, check out this post here. Happy painting!
Member discussion