
Introduction
Stable Diffusion’s img2img (image-to-image) is a really useful feature that allows you to start with an initial image and create a new enhanced image based of your original image by refining color and composition. It also allows you to take your hand drawn sketches and turn them into something awesome.
What is img2img?
Image-to-image, or img2img, is a method that generates new AI images based on an input image and a text prompt. The resulting image maintains the color and composition of the input image. You don't need to be an expert in drawing, you just need to convey the essential color and composition. Think of img2img as an extension of text-to-image generation, where text-to-image starts with random noise, while img2img starts with your input image.
Create a Background
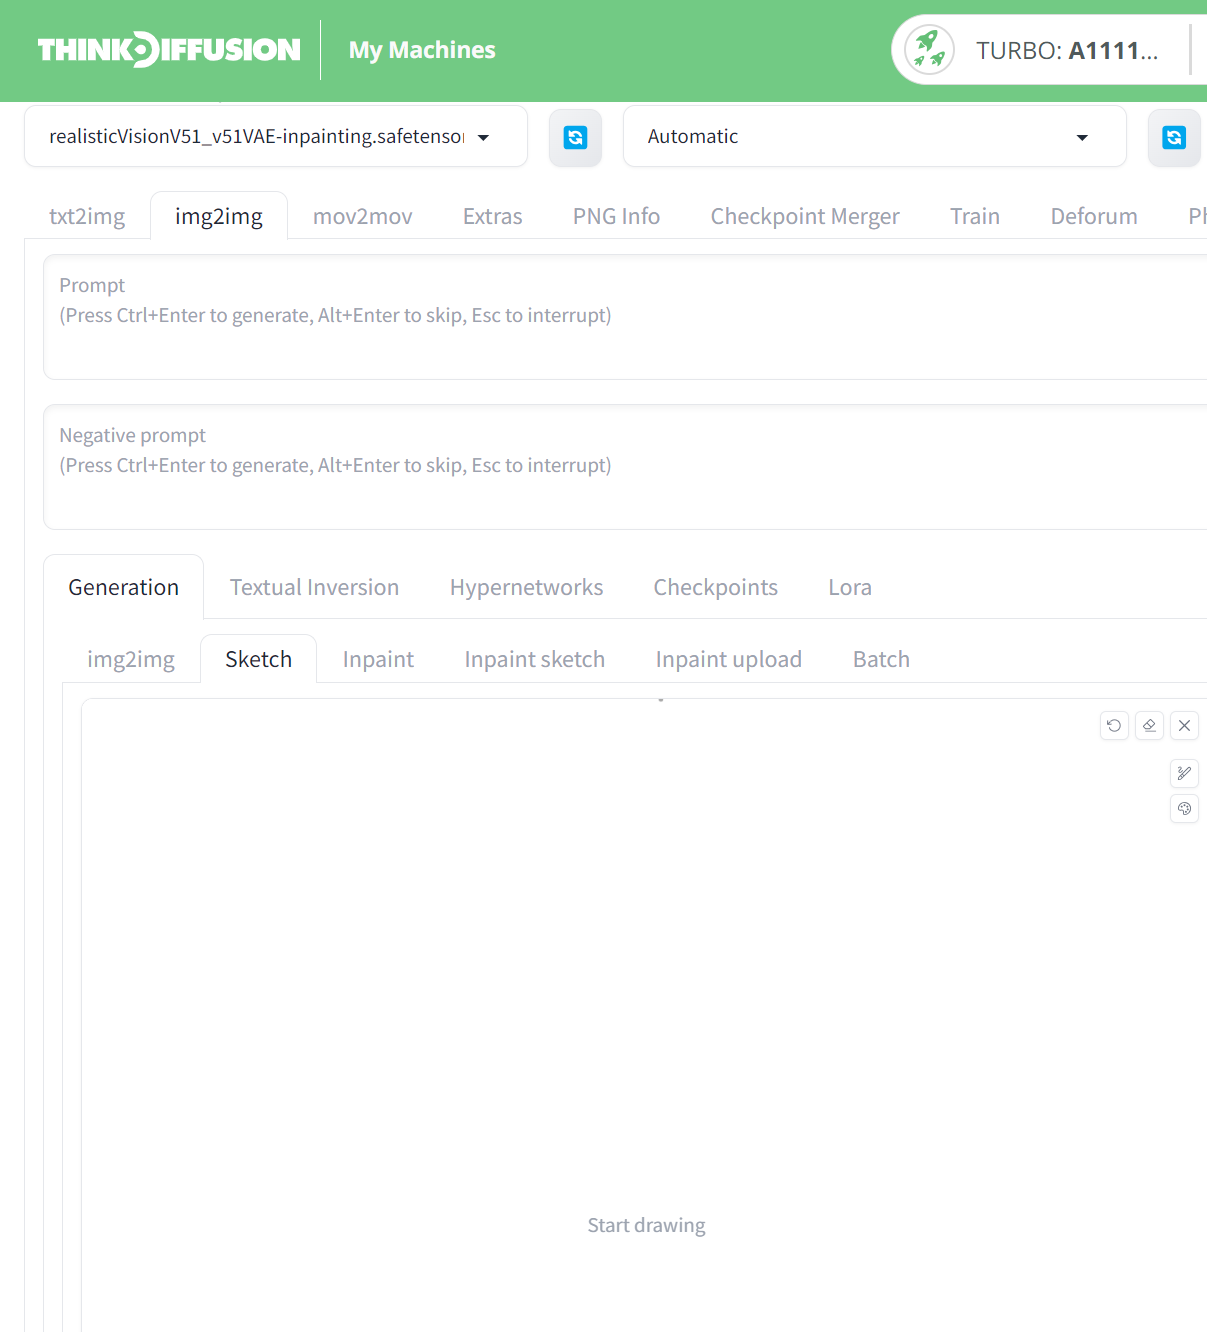
- In paint.net, I have saved a white background and uploaded it to the Img2Img, Sketch tab, as shown below:-
Draw a Strawberry
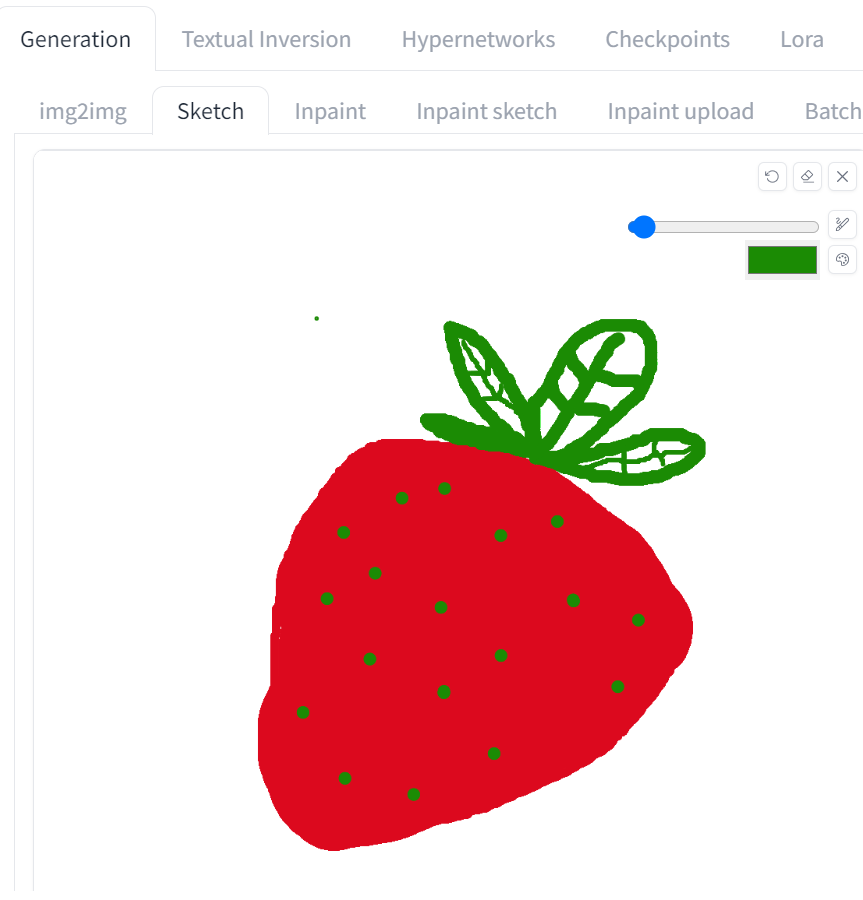
Here, you can draw directly on the canvas. Use the color palette tool to draw a simple strawberry. Don’t worry about making it perfect; focus on the basic color, shape, and composition.
Here's an example of my strawberry drawing and as you can see, I am no artist by any stretch of the imagination!
Enter img2img Settings
- In the Stable Diffusion checkpoint dropdown, select "realisticVision" (feel free to experiment with other models).
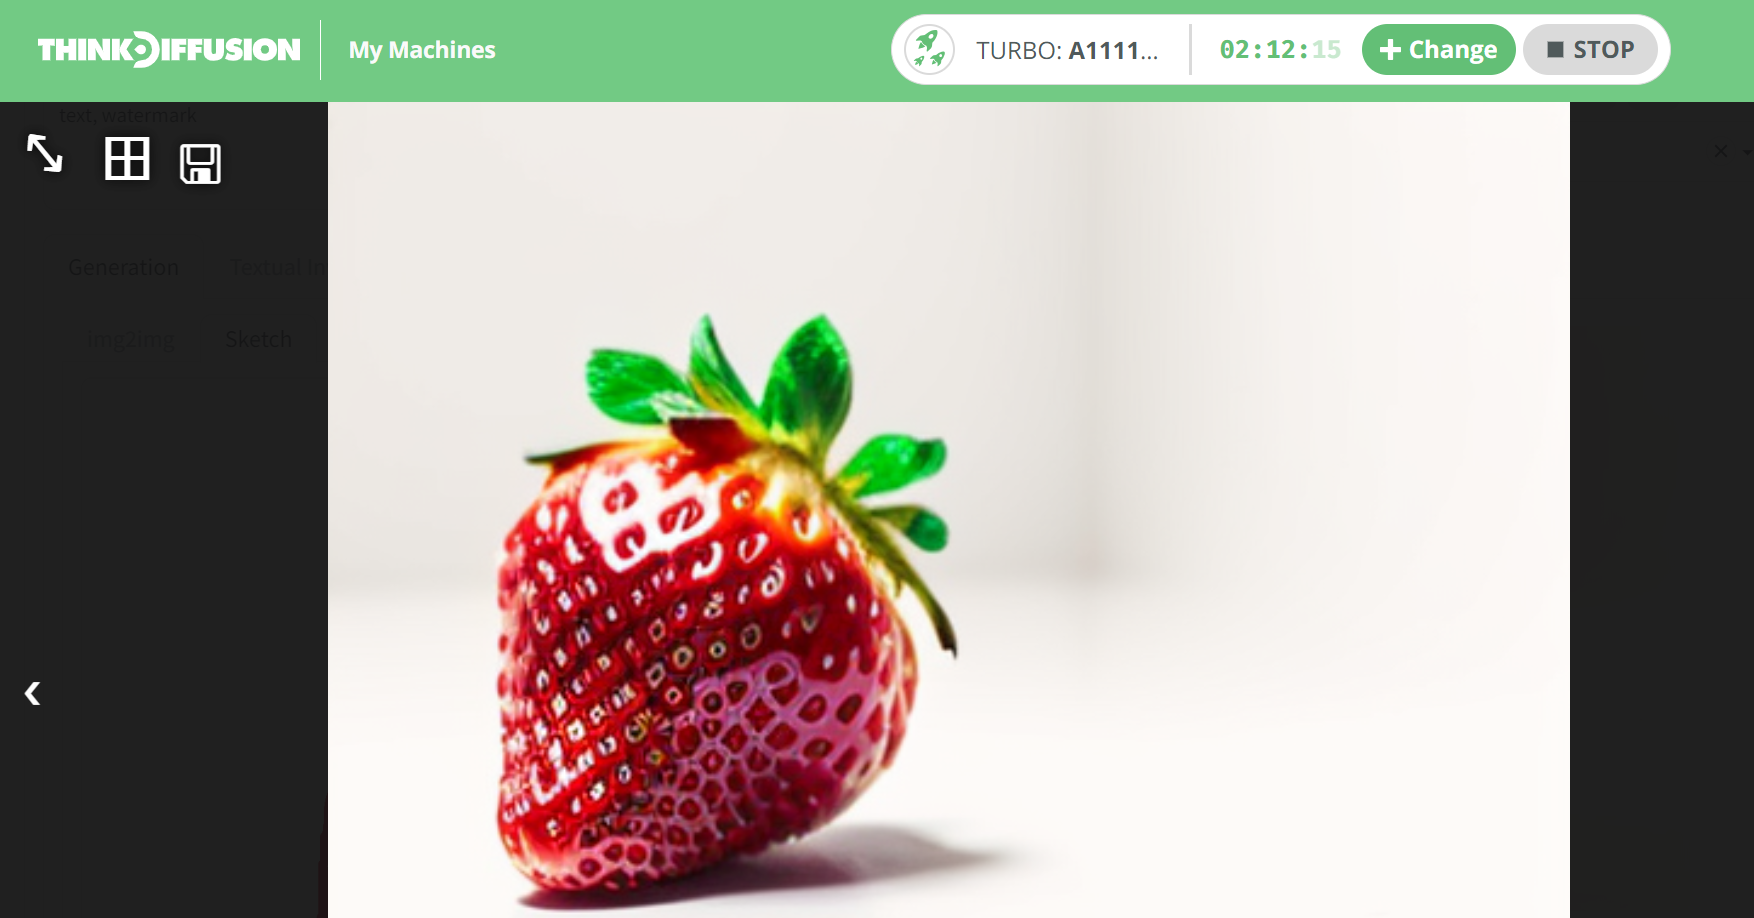
- Write a prompt that accurately describes your desired final image, such as "photo of a strawberry, 4k, masterpiece, ultra detailed" and enter it in the prompt text box.
img2img Settings:
- Image Width and Height: 512
- Sampling Steps: 25
- Sampling Method: DPM++ 2M
- Batch Size: 2 (to choose the best output)
- Seed: -1 (for random generation)
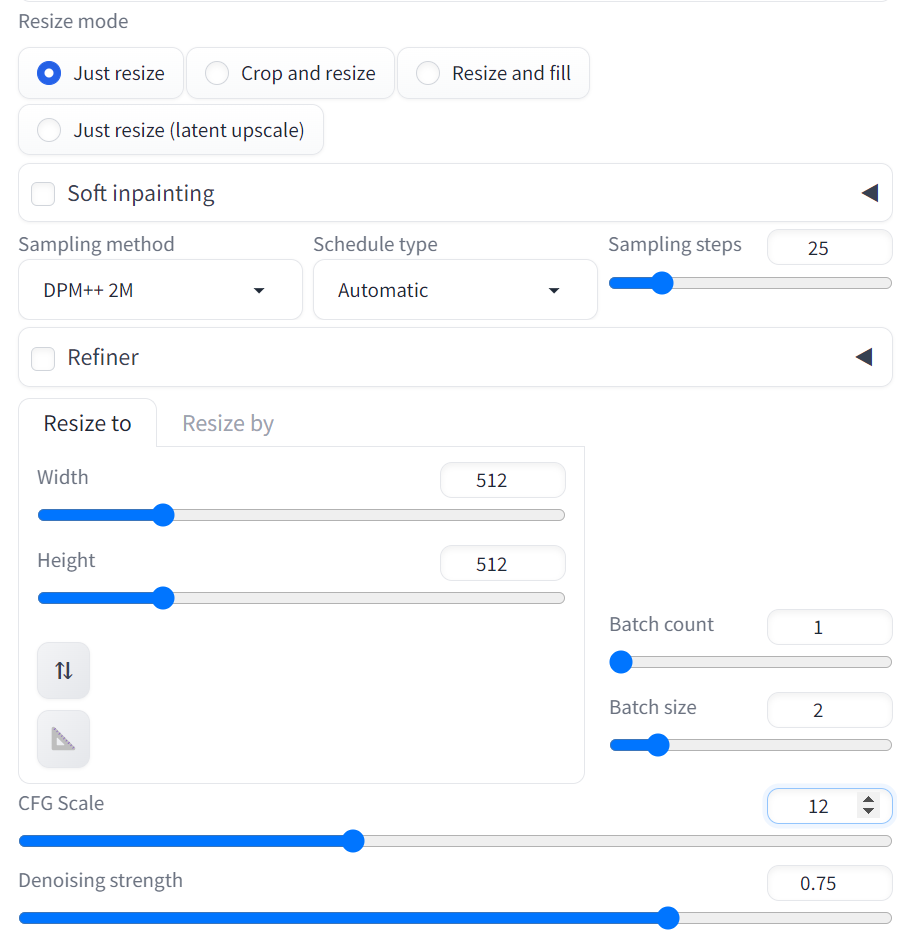
Adjust the following key parameters:
- CFG Scale: Start with 11
- Denoising Strength: Start with 0.75
Click "Generate" to produce two new images. Adjust the denoising strength to control how much the new images differ from your original drawing: increase for more changes, decrease for closer resemblance.
Apply img2img Again
If you’re happy with the result, you can stop here. However, for more detail, you can apply img2img multiple times, possibly with different prompts.
Inpainting in Img2Img
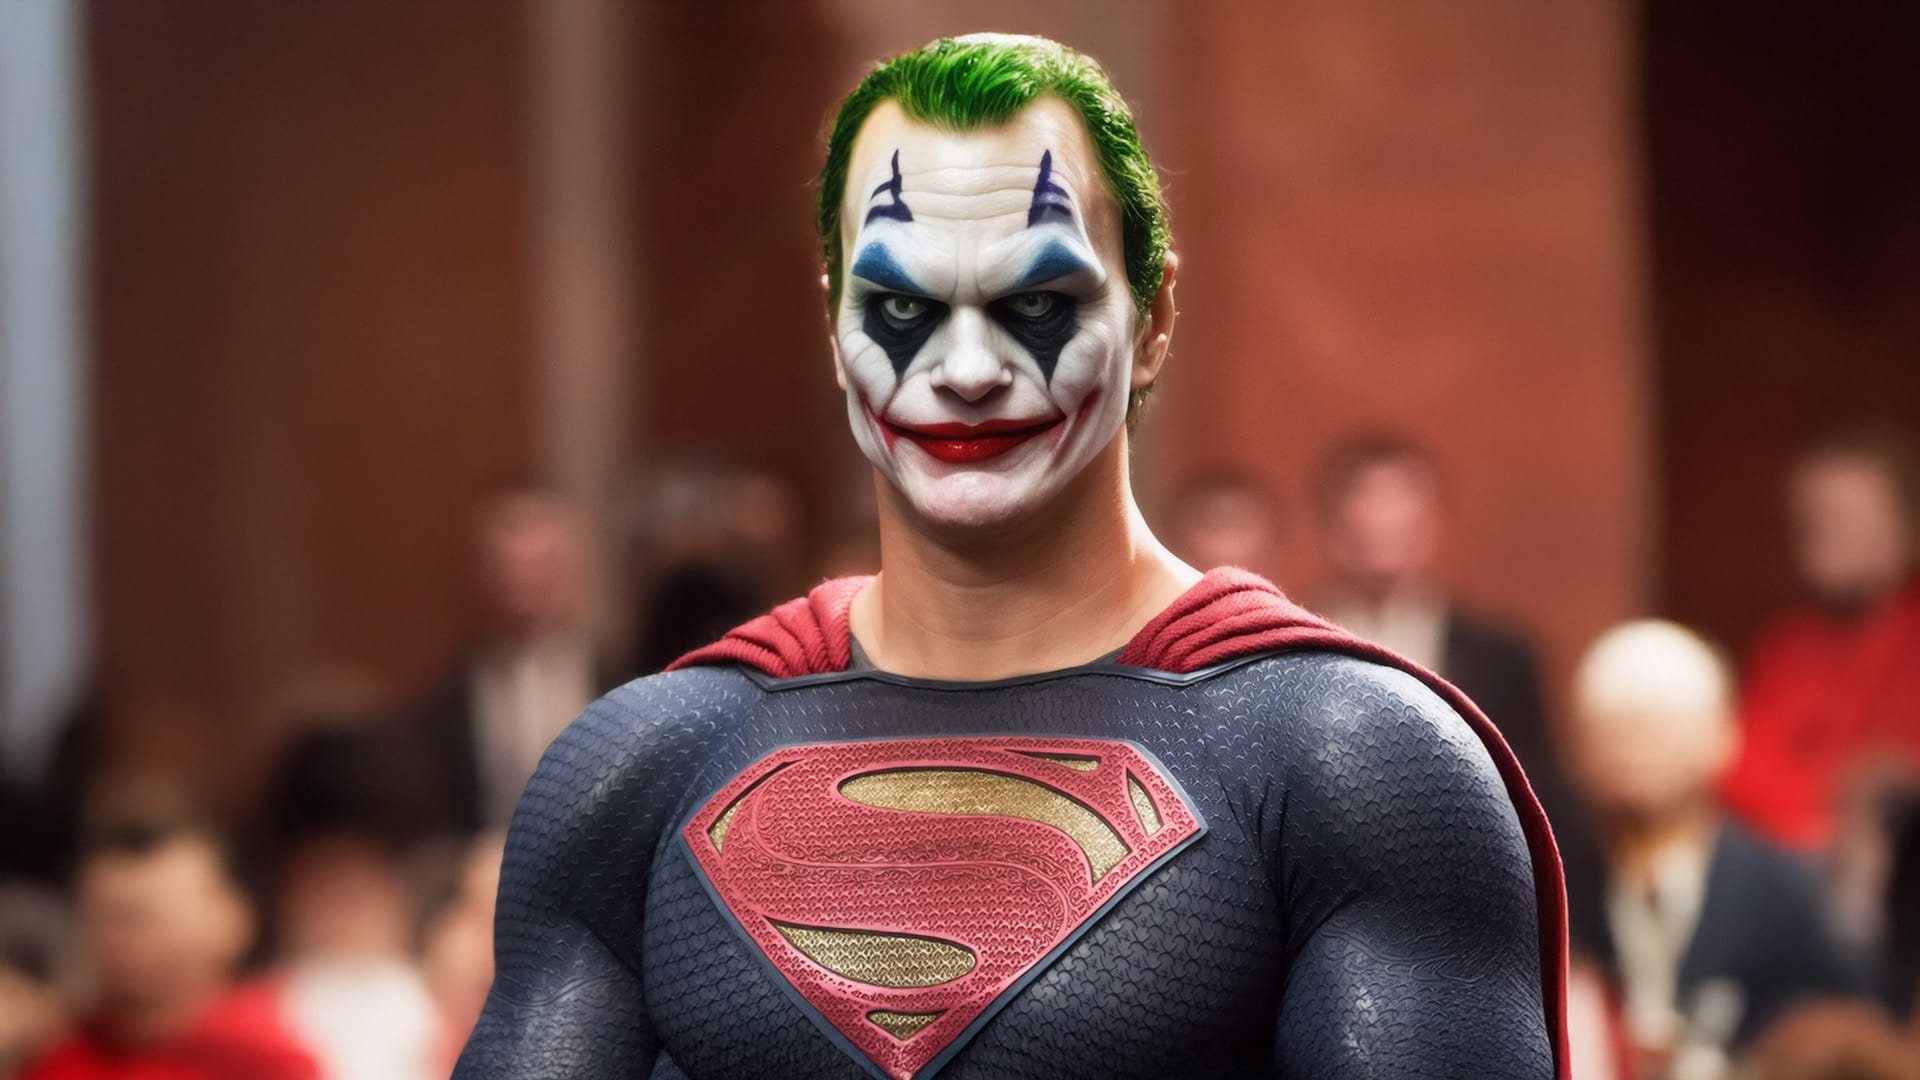
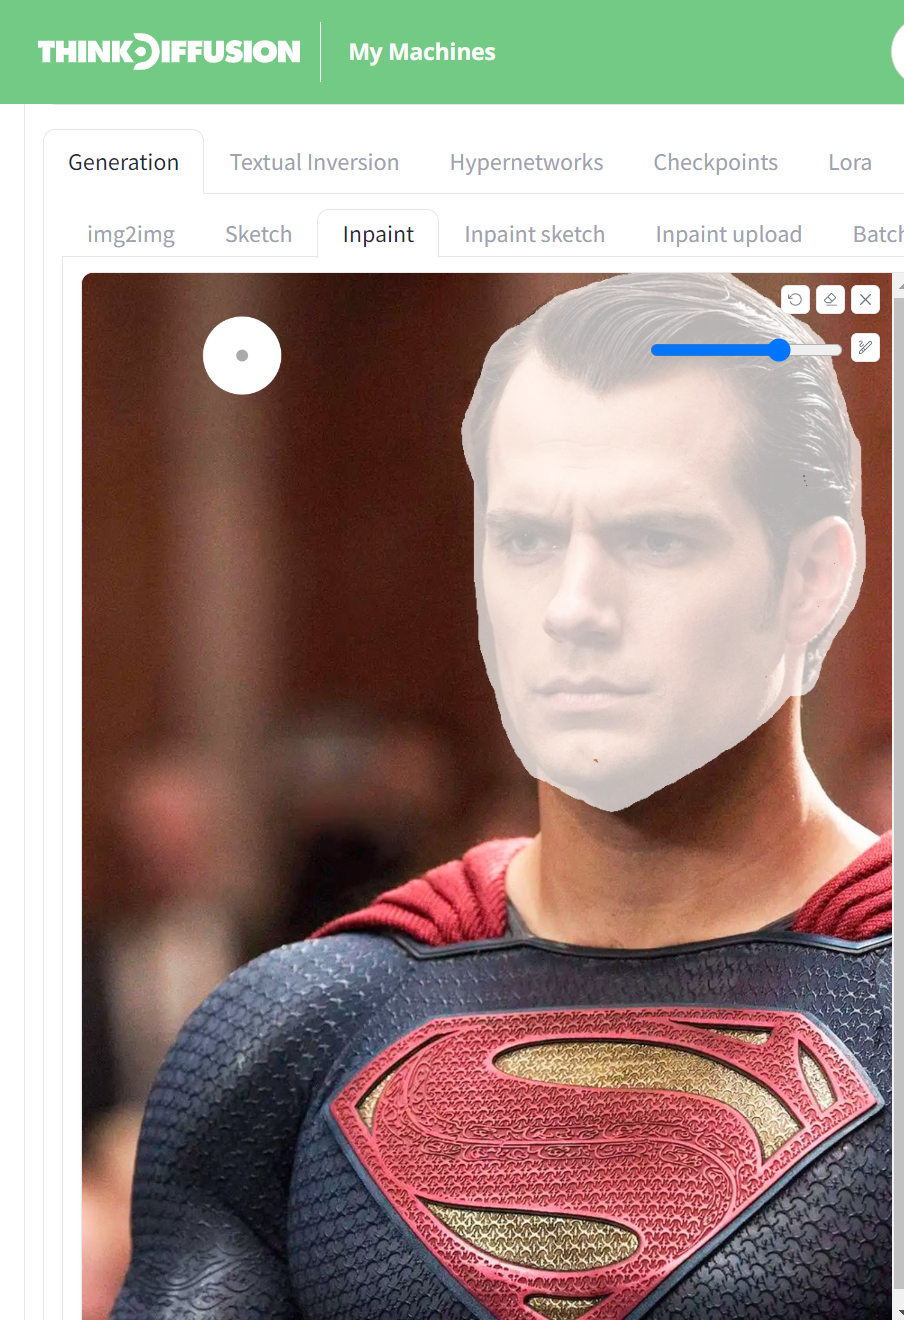
You can also inpaint within the Img2Img tab in Automatic1111. Firstly navigate to the Img2Img > Inpaint tab and upload your starting image. I will upload a photo of Superman and use the brush to inpaint his face.
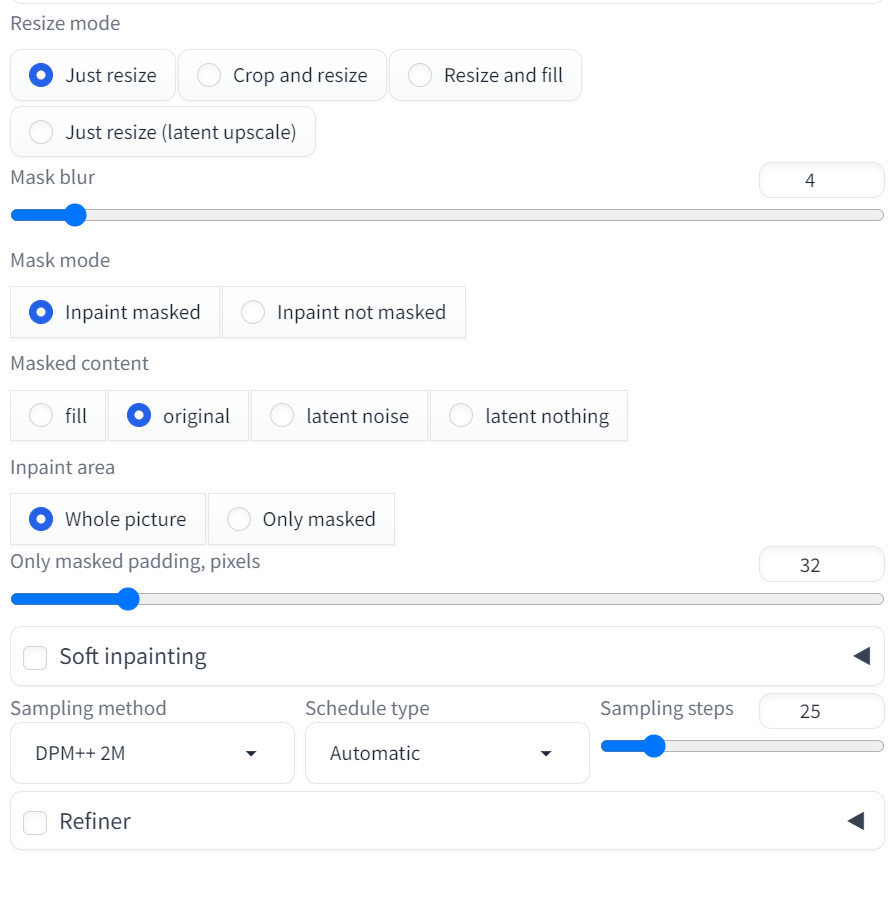
For our settings we can select the following:-
- Resize mode: Just resize
- Mask blur: 4
- Mask mode: Inpaint masked
- Masked content: Original
- Inpaint area: Whole picture
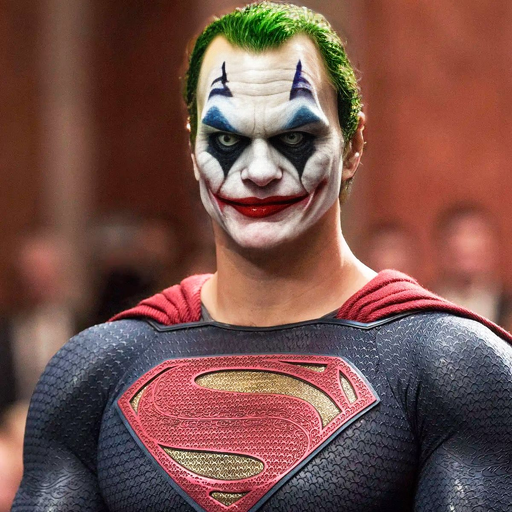
We can then simply change our prompt to 'a photo of the Joker, 4k, masterpiece, ultra detailed'. Hit generate and we get the following output, pretty cool right?!
Frequently asked questions
What resolution should I use?
If you are using a SD1.5 model, then the recommended resolution is 512 x 512. If you are using an SDXL model, then the recommended resolution is 1024 x 1024
What is inpainting?
Inpainting allows you to remove unwanted objects from an image or it allows you to replace an existing object in an image. It is great for changing subtle objects.
Do I have to use the canvas to create a drawing?
No, you can hand draw your images, take a photograph of your drawing and then upload that to the Img2Img tab.
Conclusion
img2img is a powerful tool to refine your artwork's composition and color, providing enhanced control compared to text-to-image generation.
Any of our workflows including the above can run on a local version of SD but if you’re having issues with installation or slow hardware, you can try any of these workflows on a more powerful GPU in your browser with ThinkDiffusion.

If you’d like another way to tweak images, this time with images as a reference, check out my post about mastering image prompts with IP-adapter.
Or to have your hand at video, check out these workflows:
Member discussion