
Generating Qwen images with Controlnet unlocks a powerful way to guide your AI creations using visual structure, lines, and forms drawn or extracted from reference images. Want better control over your AI image generation? Here's how to use Qwen Image with InstantX Union ControlNet to guide your creations with poses, edges, and depth maps.
With just a simple pose, edge, depth map, or quick sketch, you can shape exactly how your output looks. Whether you're working on precise designs or expressive portraits, this workflow gives you the control you need without the complexity.
Here's what we'll cover:
1. Why InstantX Union beats DiffSynth
2. Getting the workflow set up
3. Required models and custom nodes
4. Step-by-step walkthrough
5. Real examples and troubleshooting
Why InstantX Union is Better than DiffSynth?
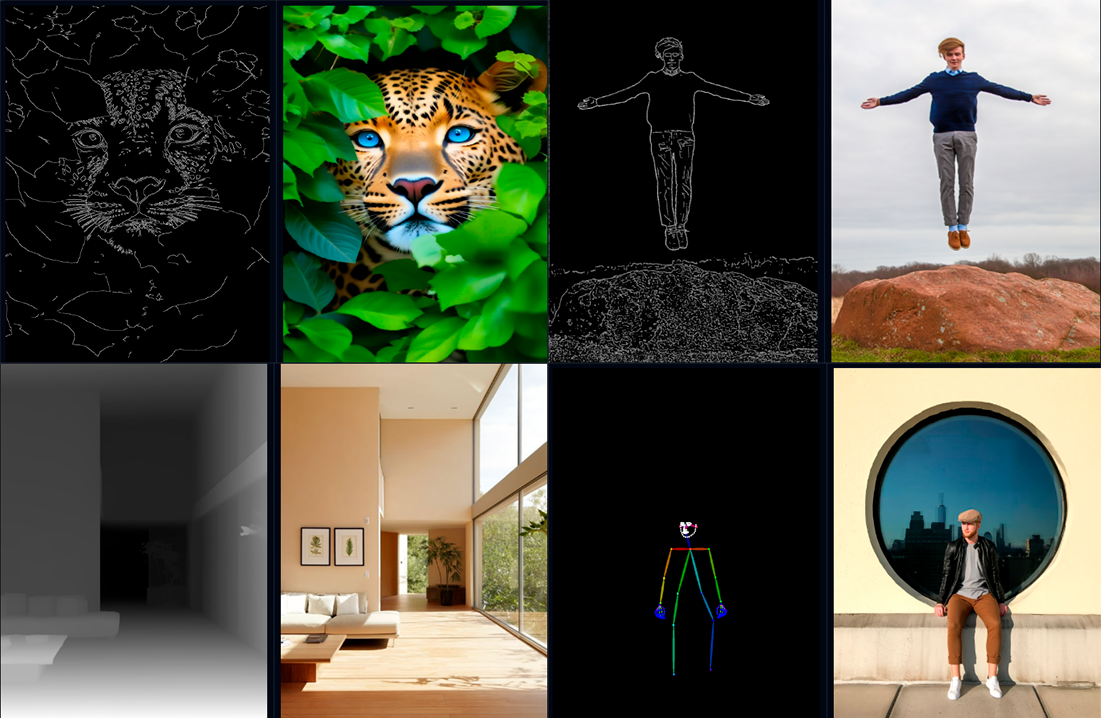
InstantX Union ControlNet combines four control types (canny, soft edge, depth, and pose) into one model file. Instead of downloading separate models for each control type, you get everything in one package.
Unlike DiffSynth, which makes you load different models for different tasks, InstantX Union lets you switch between control types instantly. Less storage, less setup, same quality.
For Qwen Image users, this means creating complex, high-quality images with simpler setup, better compatibility, and instant access to the most common control modes all in a unified, user-friendly package.
Download Workflow
Installation guide
- Download the workflow file
- Open ComfyUI (local or ThinkDiffusion)
- Drag the workflow file into the ComfyUI window
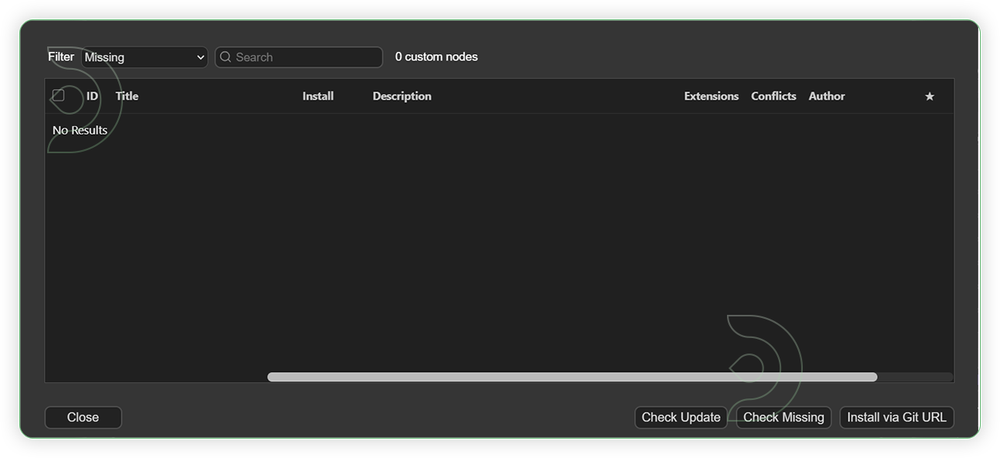
- If you see red nodes, install missing components:
- ComfyUI Manager > Install Missing Custom Nodes
Verified to work on ThinkDiffusion Build: September 5, 2025
ComfyUI v0.3.57 with the use qwen_image_fp8_e4m3fn.safetensors
models
Note: We specify the build date because ComfyUI and custom node versions updated after this date may change the behavior or outputs of the workflow.
Minimum Machine Size: Ultra
Use the specified machine size or higher to ensure it meets the VRAM and performance requirements of the workflow
Custom Nodes
If there are red nodes in the workflow, it means that the workflow lacks the certain required nodes. Install the custom nodes in order for the workflow to work.
- Go to the ComfyUI Manager > Click Install Missing Custom Nodes

- Check the list below if there's a list of custom nodes that needs to be installed and click the install.
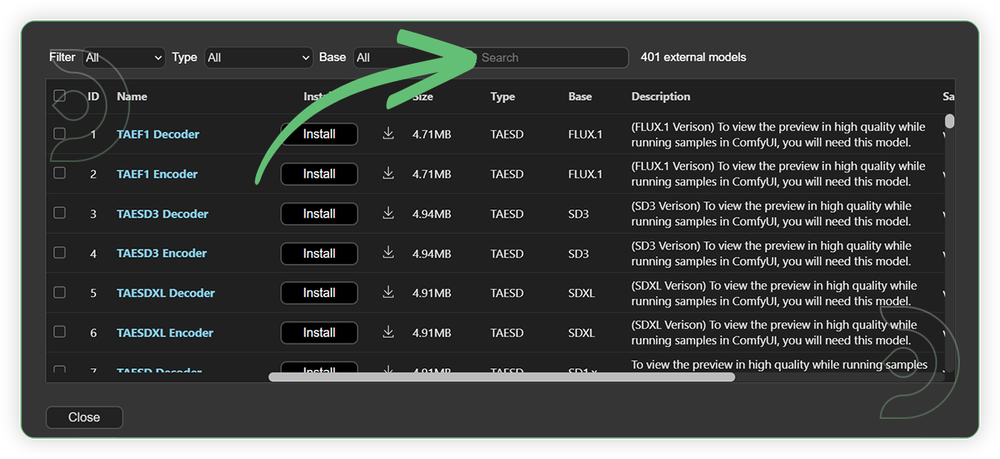
Required Models
For this guide you'll need to download these 4 recommended models.
2. qwen_2.5_vl_7b_fp8_scaled.safetensors
3. qwen_image_vae.safetensors
4. Qwen-Image-InstantX-ControlNet-Union.safetensors
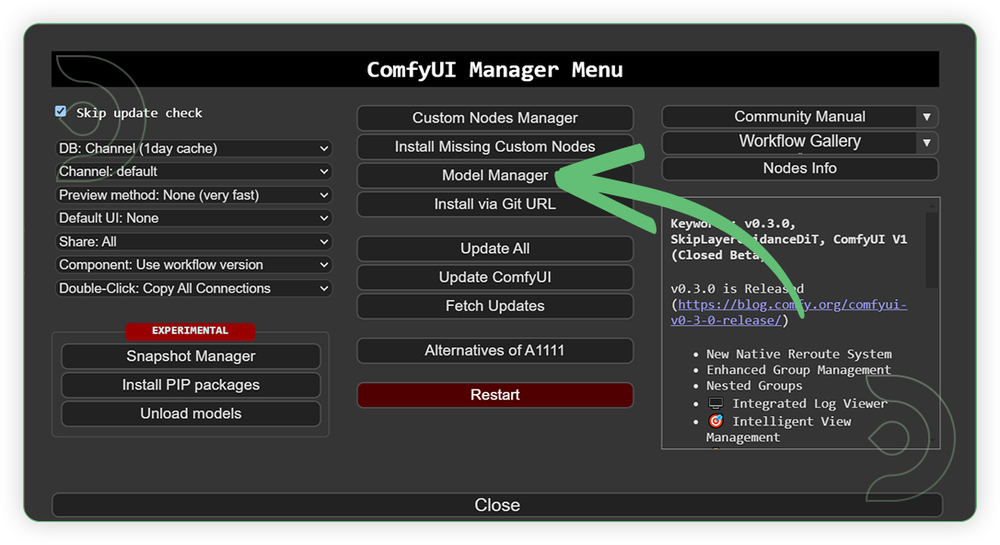
- Go to ComfyUI Manager > Click Model Manager
- Search for the models above and when you find the exact model that you're looking for, click install, and make sure to press refresh when you are finished.
If Model Manager doesn't have them: Use direct download links (included with workflow) and upload through ThinkDiffusion MyFiles > Upload URL. Refer our docs for more guidance on this.
You could also use the model path source instead: by pasting the model's link address into ThinkDiffusion MyFiles using upload URL.
| Model Name | Model Link Address | ThinkDiffusion Upload Directory |
|---|---|---|
| qwen_image_fp8_e4m3fn.safetensors | .../comfyui/models/diffusion_models/ |
|
| qwen_2.5_vl_7b_fp8_scaled.safetensors | .../comfyui/models/text_encoders/ |
|
| qwen_image_vae.safetensors | .../comfyui/models/vae/ |
|
| Qwen-Image-InstantX-ControlNet-Union.safetensors | .../comfyui/models/controlnet/ |
Step-by-step Workflow Guide
This workflow was pretty easy to set up and runs well from the default settings. Here are a few steps where you might want to take extra note.
| Steps | Recommended Nodes |
|---|---|
| 1. Load Input Image Load an image. Image should be in good quality. Any resolution will do. |
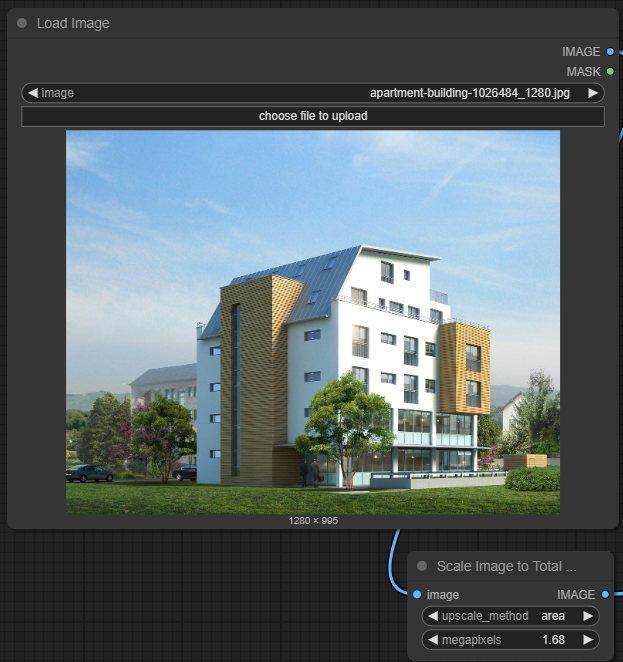 |
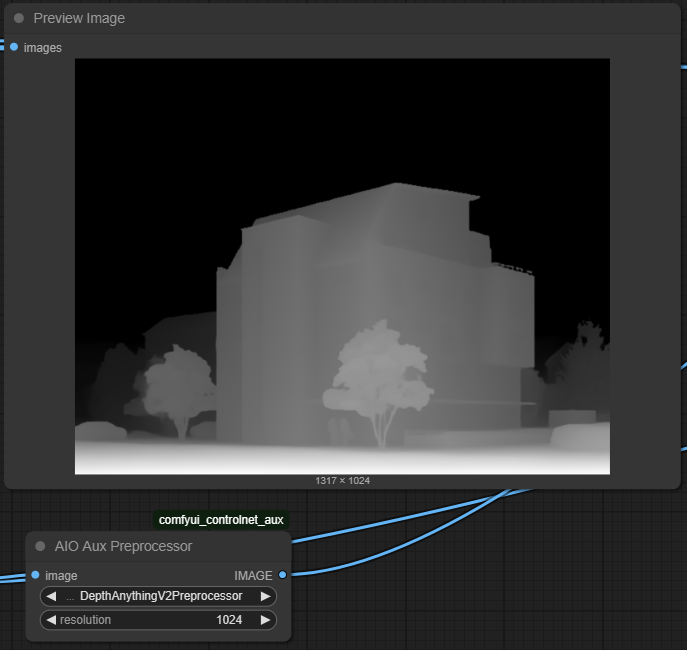
| 2. Set a Controlnet Set your desired controlnet based on your preferences. If there a human in the image you can use the pose. |
 |
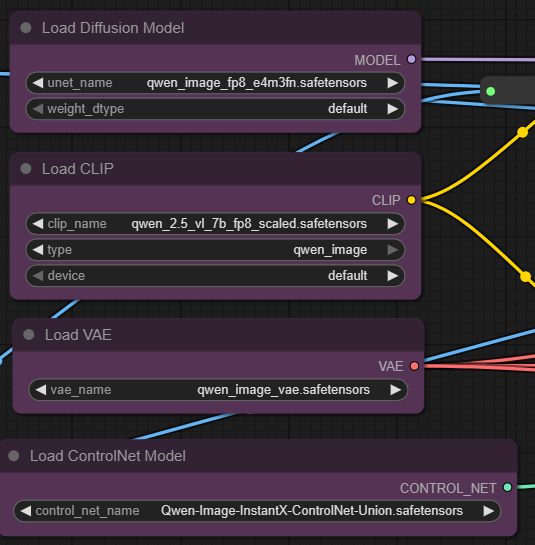
| 3. Set the Models Set the exact models as seen on the image. |
 |
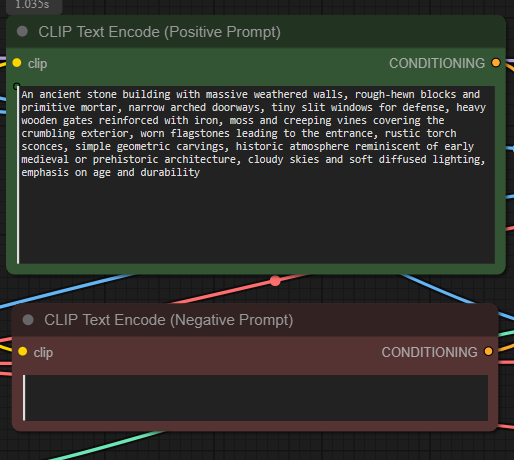
| 4. Write a Prompt Write a detailed of what of you kind of new image you want be in the input image. |
 |
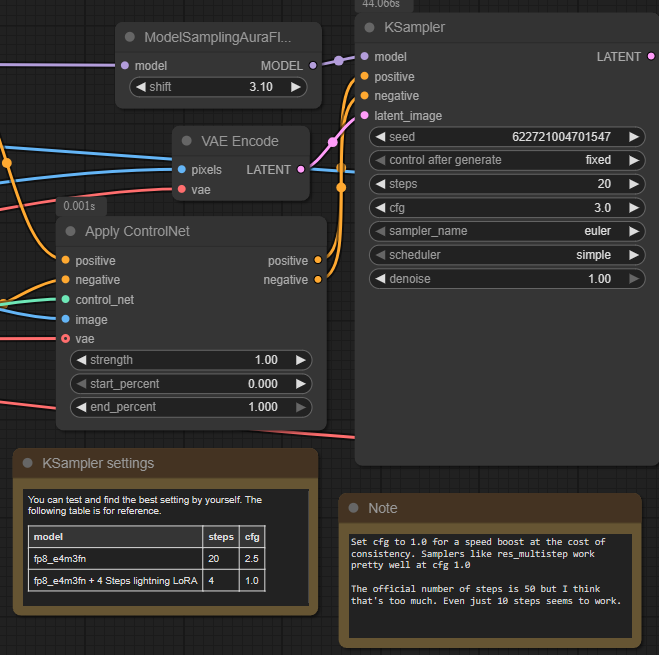
| 5. Check Sampling Set the sampling as seen on the image. |
 |
| 6. Check Output |
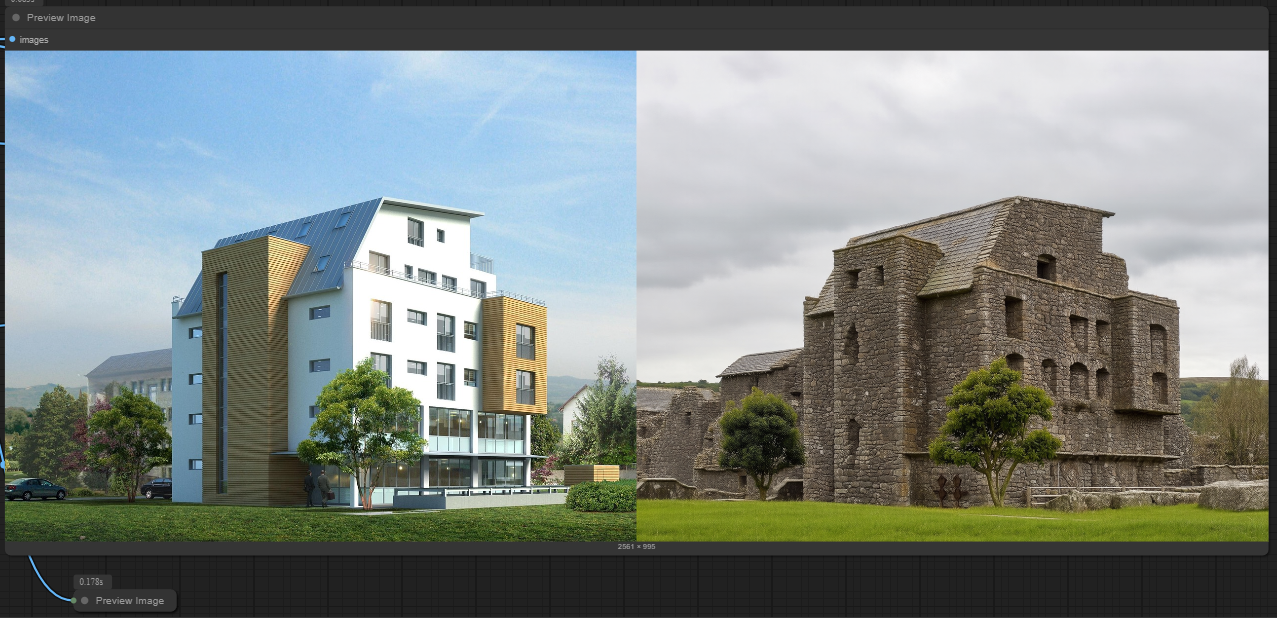 |
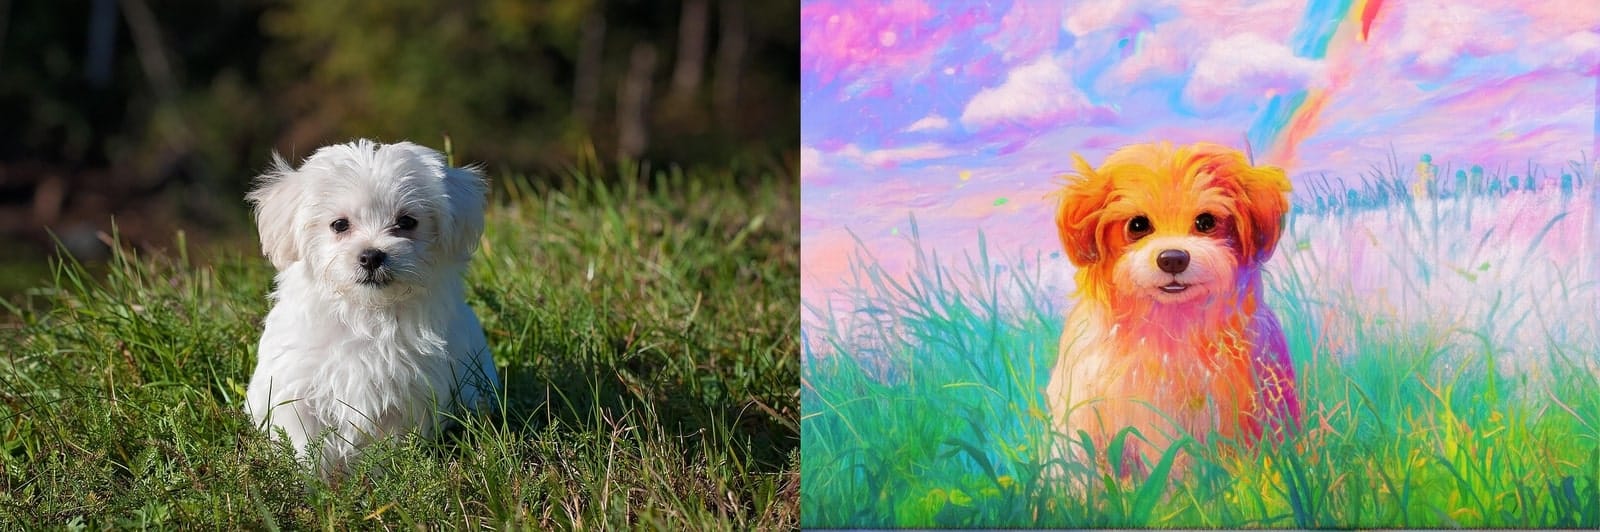
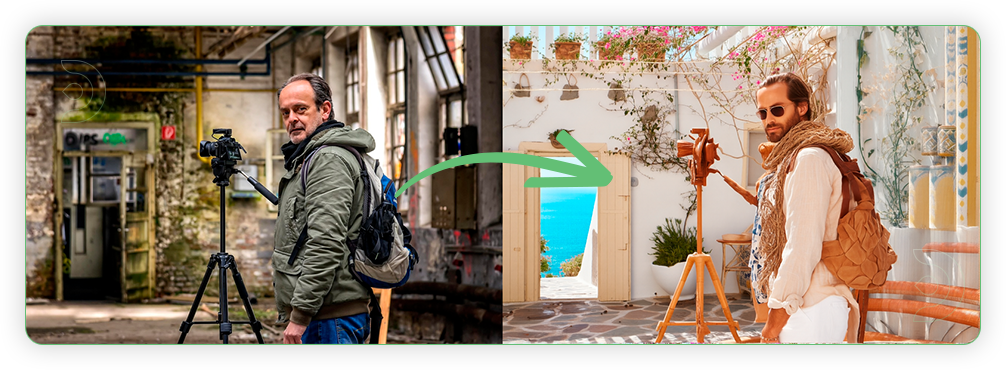
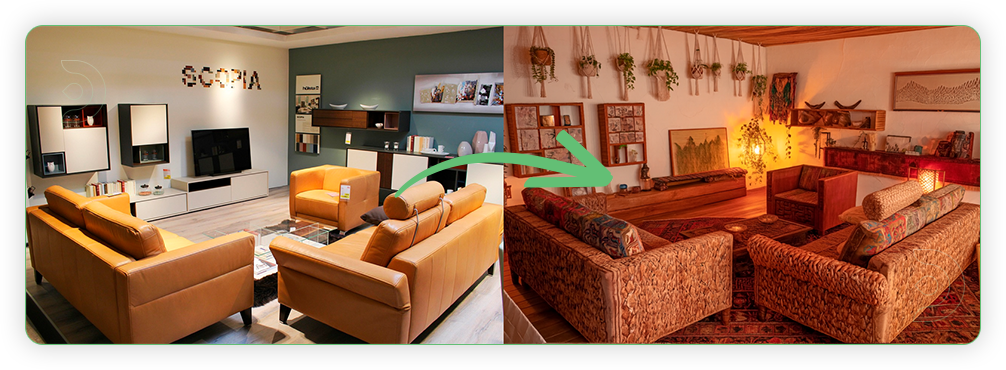
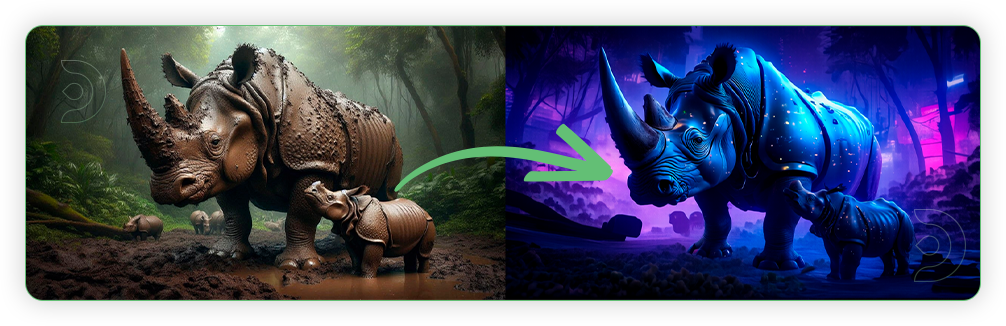
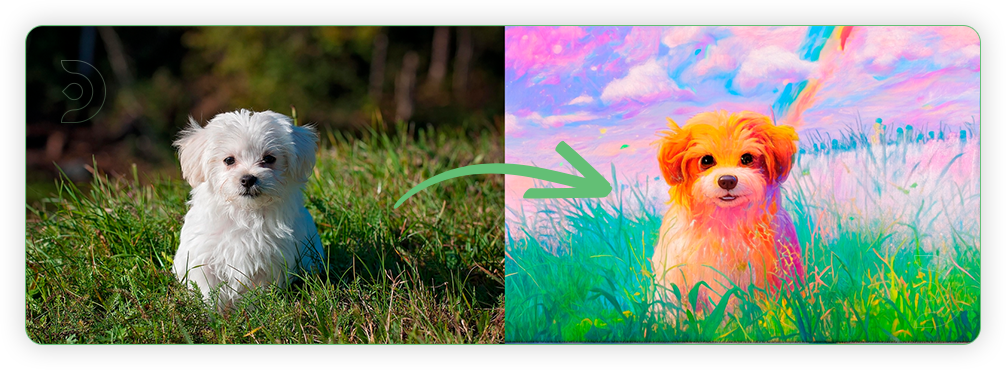
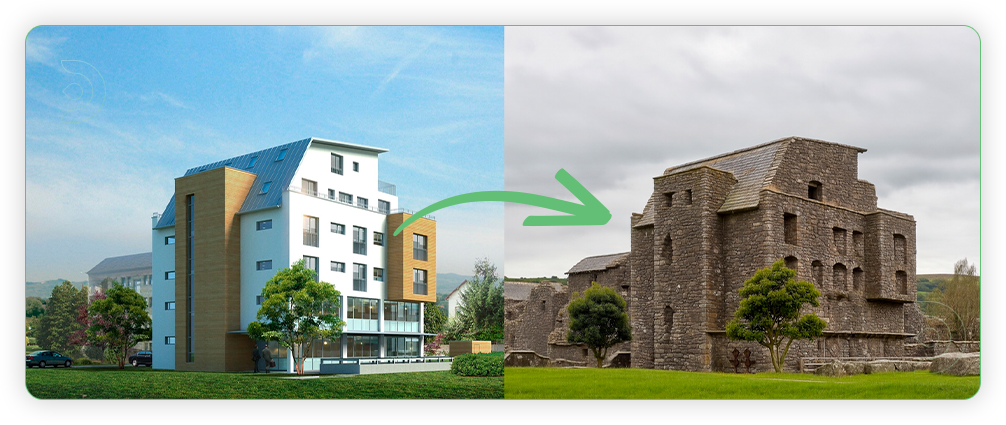
Examples

Troubleshooting
Red Nodes: Install missing custom nodes through ComfyUI Manager
Out of Memory: Use smaller expansion factors or switch to Ultra machine
Poor Quality: Check input image resolution and adjust kontext strength
Visible Seams: Lower strength and ensure good prompt description
If you’re having issues with installation or slow hardware, you can try any of these workflows on a more powerful GPU in your browser with ThinkDiffusion.

Member discussion