Hey what's up SD creators, in this tutorial, we're going through AnimateDiff, an incredible tool for crafting beautiful GIF animations using Stable Diffusion.
It's currently one of the top text-to-video AI tools available, and in this guide, we'll focus on creating captivating animations.
Beautiful example from u/xdomiall2
More examples from GitHub
You can find a ton of information and examples of AnimateDiff animations on its GitHub page.
It's versatile, enabling you to generate both realistic and cartoon-style videos.
General Setup
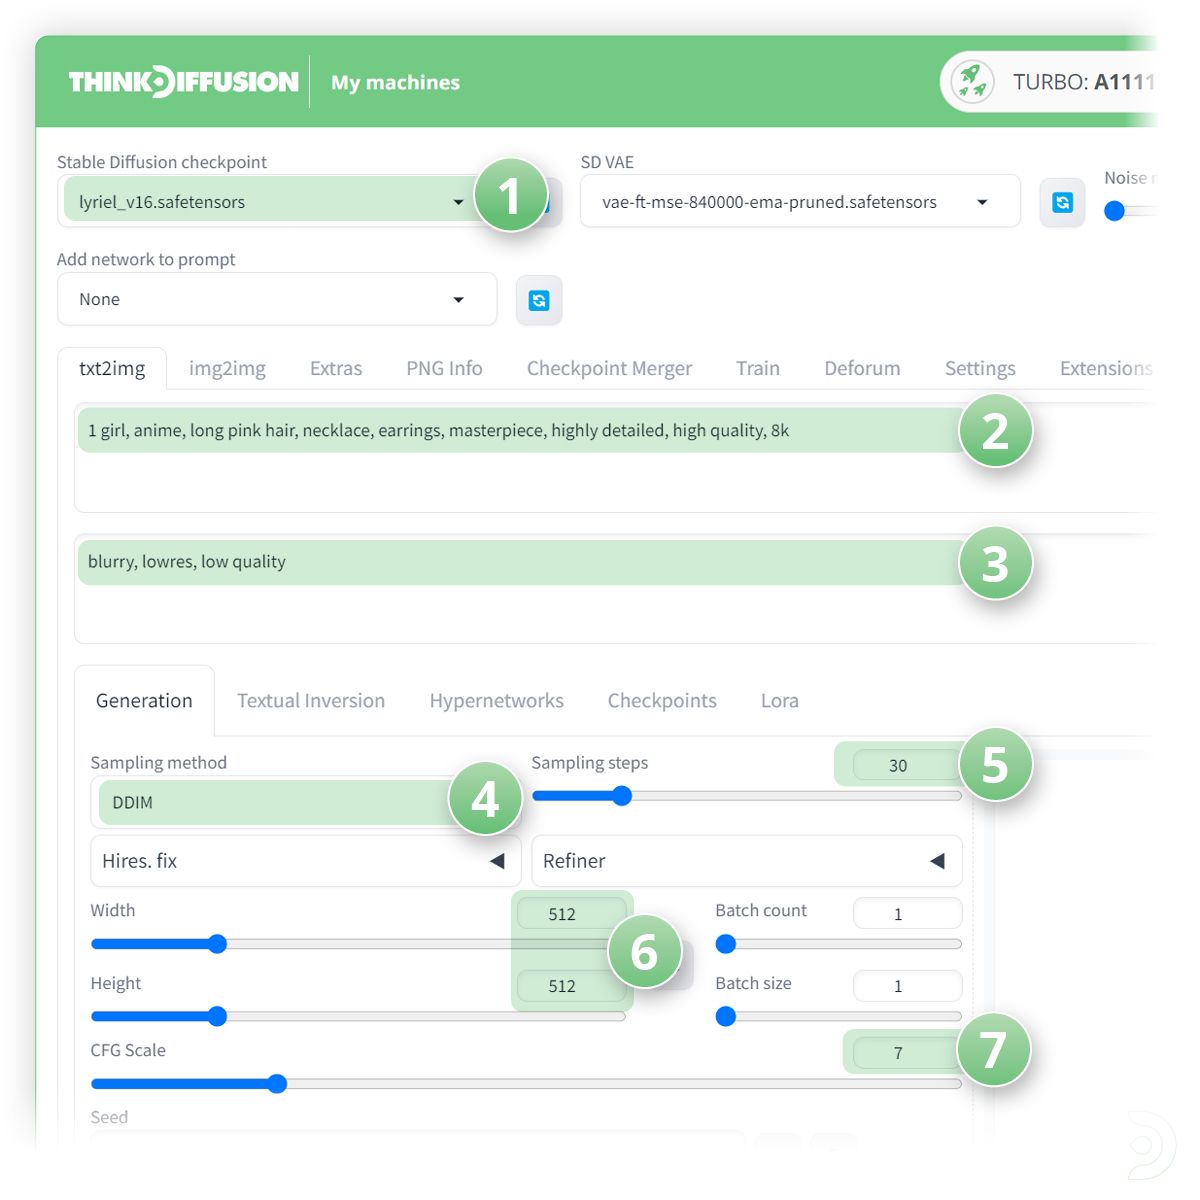
Txt2Img Settings - 1st gif
Here's the settings I'm using for the first example. Feel free to explore different settings, prompts, checkpoint models etc!
- (1) Checkpoint: Lyriel_v16
- (2) Positive Prompt: 1 girl, anime, long pink hair, necklace, earrings, masterpiece, highly detailed, high quality, 8k
- (3) Negative Prompt: blurry, lowres, low quality
- (4) Sampling Method: Choose DDIM for faster results; it significantly reduces generation time.
- (5) Sampling Steps: 30
- (6) Width & Height: 512 x 512 works best with SD1.5 models as AnimateDiff is not compatible with SDXL checkpoint models.
- (7) CFG Scale: We can leave this as 7
AnimateDiff Configuration
Now we'll move on to setting up the AnimateDiff extension itself.
AnimateDiff is pre-installed on Thinkdiffusion (A1111 v1.6 machines).
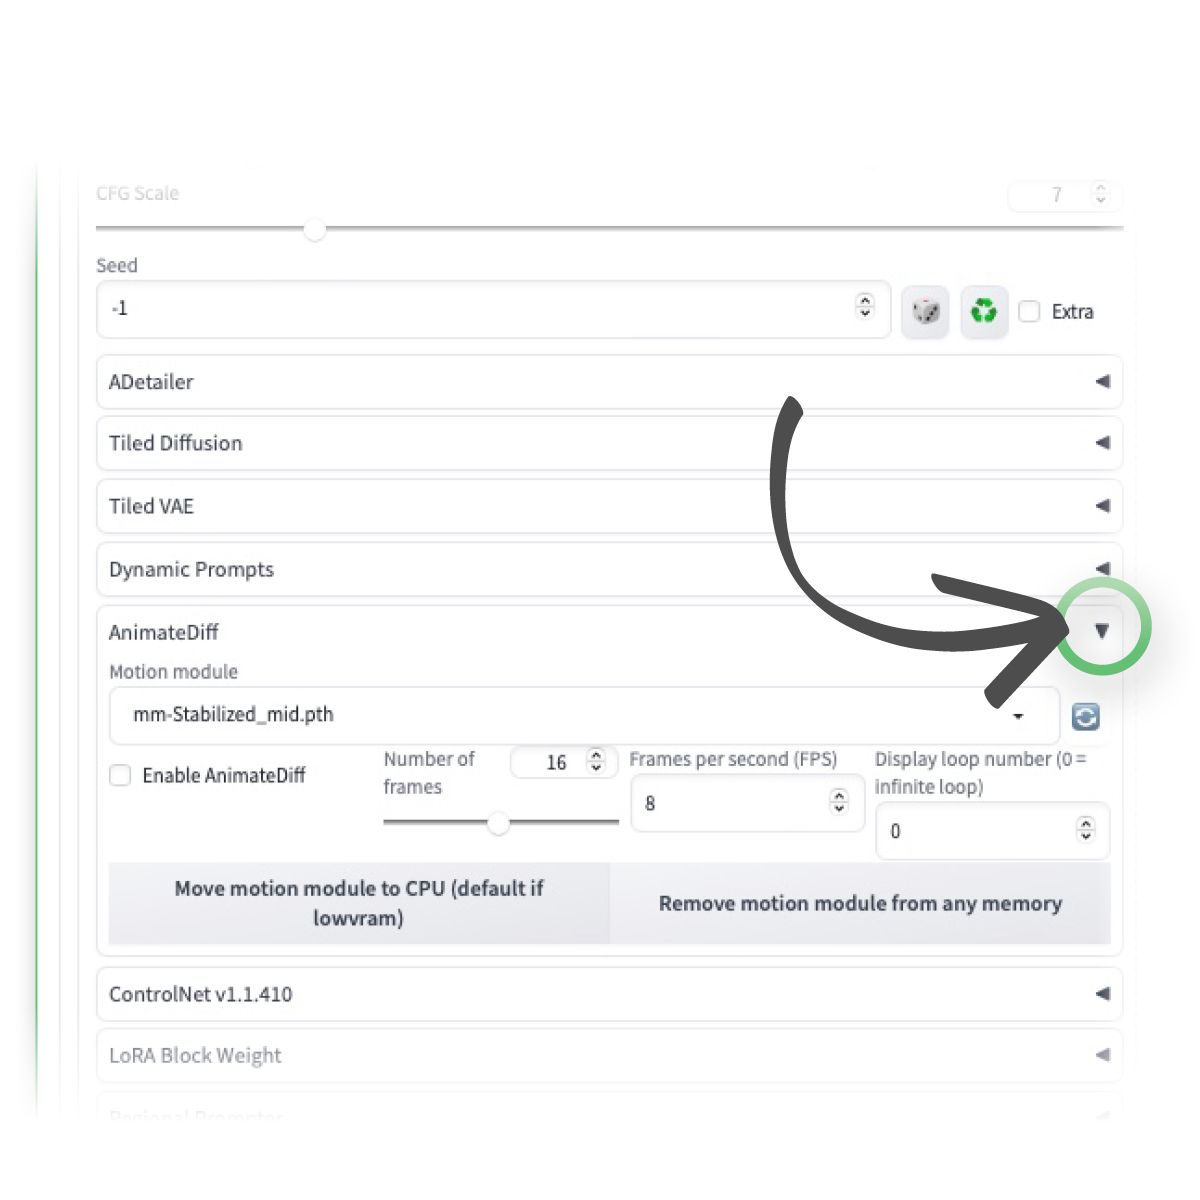
At the bottom of the Automatic1111 interface, click on "AnimatedDiff" to unfold the interface.
- If you're running a local installation of Stable Diffusion, you'll need to install AnimateDiff separately by yourself. Grab the extension at its GitHub page.
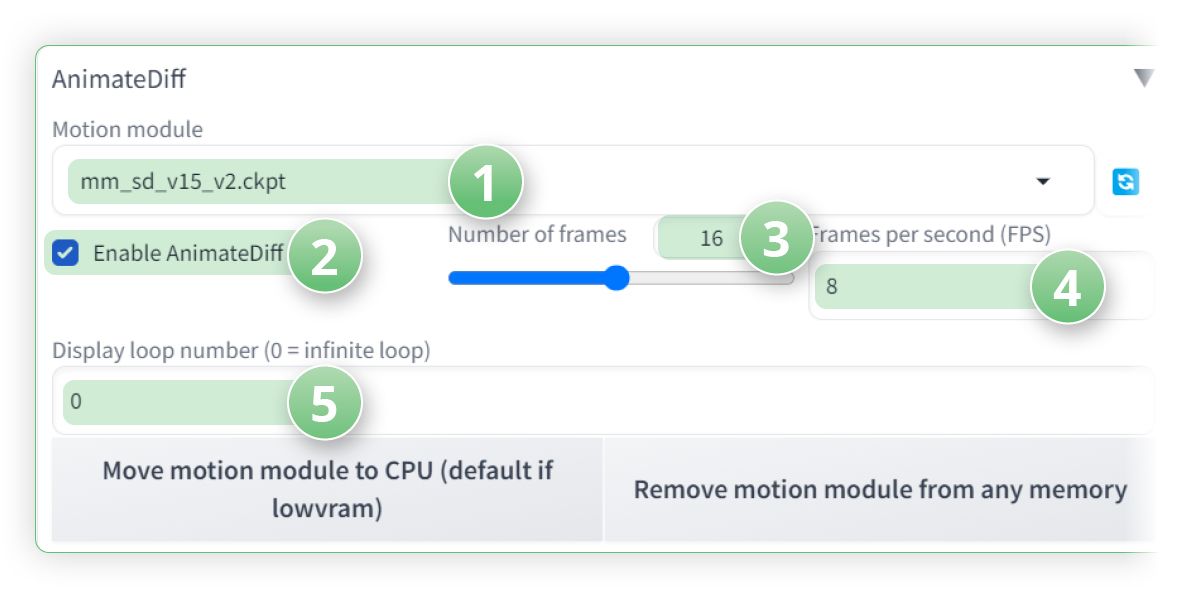
Configuration
- (1) Motion Module: Use the "mm_sd_v15_v2.ckpt" module.
- (2) ✅ Click Enable: Don't forget to check this box to activate the extension.
- (3) Number of Frames: For optimal quality, go with at least 8 frames; lower values may result in less desirable outputs. I tend to use the default 16 frames. By selecting 16 frames, SD will create 16 images and splice them together
- (4) Frames per Second (FPS): Adjust the playback speed; I would suggest a range of 8 to 12 FPS.
- (5) Display Loop Number: We can leave this set to 0 to create an infinite loop
Optimizing Generation: To expedite the generation process, consider these tips:
- Keep the negative prompt under 50 characters.
- Limit the number of frames to a maximum of 16.
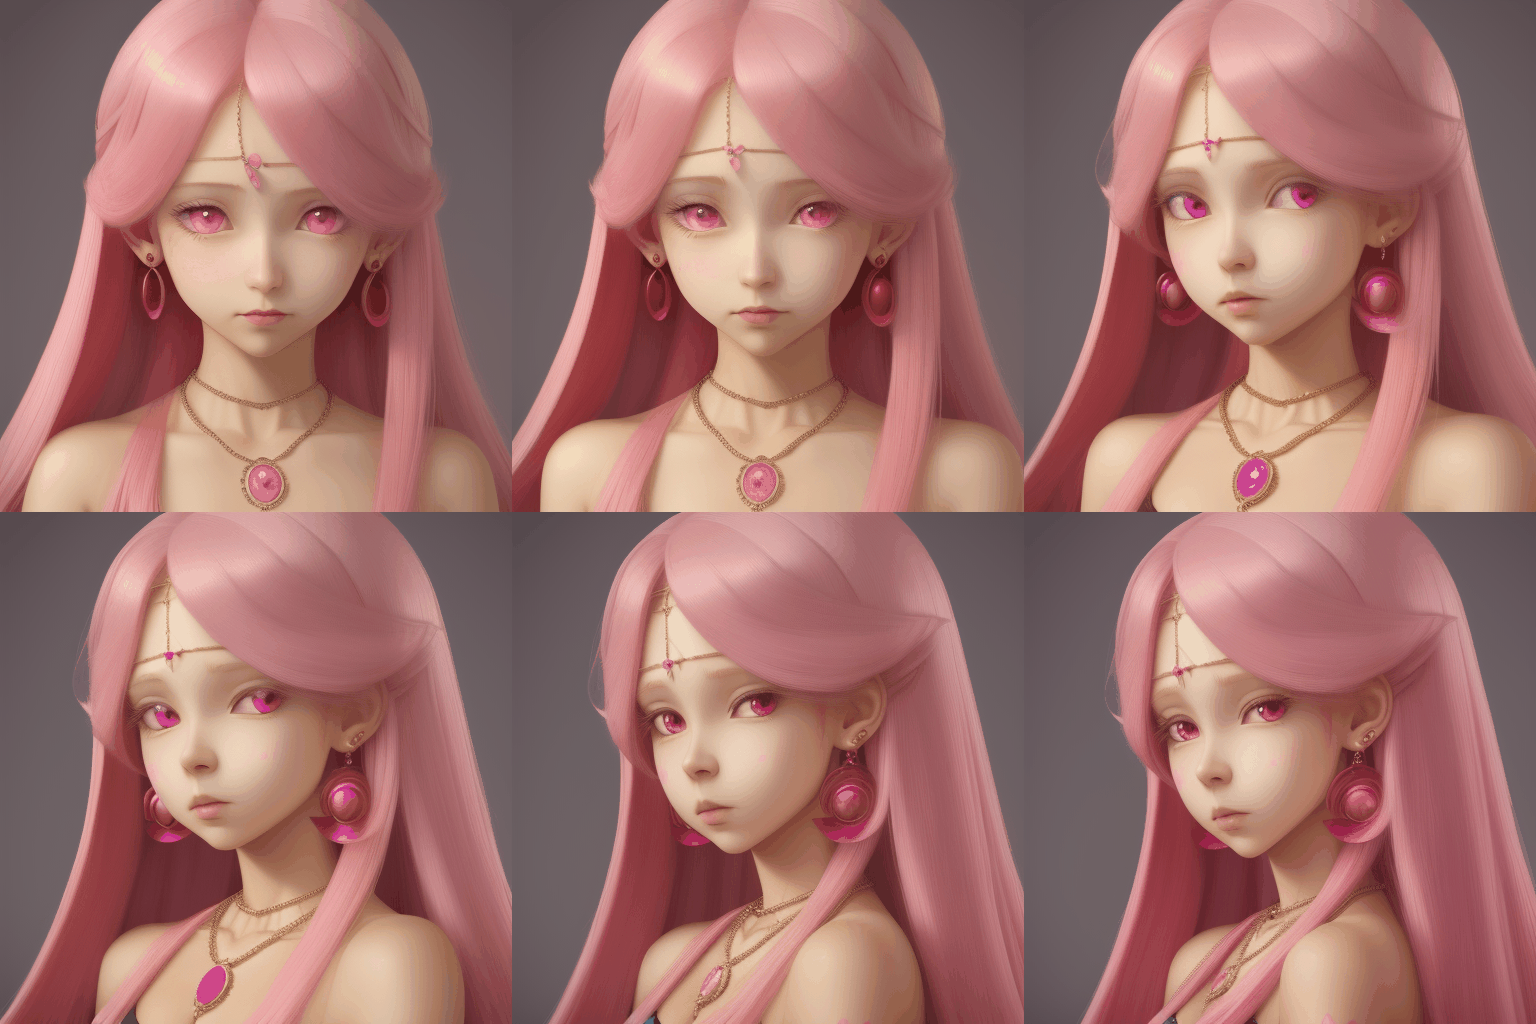
More AnimateDiff examples
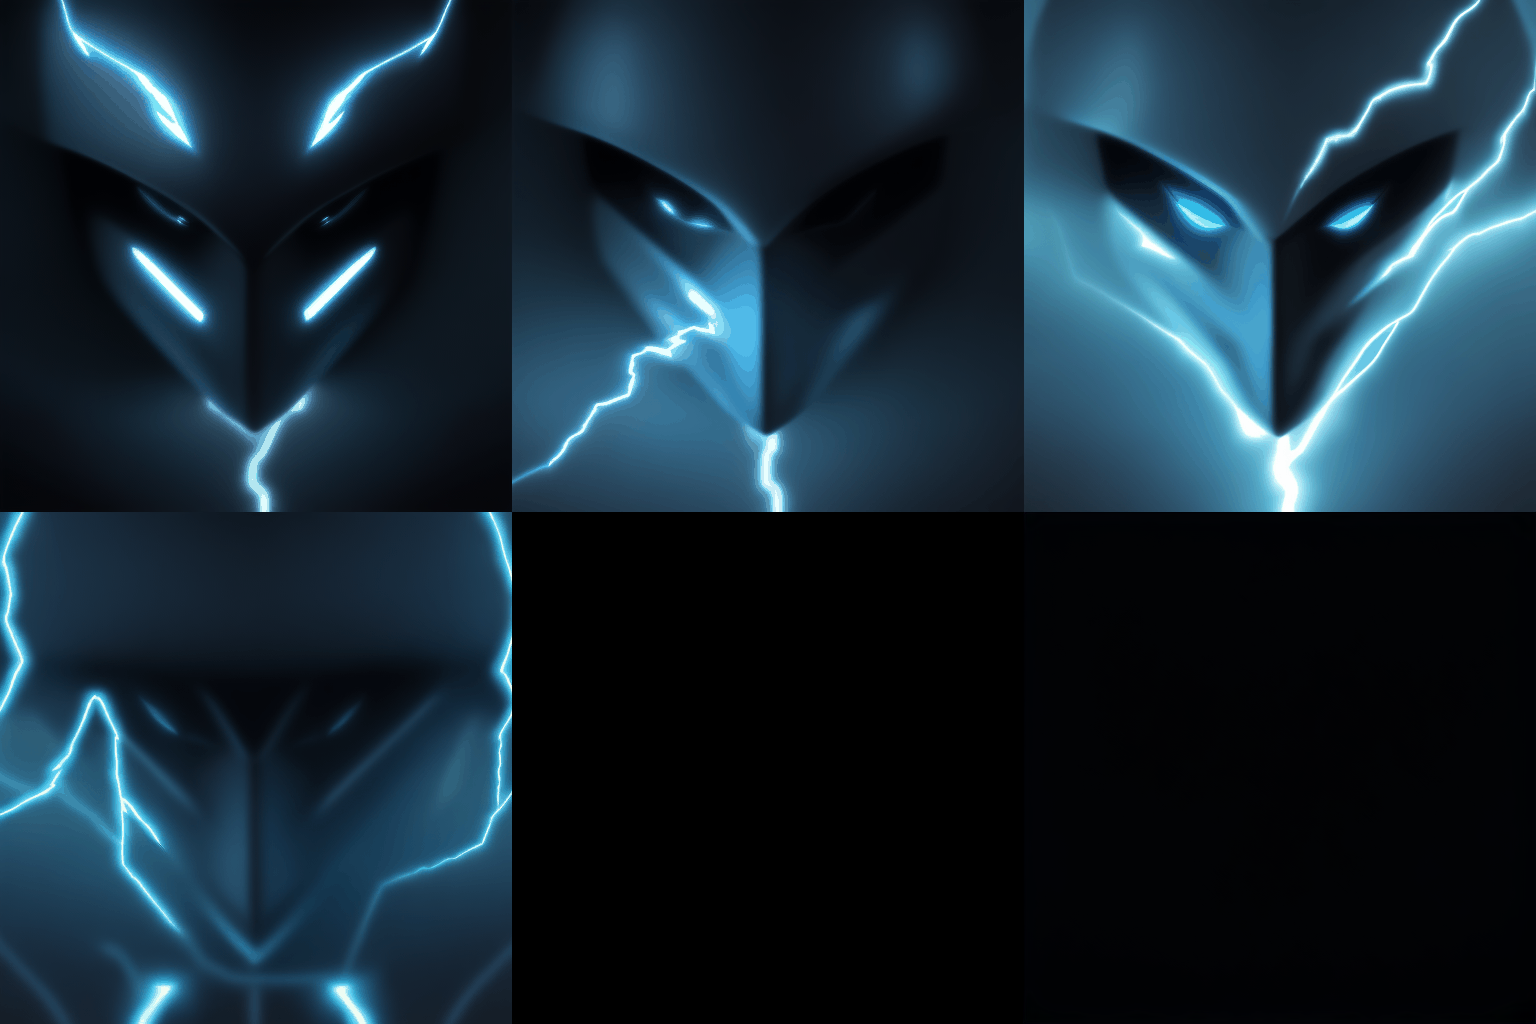
Txt2Img Settings - 2nd gif
All settings remain the same and we are just going to change the positive prompt to produce a new gif
- Positive Prompt: 1 silver robot, deep blue eyes, (lightning:1.3), dramatic lighting, futuristic, mechanical, masterpiece, highly detailed, high quality, 8k
Txt2Img Settings - 3rd gif
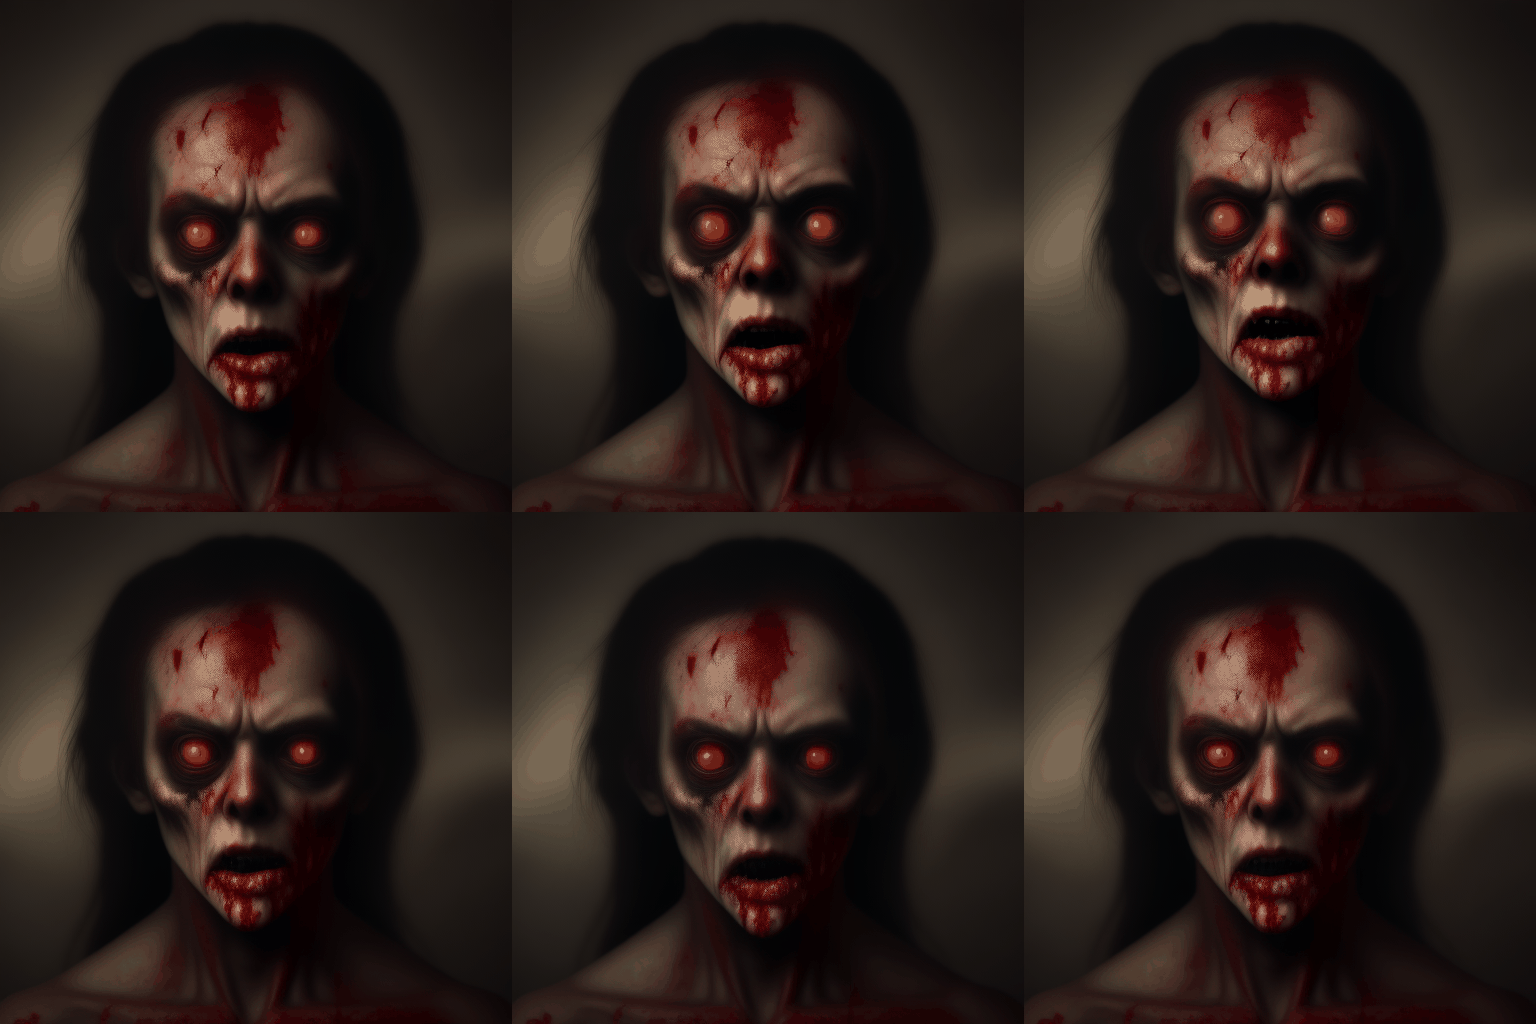
All settings remain the same and we are just going to change the positive prompt to produce a new gif.
- Positive Prompt: 1 zombie, rotting flesh, bright sunshine, blood dripping, masterpiece, highly detailed, high quality, 8k
While the output quality may vary based on your settings, be sure to experiment with different settings and models to achieve the best results for your unique projects.
Any of our workflows including the above can run on a local version of SD but if you’re having issues with installation or slow hardware, you can try any of these workflows on a more powerful GPU in your browser with ThinkDiffusion.
If you’d like to another way to make some quick but amazing animations, this time defining multiple frames in the experience, check out my post using Loopback Wave here.
Most importantly, y'all have fun out there making GIFs, for whatever it is you're doing...



Member discussion