Here's everything to know about starting & using a TD-EDU account 🧠
With your TD-EDU account, you and your students can:
- Work together seamlessly within dedicated workspaces, each designed to streamline collaboration on distinct courses, projects or workflows.
- Share models, settings, and files in independent workspaces, each with their own dedicated file system.
Signing up
- Enter an account name.
(No pressure! You can always change it later. ) - Enter your TD-EDU promo code
(You will have received this from our team after contacting us) - Sign in & Check out.
( You won't be charged yet. Your default teams plan includes 2 team members and a 200 GB default Teams workspace. You'll be able to add members, workspaces and machine credits afterwards. )
Using your EDU Workspace
(Update: Our machine select page design has been upgraded!)
- Switch Accounts easily between your personal account and your Teams workspace using the profile drawer .
- Launching in your workspace - Once you click on a workspace, your window will now reflect that workspace and all machines you launch will be in that workspace.
- 24/7 File Browsing - Your teams plan includes a 24/7 file browser, which will let you access all the files within that workspace, even without any machine launched!
Protip 💡: You can always tell what context your machine is in by looking at the top bar. If it's green, you're in a personal space. If the top bar is grey, you're in a workspace.
Managing your Teams ( For Admins )
Adding funds
Adding funds
Add funds easily by clicking on the [ ➕ ] next to Team Balance. The number of equivalent hours of machine time is displayed below as a handy reference.
Adding team members and workspaces
Add members and workspaces
Add team members. Each TD-Teams plan comes with 2 users automatically, with each additional user being an additional charge.
Add more workspaces or upgrade ones you have with more space as your needs grow. (Charges apply.)
Add specific team members to a workspace. Every workspace can have all or any subset of all your team members. Great for organizations with projects that only particular people need access to.
Notifying your team and students
🟡 Note: We don’t automatically notify people you’ve added to your account to avoid potential issues like mistyped email addresses causing spam or security risks.
Instead, after adding team members, you can email those individuals and include one of the below PDF instructions to guide them through the process.
Once they successfully sign up, they’ll automatically gain access to your workspace.
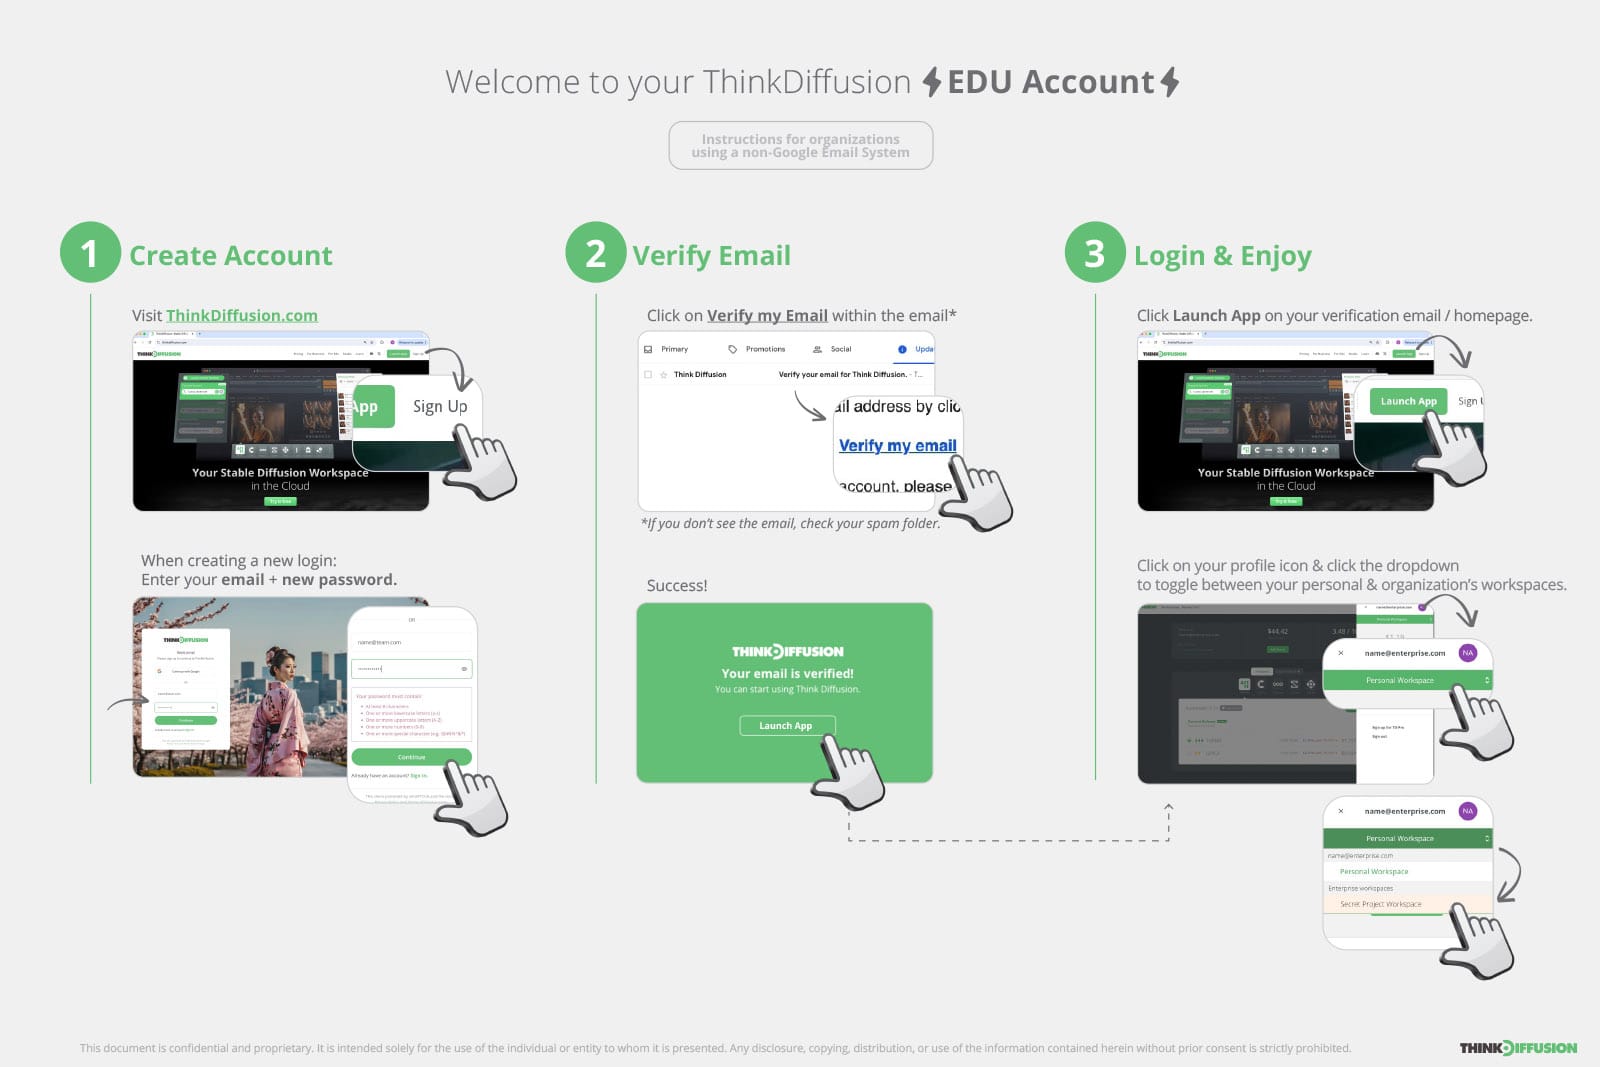
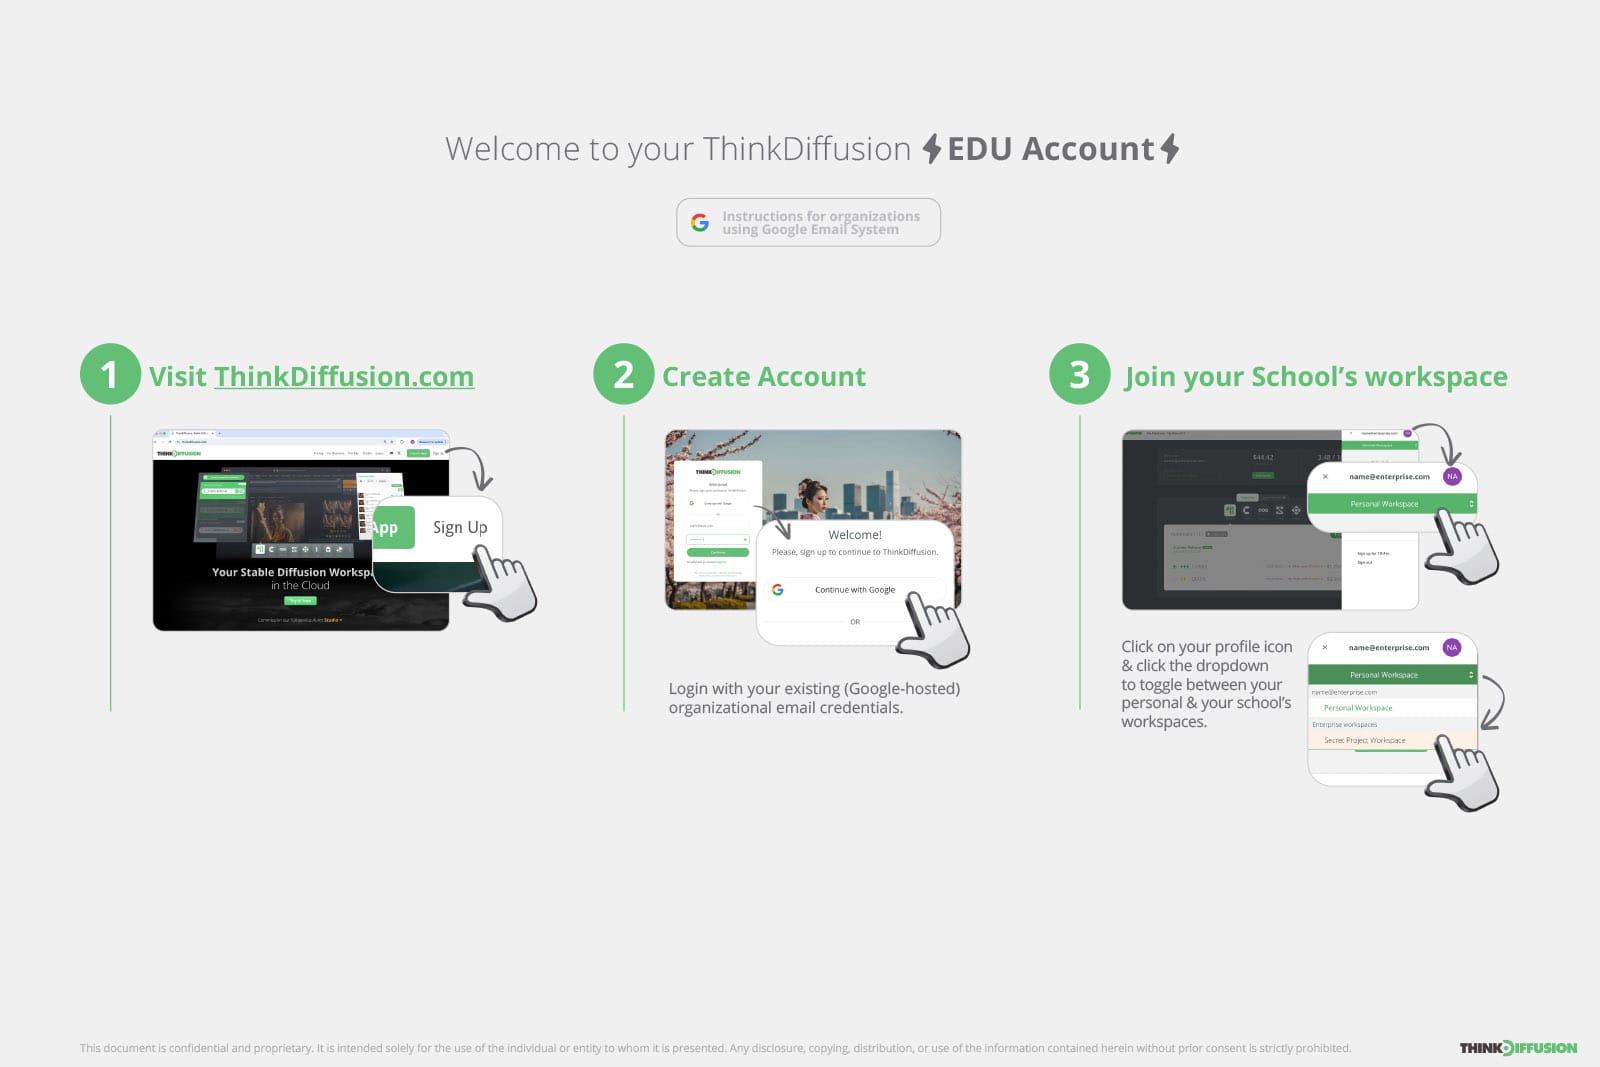
For Google email systems and Non-Google email systems
Set usage limits
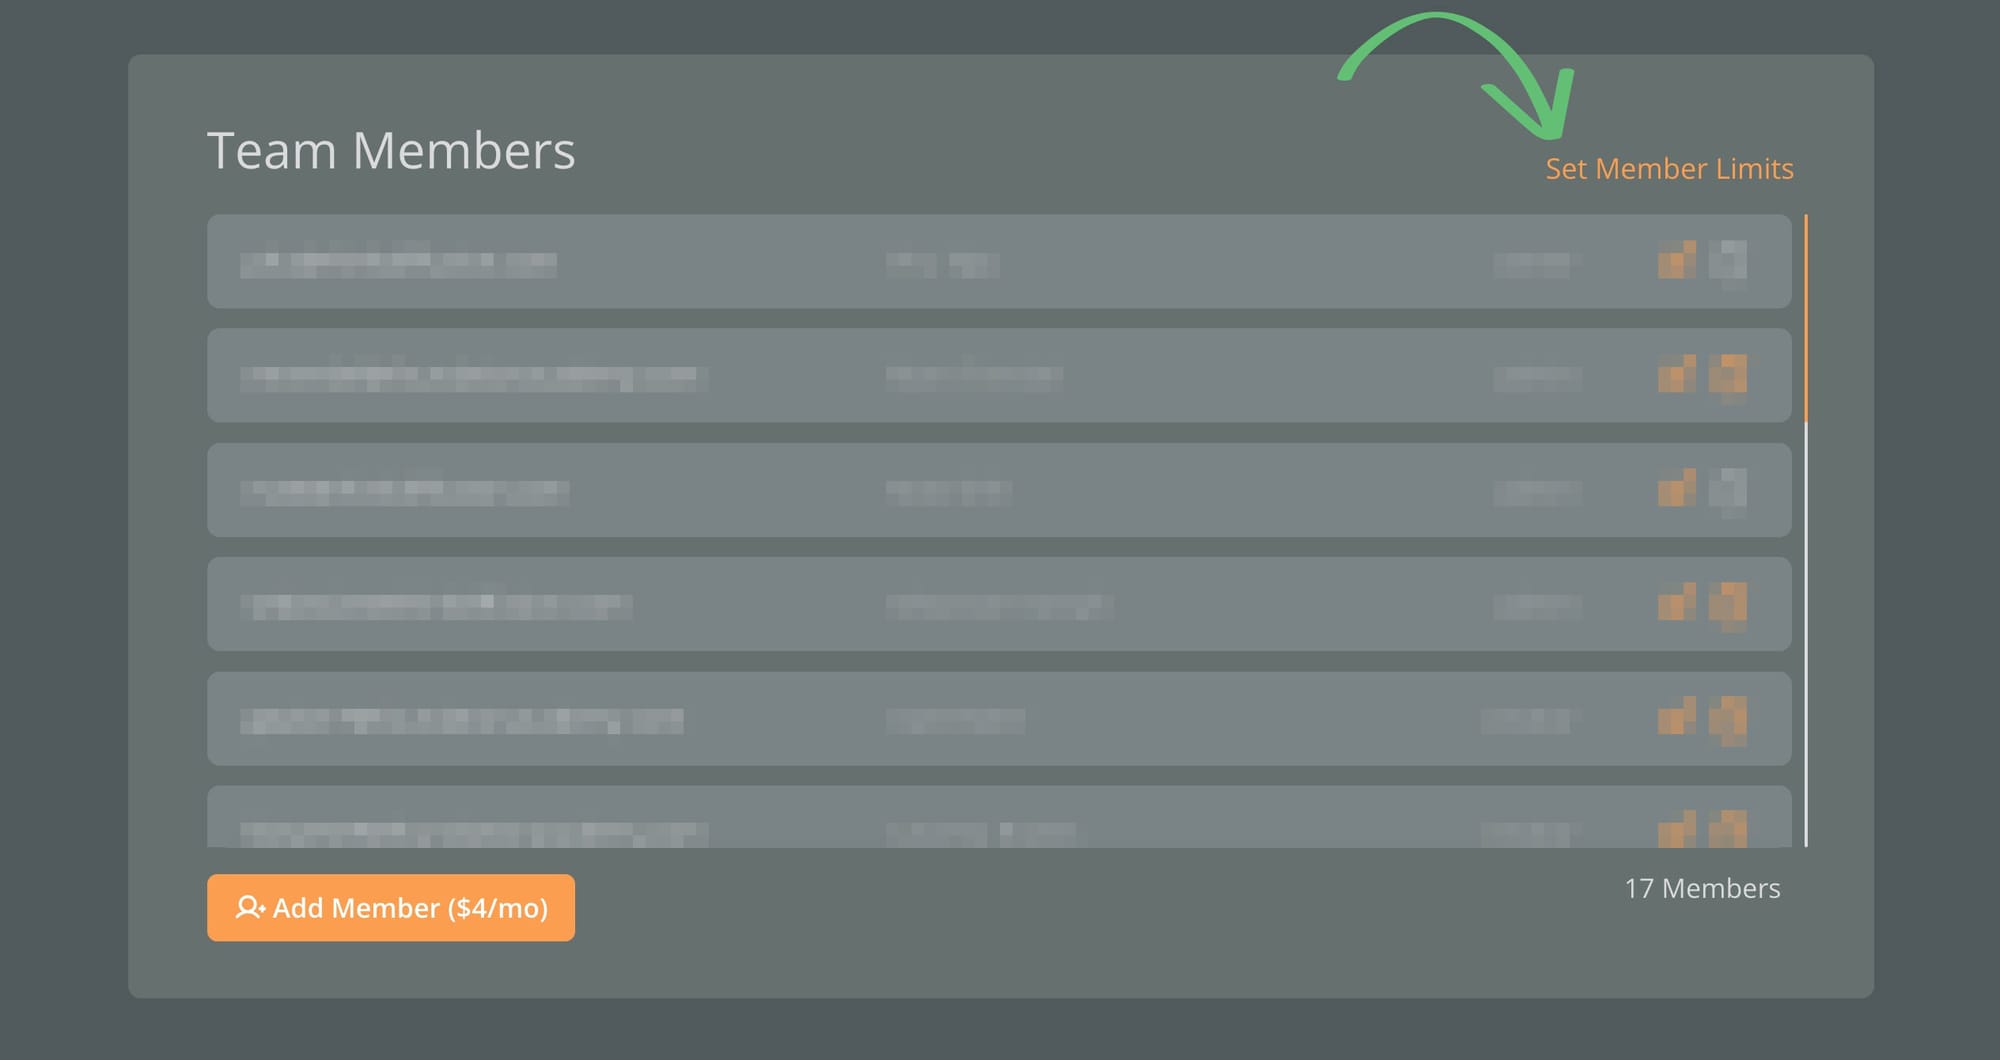
In your Team Members section, click "Set Member Limits"
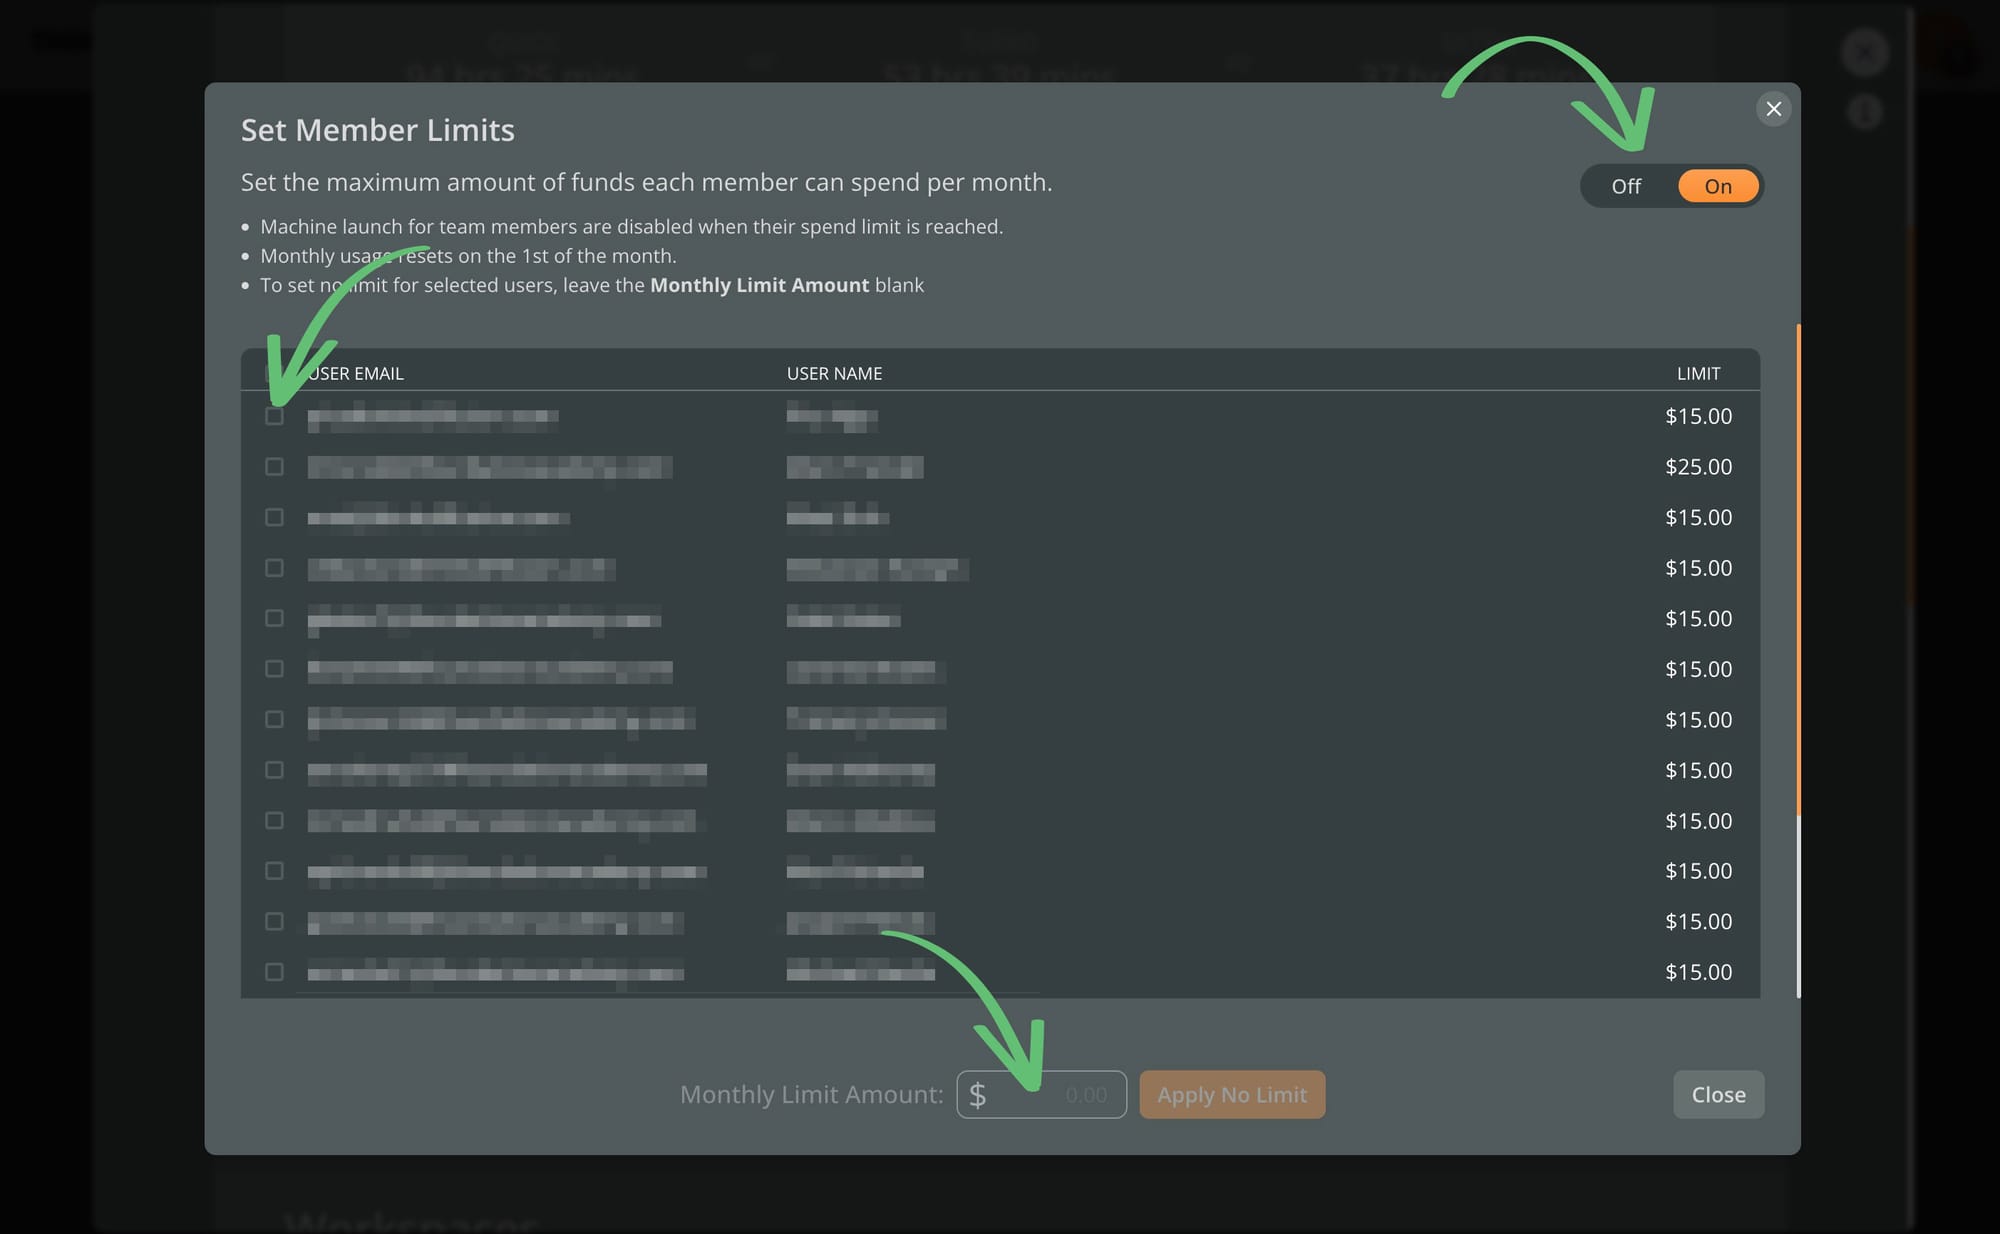
Toggle the setting on "On" and you can set limits individually or set a standard amount for everyone by clicking the checkboxes on the corresponding students.
Cloning a workspace
Cloning a workspace
Clone a workspace's users into a new workspace (Optional). It's a simple way to carry over the same combination of individuals over to a new project. (Not to worry, it will not copy over files or settings)
Billing
Check your billing
The current month will be prorated for changes and charges will be added on to next months bill.
In other words, next month’s bill will include standard monthly rate + prorations.
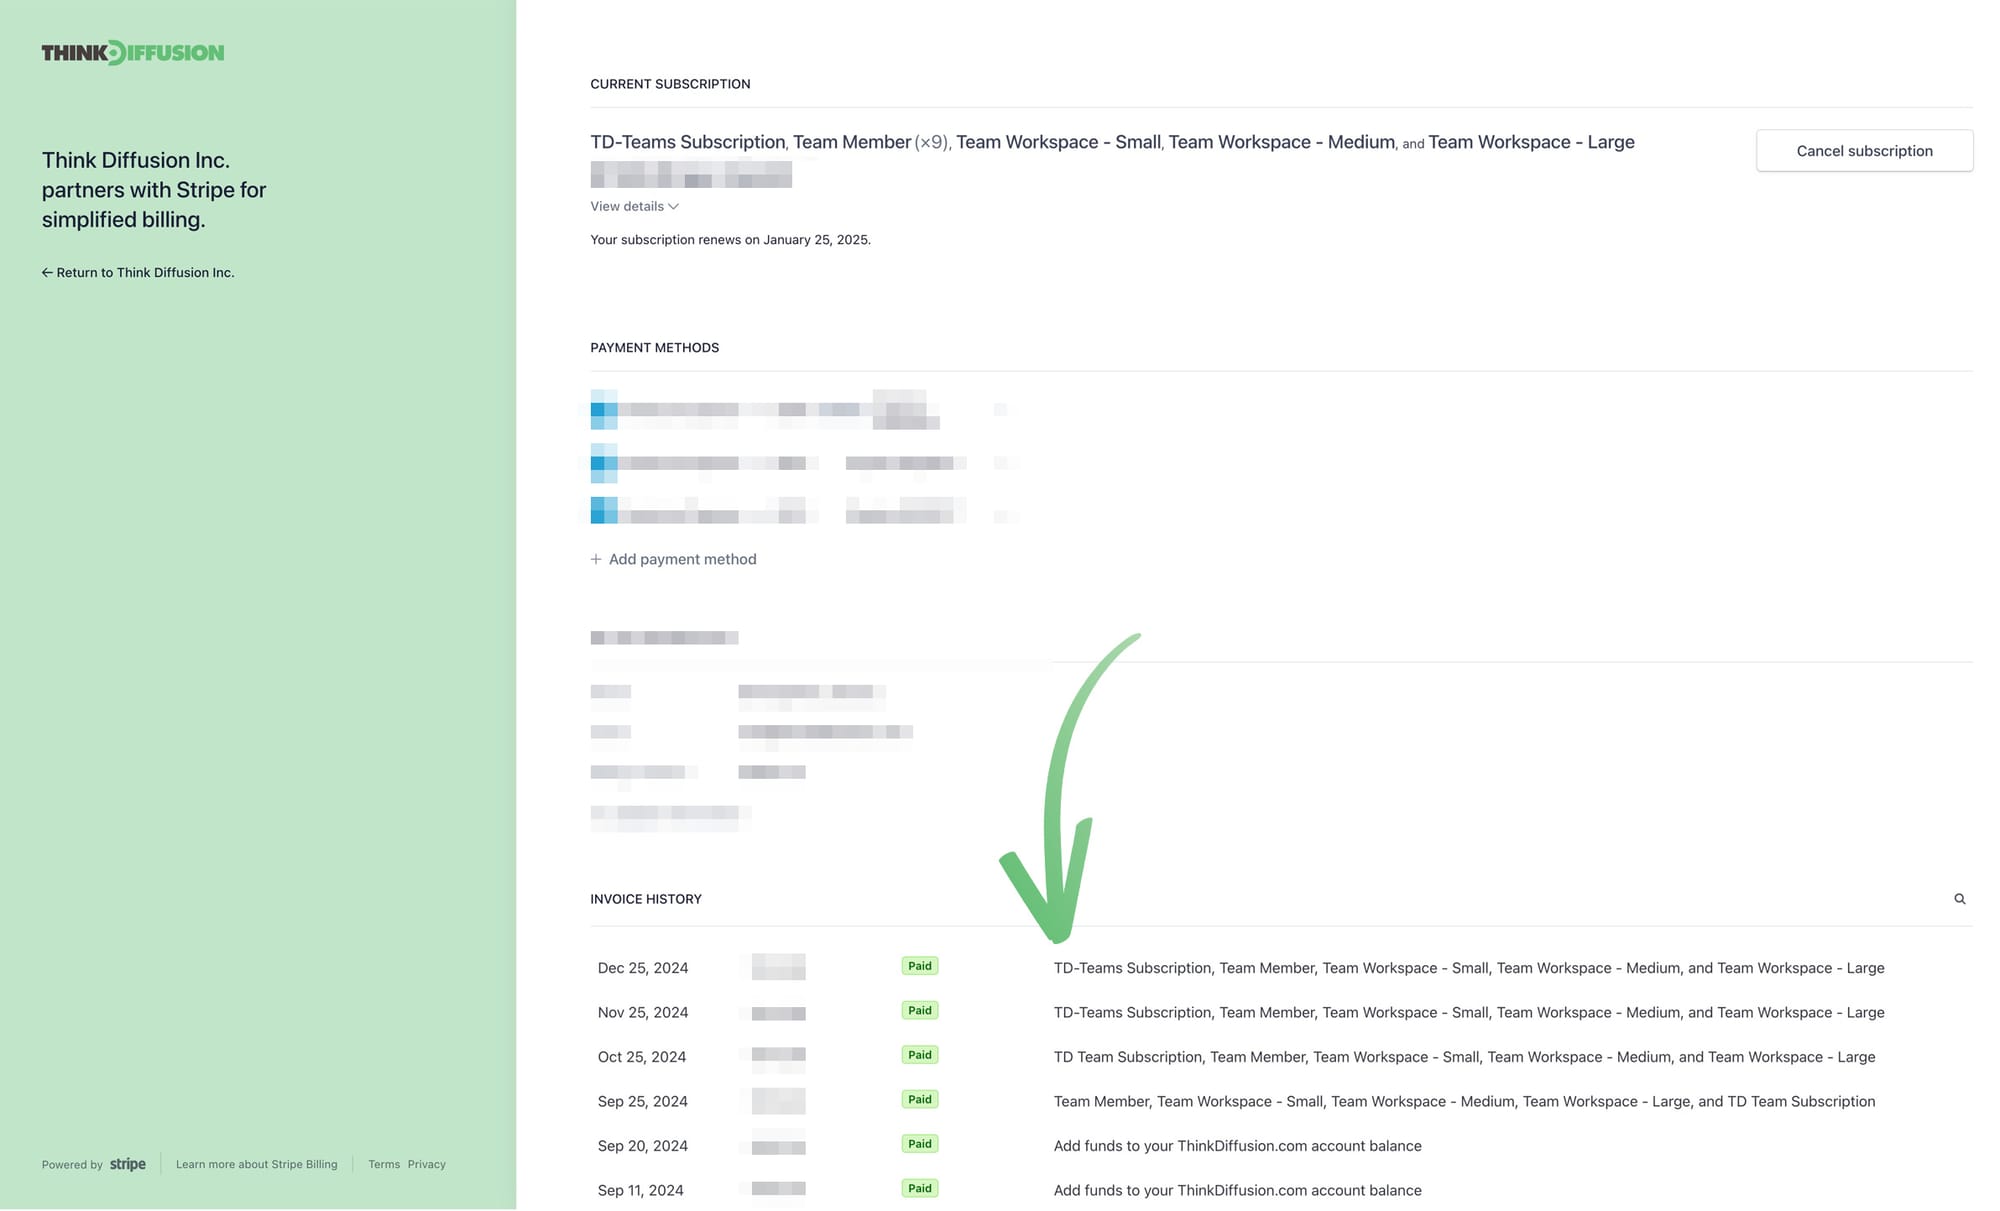
You can always find and download your invoices on the Stripe Billing page by clicking "Manage Billing" at the bottom of your admin panel.
Can I belong to multiple teams?
Yep! All teams you have access to will be displayed in your profile drawer.
Where did the machine costs go?
Because your organization covers the cost, machines for workspaces show how many hours are available instead


Member discussion