
Have you ever looked at a photo and imagined it moving—maybe even starring in its own short film? Now you can turn that daydream into reality, no animation degree required! Welcome to the world of Wan2.1 VACE, where the magic of AI transforms your favorite images into lively, expressive videos with just a few clicks. Whether you’re a digital artist, a social media enthusiast, or simply someone who loves to experiment with new tech, this guide will show you how easy it is to animate images using Reference-to-Video and Control with Reference workflows.
What is VACE?

VACE stands for Video All-in-one Creation and Editing, and it’s a special set of tools built into the Wan2.1 AI model. What makes VACE so useful is that it lets you do everything from creating brand-new videos to editing existing ones - all in one place. With VACE, you can turn a simple picture or even just some text into a video, change backgrounds or characters, make people or objects move in new ways, and even improve or extend video scenes.
Souce: Wan AI
But in this we'll guide, we'll dive into Reference-to-Video with Control Reference.
What is Wan VACE Reference-to-Video?
Imagine you have a favorite picture or drawing, and you want to see it come to life as a video. With VACE Reference-to-Video, it’s as easy as clicking a button! You just upload your image and video with control movement and the VACE’s smart model uses it as a guide to create a brand-new video that looks just like your picture—same style, same colors, and the same mood. Whether you want to animate a character, change a background, or just try something fun, VACE makes it happen.
Ready to make your pictures dance, dazzle, and truly come alive? Let’s get started—your images are about to steal the spotlight!
How to Run Wan2.1 VACE Reference-to-Video and Control with Reference
Installation guide
Verified to work on ThinkDiffusion Build: Aug 21, 2025
ComfyUI v0.3.50 with the use Wan 14B T2V and 14B VACE model
Note: We specify the build date because ComfyUI and custom node versions updated after this date may change the behavior or outputs of the workflow.
Custom Nodes
If there are red nodes in the workflow, it means that the workflow lacks the certain required nodes. Install the custom nodes in order for the workflow to work.
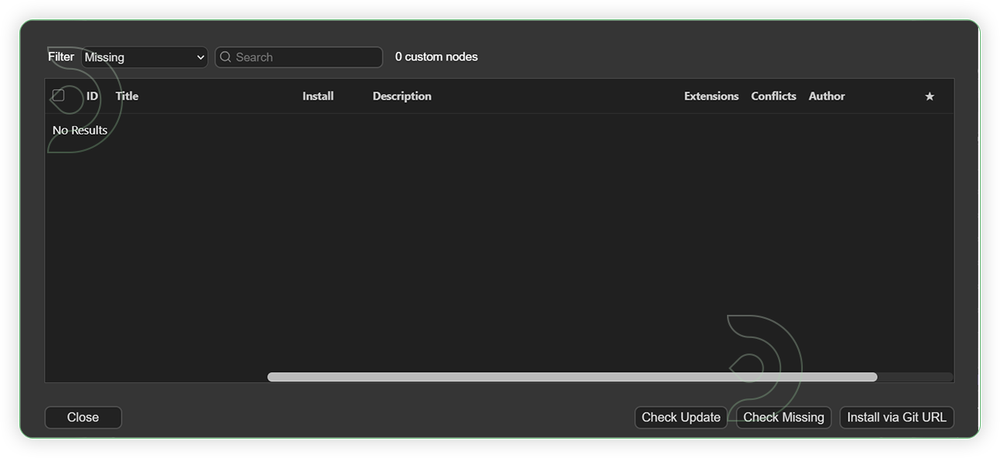
- Go to ComfyUI Manager > Click Install Missing Custom Nodes
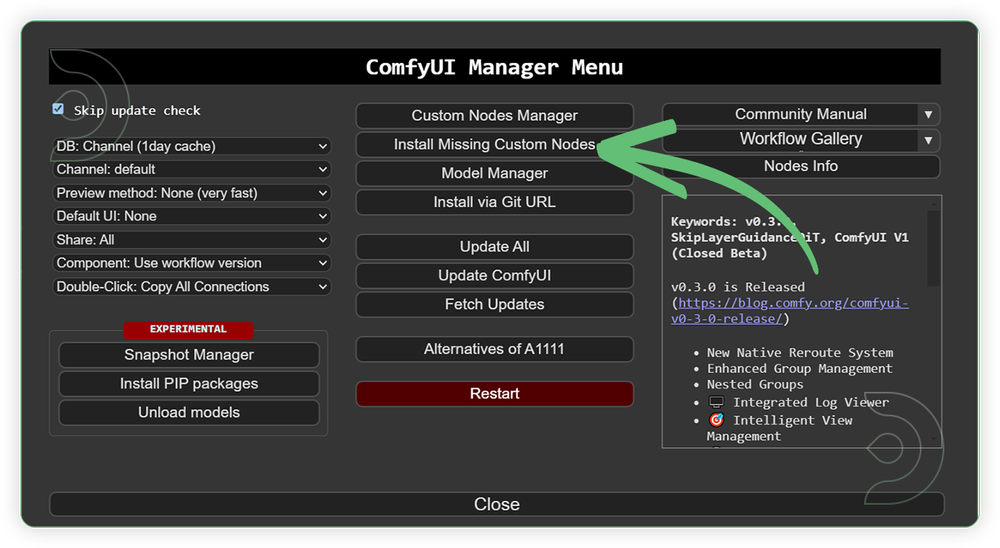
- Check the list below if there's a list of custom nodes that needs to be installed and click the install.
Models
For this guide you'll need to download these 5 recommended models.
2. Wan2_1-VACE_module_14B_fp8_e4m3fn.safetensors
3. Wan2_1_VAE_bf16.safetensors
4. depth_anything_v2_vitl_fp16.safetensors
5. umt5-xxl-enc-bf16.safetensors
- Go to ComfyUI Manager > Click Model Manager
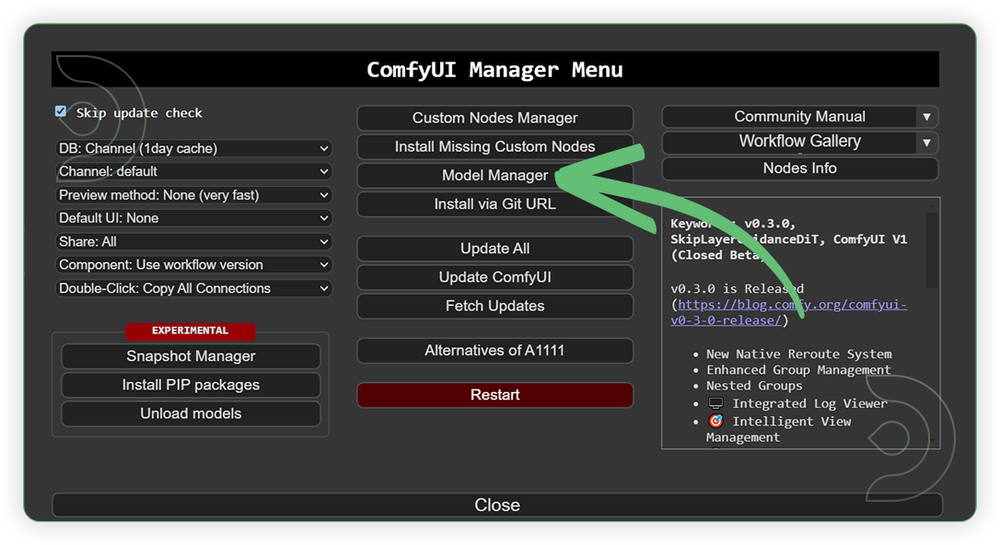
- Search for the models above and when you find the exact model that you're looking for, click install, and make sure to press refresh when you are finished.

Optional Model Path Source
Some of these models may not be available in the model manager.
You could also use the model path source instead: by pasting the model's link address into ThinkDiffusion MyFiles using upload URL.
| Model Name | Model Link Address | ThinkDiffusion Upload Directory |
|---|---|---|
wan2.1_t2v_14B_fp8_e4m3fn.safetensors |
.../comfyui/models/diffusion_models/ |
|
| Wan2_1-VACE_module_14B_fp8_e4m3fn.safetensors | .../comfyui/models/diffusion_models/ |
|
| Wan2_1_VAE_bf16.safetensors | .../comfyui/models/vae/ |
|
| depth_anything_v2_vitl_fp16.safetensors | .../comfyui/models/depthanything/ |
|
| umt5-xxl-enc-bf16.safetensors | .../comfyui/models/text_encoders/ |
Step-by-step Workflow Guide
This workflow was pretty easy to set up and runs well from the default settings. Here are a few steps where you might want to take extra note.
| Steps | Recommended Nodes |
|---|---|
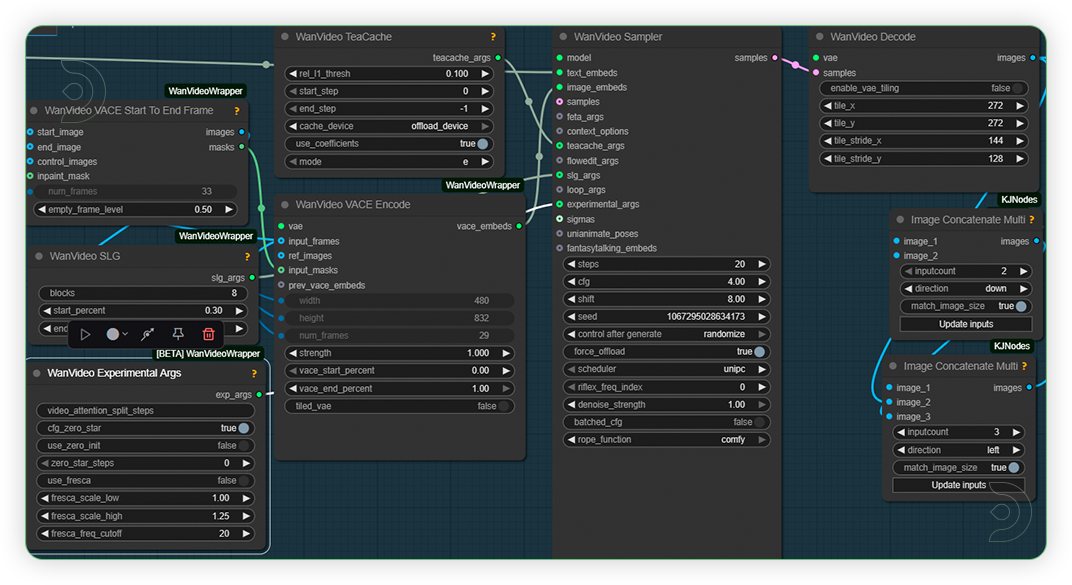
| 1. Set the Models Set the models as seen on the image. 14B base model should be paired with 14B VACE model. If you have sageattn installed, use the sdpa. |
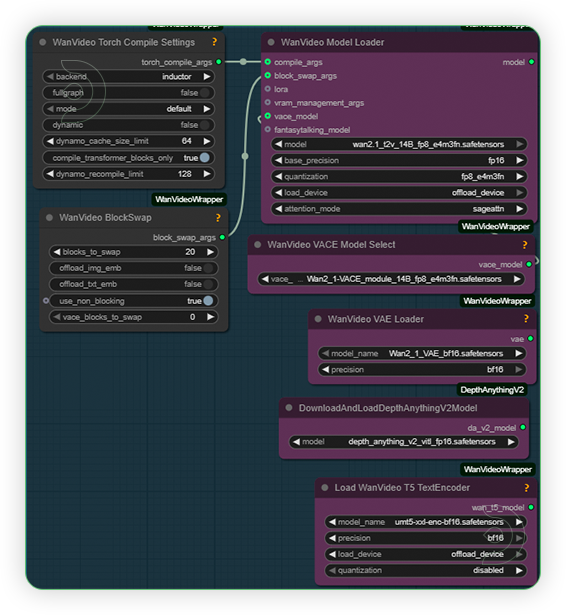 |
| 2. Load Video as Reference for Control Load a video with a movement that can similar to reference image. Video should be clear, and avoid multiple movements in video. Frames should be under 100 and set the 854x480 resolution. |
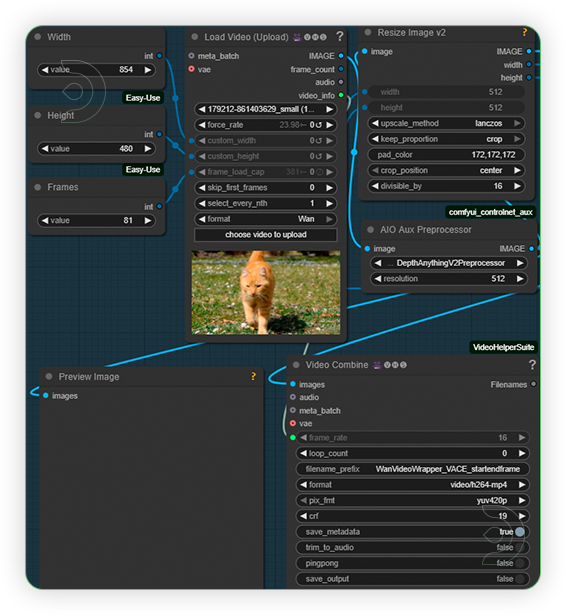 |
| 3. Load Image as Reference for Video Load a reference image for the subject of the video. Image should be clear and shows a subject such as person, animal, moving things. The extrapadding is how large the outpainted area of the video will be. |
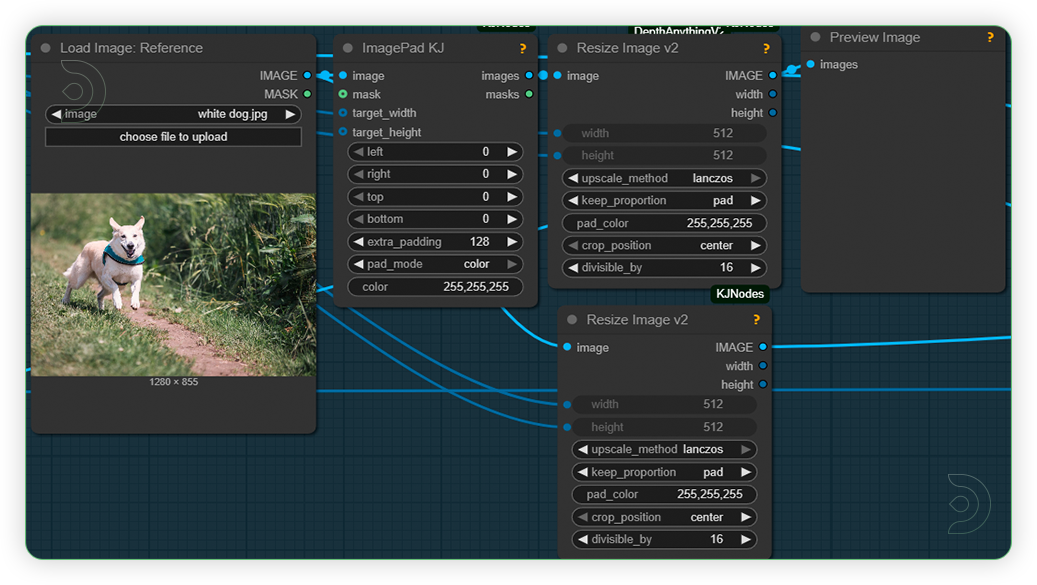 |
| 4. Write Prompt Write a simple prompt that mentions the subject and its movement. |
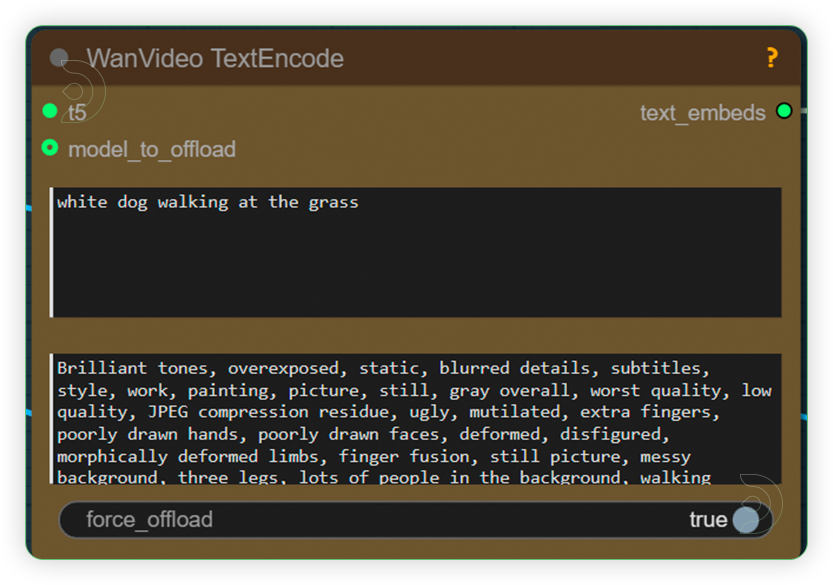 |
| 5. Check Sampling Settings Set the settings as seen on the image. You can play with steps and cfg only. If you need to retain the subject appearance get only the movement, reduce the WanVideo VACE Encode strength to 0.50 |
 |
| 6. Check the Generated Video |
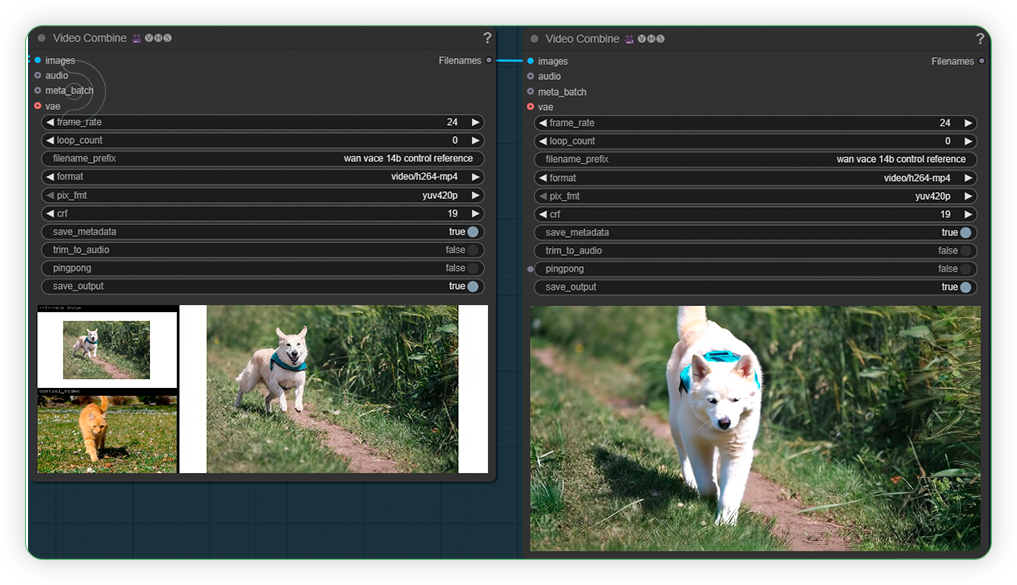 |
Examples
If you’re having issues with installation or slow hardware, you can try any of these workflows on a more powerful GPU in your browser with ThinkDiffusion.
Stay tuned for our upcoming Wan workflow tutorial that uses VACE!
Member discussion