

Transform static portraits into realistic talking videos with perfect lip-sync using MultiTalk AI. No coding required.
Difficulty: Beginner-friendly
Setup Time: 15 minutes
What You'll Create
Turn any portrait - artwork, photos, or digital characters - into speaking, expressive videos that sync perfectly with audio input. MultiTalk handles lip movements, facial expressions, and body motion automatically.
Example Results:
- Portrait paintings that recite poetry
- Character artwork that delivers dialogue
- Profile photos that sing songs
- Multiple characters having conversations
In this tutorial, you’ll discover a surprisingly easy way to bridge the gap between static images and expressive animation. Whether you’re looking to enhance your social media posts, create memorable content for friends, or explore new storytelling techniques, this guide will open the door to a world where your characters can truly interact and entertain.
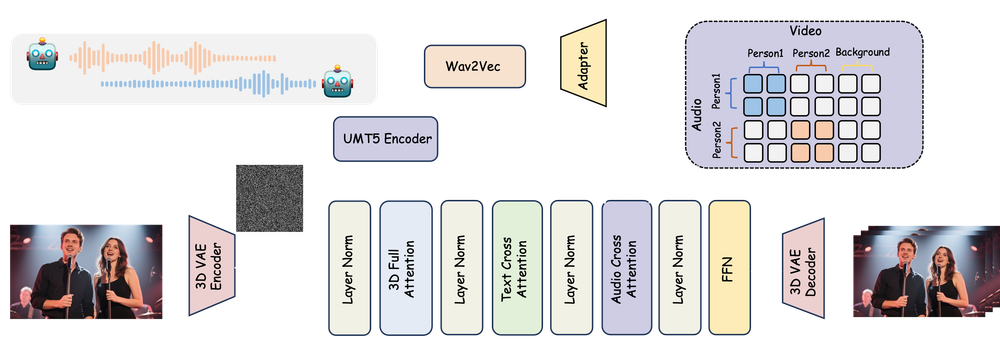
What is MultiTalk?
MultiTalk is an open-source AI framework that converts static images into realistic talking videos using audio input. Built by MeiGen AI, it accurately syncs lip movements and facial expressions to speech or singing, supporting both single and multi-person scenes.
With support for single or multi-person scenes, text prompts for emotion and behavior control, and compatibility with real or stylized characters, MultiTalk offers incredible creative flexibility. Integrated into ComfyUI and optimized for fast performance, it’s ideal for digital artists, content creators, educators, and developers who want to bring portraits, avatars, or original characters to life in seconds.
MultiTalk Framework
Let’s explore how you can turn imagination into motion, and watch as your creative visions become animated realities! The possibilities are as limitless as your imagination, so let’s get started and see where your characters can take you next!
Download Workflow
Installation guide
- Download the workflow file
- Open ComfyUI (local or ThinkDiffusion)
- Drag the workflow file into the ComfyUI window
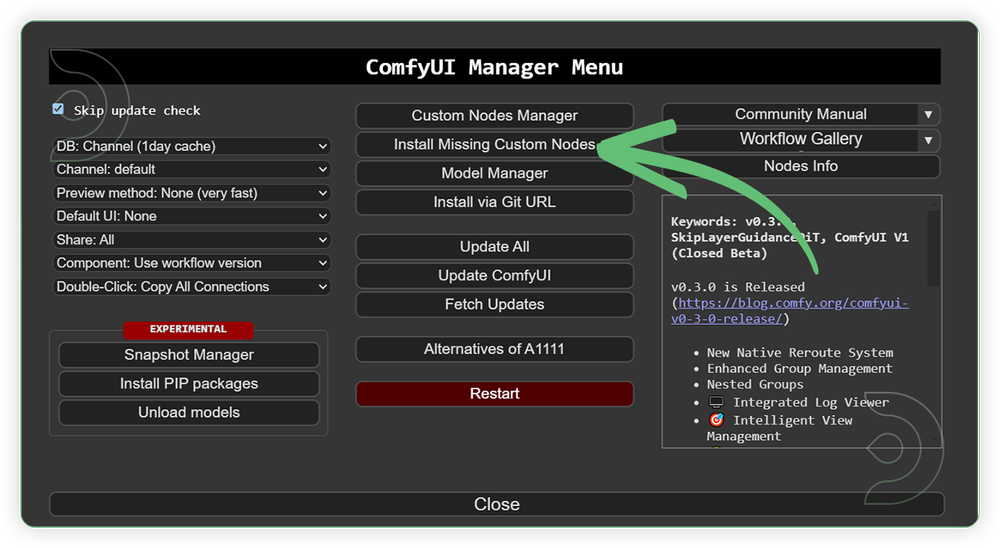
- If you see red nodes, install missing components:
- ComfyUI Manager > Install Missing Custom Nodes
Verified to work on ThinkDiffusion Build: June 27, 2025
ComfyUI v0.3.44 with the use Wan14Bi2vFusionX.safetensors and multitalk.safetensors
Note: We specify the build date because ComfyUI and custom node versions updated after this date may change the behavior or outputs of the workflow.
Minimum Machine Size: Ultra
Use the specified machine size or higher to ensure it meets the VRAM and performance requirements of the workflow
Custom Nodes
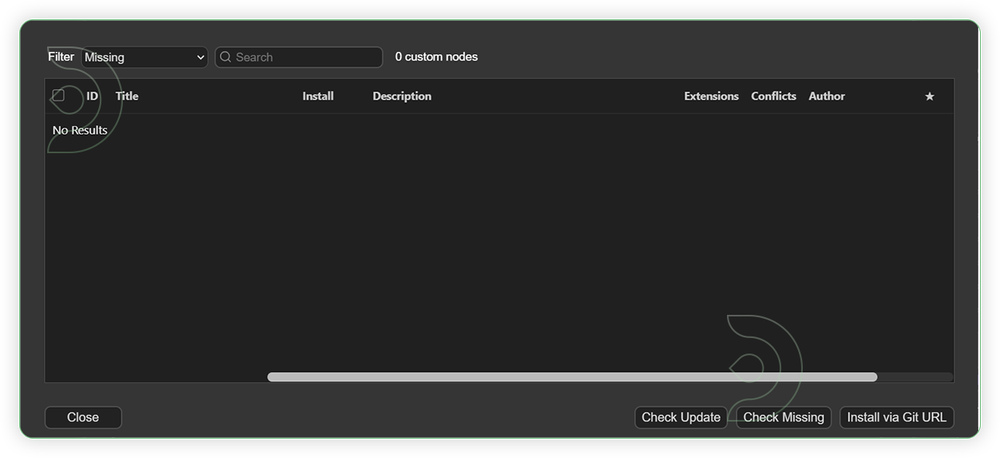
If there are red nodes in the workflow, it means that the workflow lacks the certain required nodes. Install the custom nodes in order for the workflow to work.
- Go to the ComfyUI Manager > Click Install Missing Custom Nodes
- Check the list below if there's a list of custom nodes that needs to be installed and click the install.
Required Models
For this guide you'll need to download these 8 recommended models.
2. Wan21_T2V_14B_lightx2v_cfg_step_distill_lora_rank32.safetensors
3. Wan14Bi2vFusionX.safetensors
4. clip_vision_h.safetensors
5. Wan2_1_VAE_bf16.safetensors
6. umt5-xxl-enc-bf16.safetensors
7. multitalk.safetensors
8. TencentGameMate/chinese-wav2vec2-base
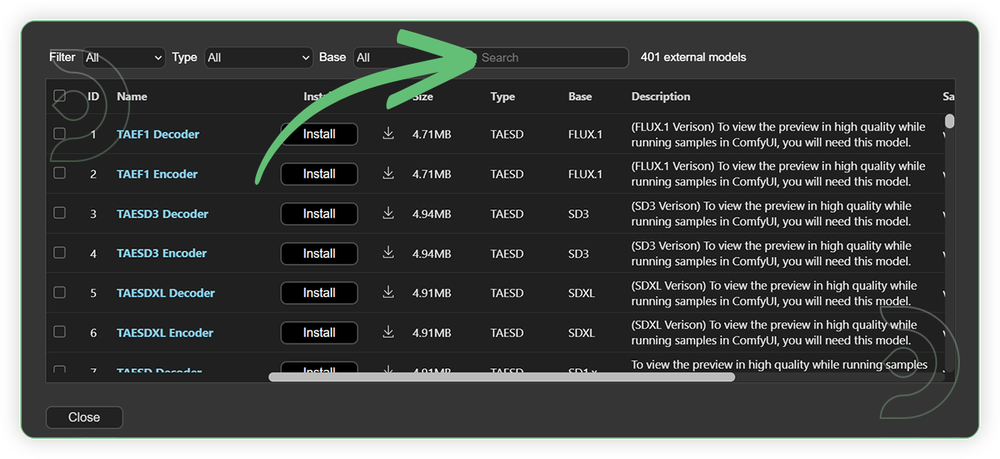
- Go to ComfyUI Manager > Click Model Manager
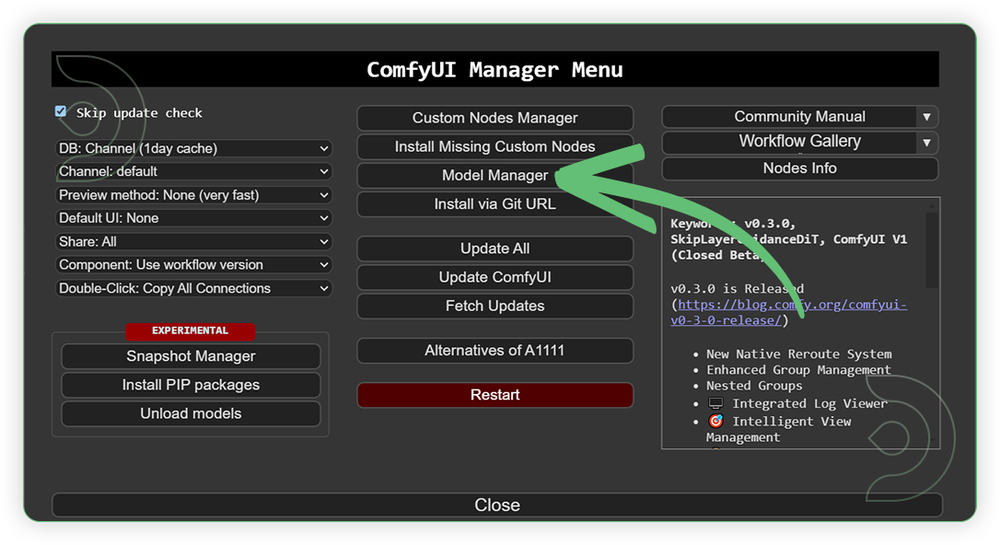
- Search for the models above and when you find the exact model that you're looking for, click install, and make sure to press refresh when you are finished.
If Model Manager doesn't have them: Use direct download links (included with workflow) and upload through ThinkDiffusion MyFiles > Upload URL. Refer our docs for more guidance on this.
You could also use the model path source instead: by pasting the model's link address into ThinkDiffusion MyFiles using upload URL.
| Model Name | Model Link Address | ThinkDiffusion Upload Directory |
|---|---|---|
detailz-wan.safetensors |
.../comfyui/models/loras/ |
|
| Wan21_T2V_14B_lightx2v_cfg_step_distill_ lora_rank32.safetensors |
.../comfyui/models/loras/ |
|
| Wan14Bi2vFusionX.safetensors | .../comfyui/models/diffusion_models/ |
|
| clip_vision_h.safetensors | .../comfyui/models/clip/ |
|
| Wan2_1_VAE_bf16.safetensors | .../comfyui/models/vae/ |
|
| umt5-xxl-enc-bf16.safetensors | .../comfyui/models/text_encoders/ |
|
| WanVideo_2_1_Multitalk_14B_fp8_e4m3fn.safetensors | .../comfyui/models/diffusion_models/ |
|
| TencentGameMate/chinese-wav2vec2-base | Auto Download |
Auto Upload |
Step-by-step Workflow Guide
This workflow was pretty easy to set up and runs well from the default settings. Here are a few steps where you might want to take extra note.
| Steps | Recommended Nodes |
|---|---|
| 1. Load an Image Load an input image. It should be clear and high in quality. |
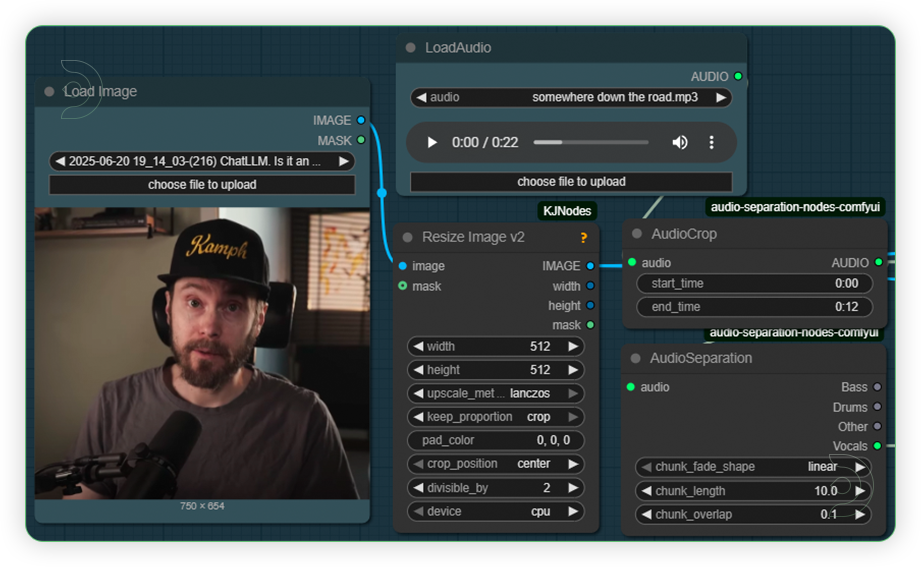 |
| 2. Set the Models Set the models as seen on the image. Don't change any setting because it may lead to out of memory. This workflow settings is already on the edge. |
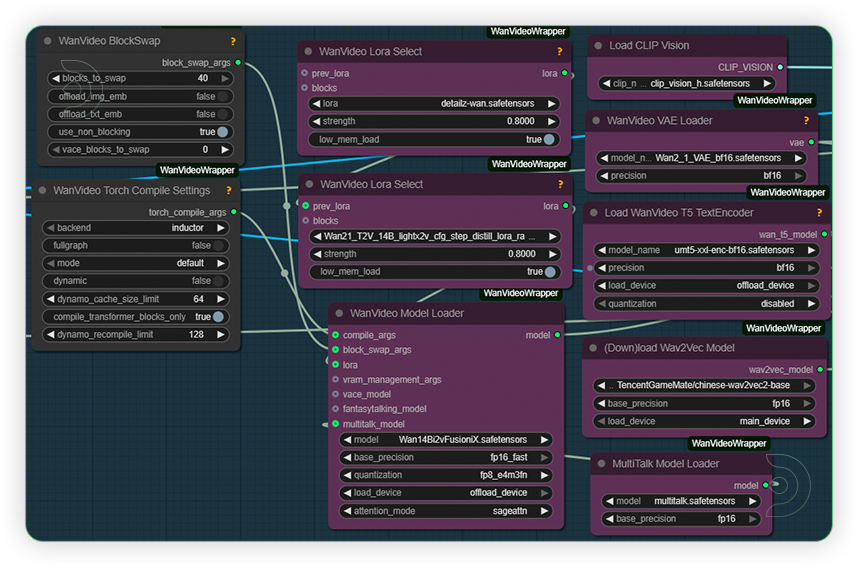 |
| 3. Write a Prompt Write a prompt. Include a word detailz, this is a trigger word for lora. |
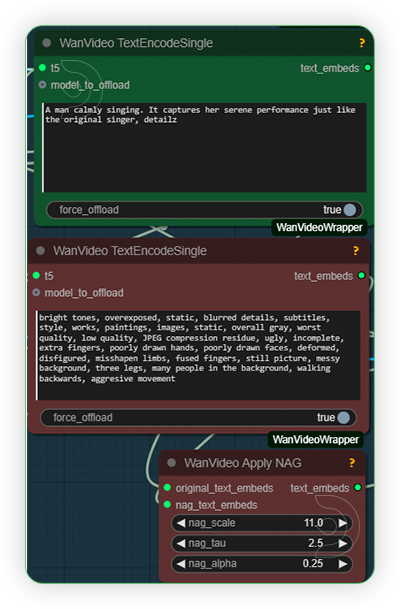 |
| 4. Check Sampling Check the sampling the settings. Set the steps count as it is because it uses a lora. Set the setting as seen on the image. |
 |
| 5. Check Output |
 |
Examples
Troubleshooting
Red Nodes: Install missing custom nodes through ComfyUI Manager
Out of Memory: Use smaller expansion factors or switch to Ultra machine
Poor Quality: Check input image resolution and adjust kontext strength
Visible Seams: Lower strength and ensure good prompt description
If you’re having issues with installation or slow hardware, you can try any of these workflows on a more powerful GPU in your browser with ThinkDiffusion.
Member discussion