


Flux Kontext lets you edit images precisely using text descriptions. Tell it what to change, and it modifies only those specific parts while keeping the rest intact. This is a gamechanger for control, and delivers incredible quality.
What is Flux Kontext?
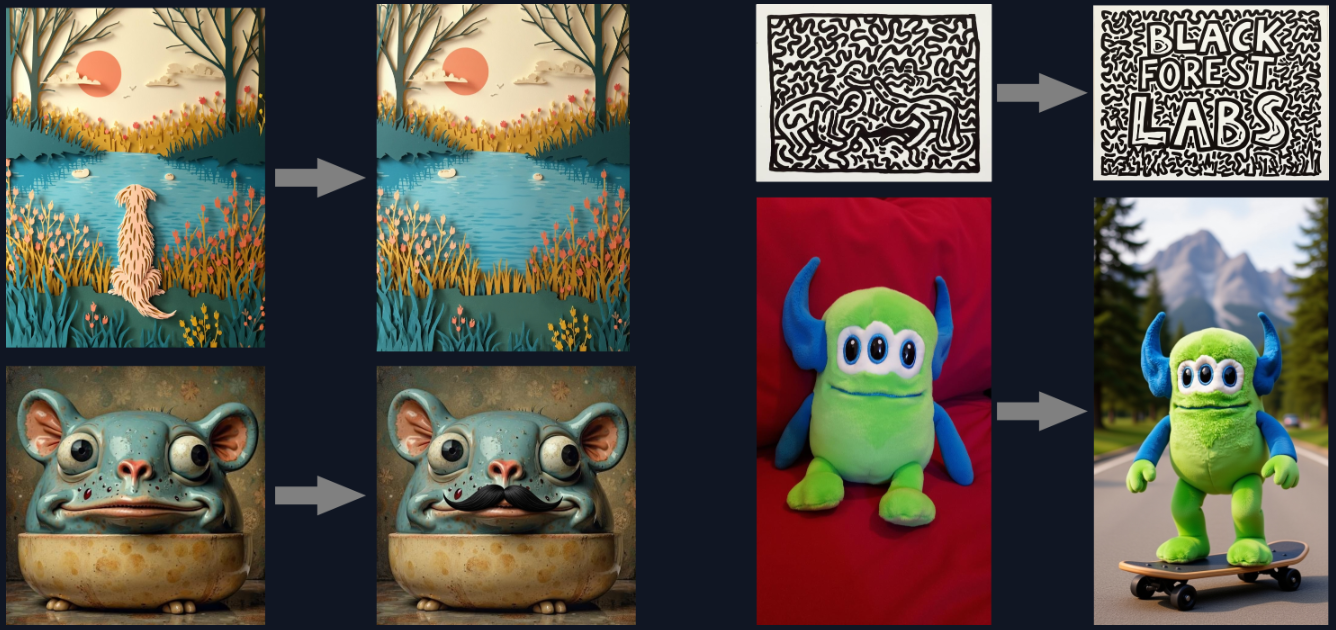
Flux Kontext is an AI image editing model by Black Forest Labs that excels at targeted modifications. Instead of generating entirely new images, it edits existing ones based on your text instructions.
Core capabilities:
- Local editing: Change specific parts without affecting the whole image
- Character consistency: Keep people looking the same across multiple edits
- Style transfer: Apply artistic styles to existing images
- Multi-round editing: Make several edits in sequence
- Object manipulation: Add, remove, or modify objects
Available versions: Pro, Max, and Dev. This guide covers Flux1-kontext-dev, which is freely available under a non-commercial license
Multi-Round Editing (Iterative)
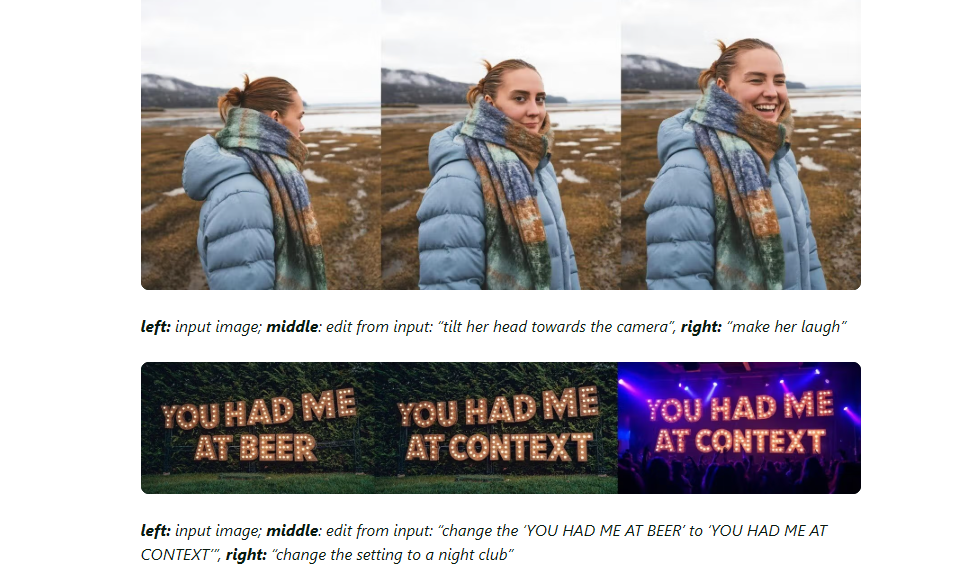
How Multi-Round Editing Works
Flux Kontext's strength is iterative editing. You can:
- Start with one image
- Make a targeted edit
- Use the result for the next edit
- Continue refining step by step
Each edit builds on the previous one while maintaining visual consistency and quality.
Limitations of Flux Kontext

- Quality degradation: After 6+ iterative edits, images may show artifacts
- Instruction following: Sometimes misses specific prompt details
- Limited world knowledge: May struggle with contextually accurate content
- Distillation artifacts: Processing can introduce visual issues
Get ready to unlock a smarter, sharper, and more creative approach to image generation—because your next masterpiece is just around the corner!
How to Use Flux Kontext in ComfyUI
Installation guide
- Download the workflow file
- Open ComfyUI (local or ThinkDiffusion)
- Drag the workflow file into the ComfyUI window
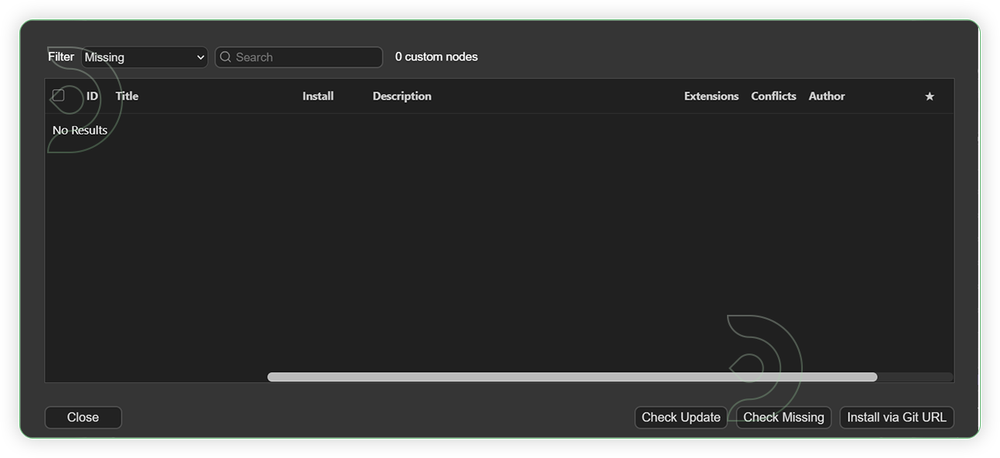
- If you see red nodes, install missing components:
- ComfyUI Manager > Install Missing Custom Nodes
Verified to work on ThinkDiffusion Build: June 27, 2025
ComfyUI v0.3.42 with the use flux1-kontext-dev.safetensors
Note: We specify the build date because ComfyUI and custom node versions updated after this date may change the behavior or outputs of the workflow.
Minimum Machine Size: Ultra
Use the specified machine size or higher to ensure it meets the VRAM and performance requirements of the workflow
Custom Nodes
If there are red nodes in the workflow, it means that the workflow lacks the certain required nodes. Install the custom nodes in order for the workflow to work.
- Go to the ComfyUI Manager > Click Install Missing Custom Nodes
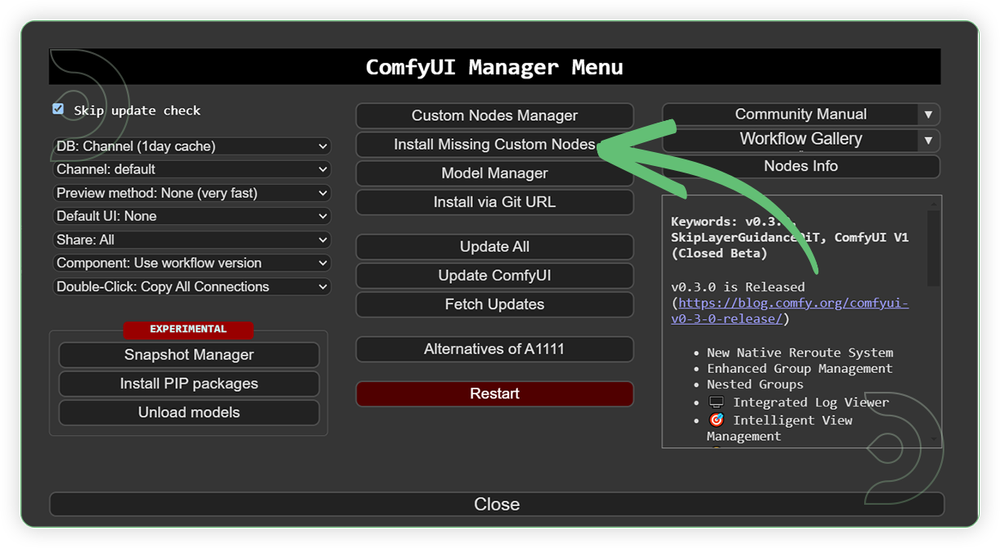
- Check the list below if there's a list of custom nodes that needs to be installed and click the install.
Required Models
For this guide you'll need to download these 4 recommended models.
2. clip_l.safetensors
3. t5xxl_fp16.safetensors
4. ae.safetensors
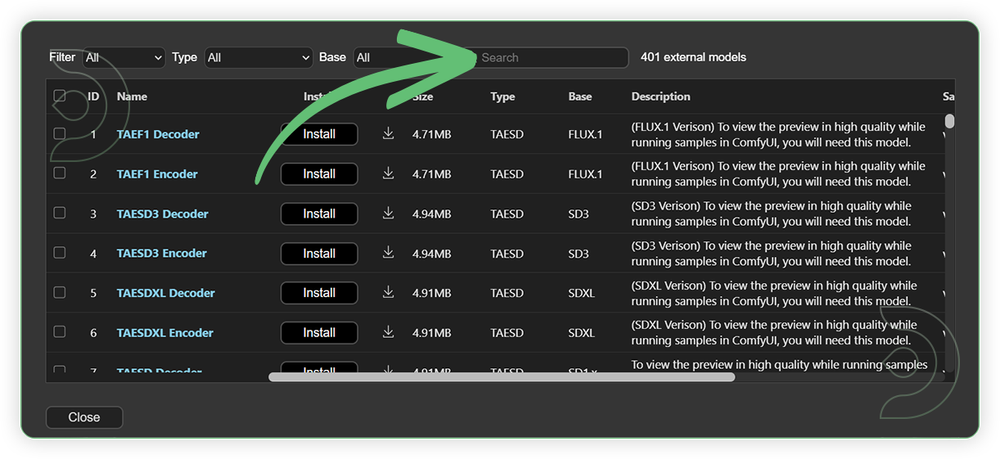
- Go to ComfyUI Manager > Click Model Manager
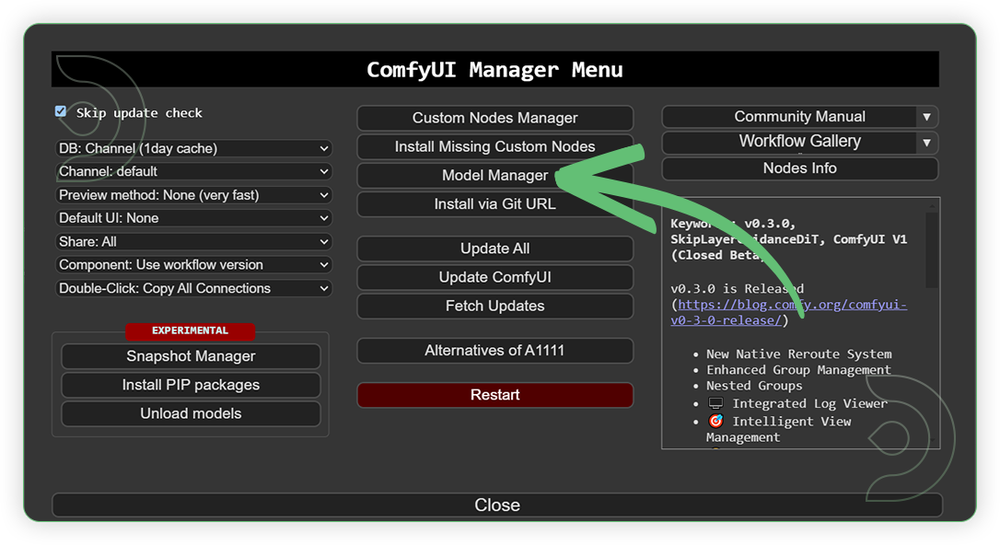
- Search for the models above and when you find the exact model that you're looking for, click install, and make sure to press refresh when you are finished.
If Model Manager doesn't have them: Use direct download links (included with workflow) and upload through ThinkDiffusion MyFiles > Upload URL. Refer our docs for more guidance on this.
You could also use the model path source instead: by pasting the model's link address into ThinkDiffusion MyFiles using upload URL.
| Model Name | Model Link Address | ThinkDiffusion Upload Directory |
|---|---|---|
flux1-kontext-dev.safetensors |
.../comfyui/models/diffusion_models/ |
|
| clip_l.safetensors | .../comfyui/models/clip/ |
|
| t5xxl_fp16.safetensors | .../comfyui/models/text_encoders/ |
|
| ae.safetensors | .../comfyui/models/vae/ |
Step-by-step Workflow Guide
This workflow was pretty easy to set up and runs well from the default settings. Here are a few steps where you might want to take extra note.
| Steps | Recommended Nodes |
|---|---|
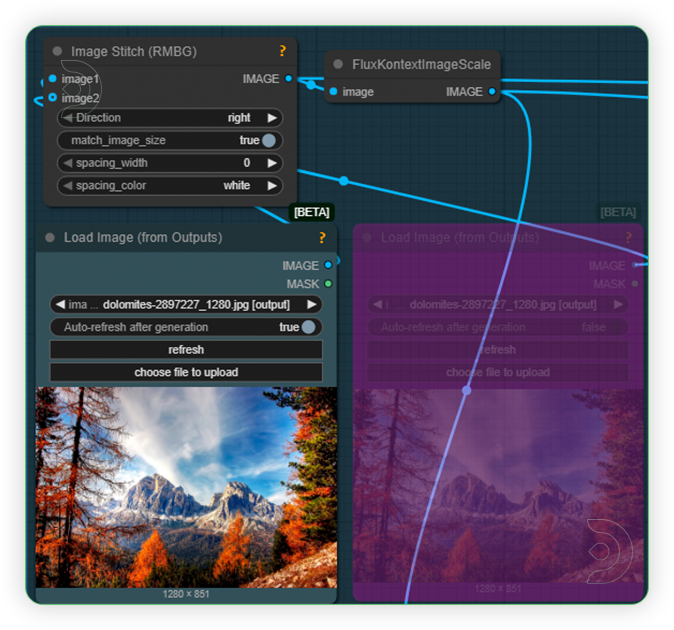
| 1. Load an Image Load an image. Make sure that it is clear and free from artifacts and blurred. If you want to combine the two image, just enable the 2nd load image. |
 |
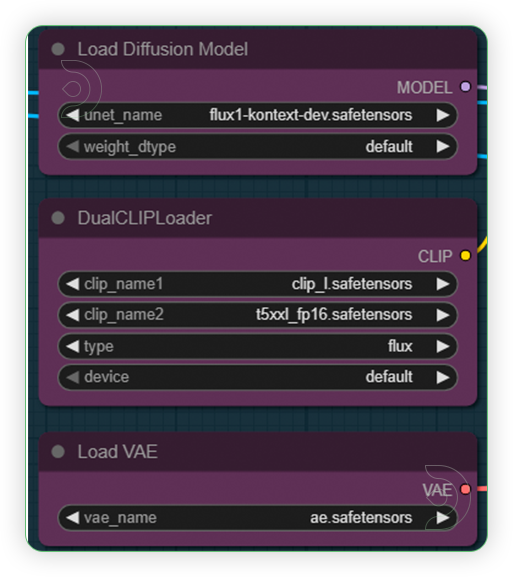
| 2. Set the Models Set the models as seens on the image. |
 |
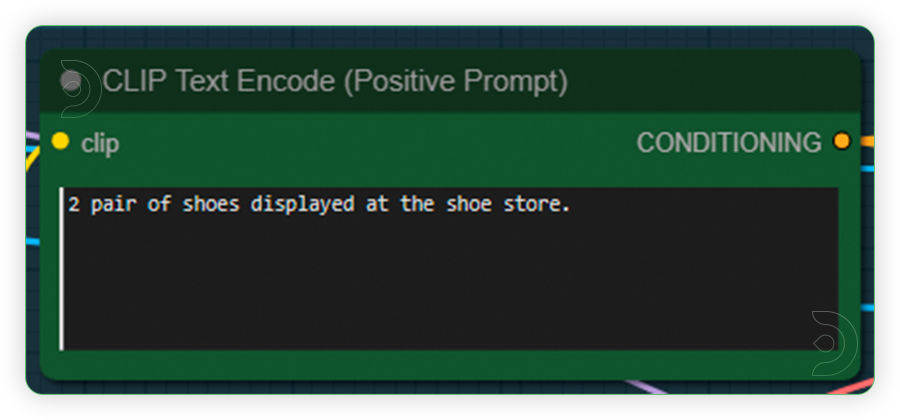
| 3. Write a Prompt Write a simple prompt which describes the noun and you want to be for the output. See the examples below for your guidance. |
 |
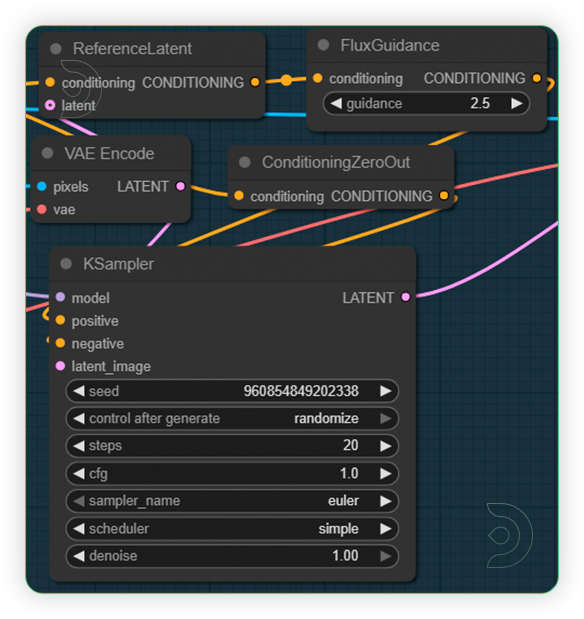
| 4. Check the Sampling Set the settings as seen on the image. Do not change the CFG higher as it may cause artifacts. |
 |
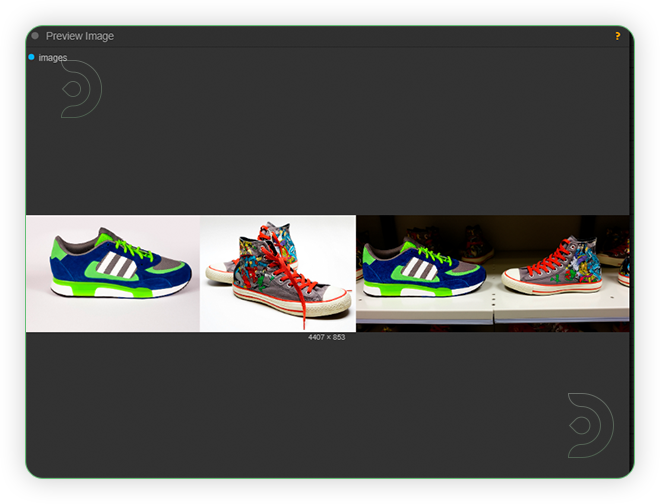
| 5. Check the Output |
 |
Examples
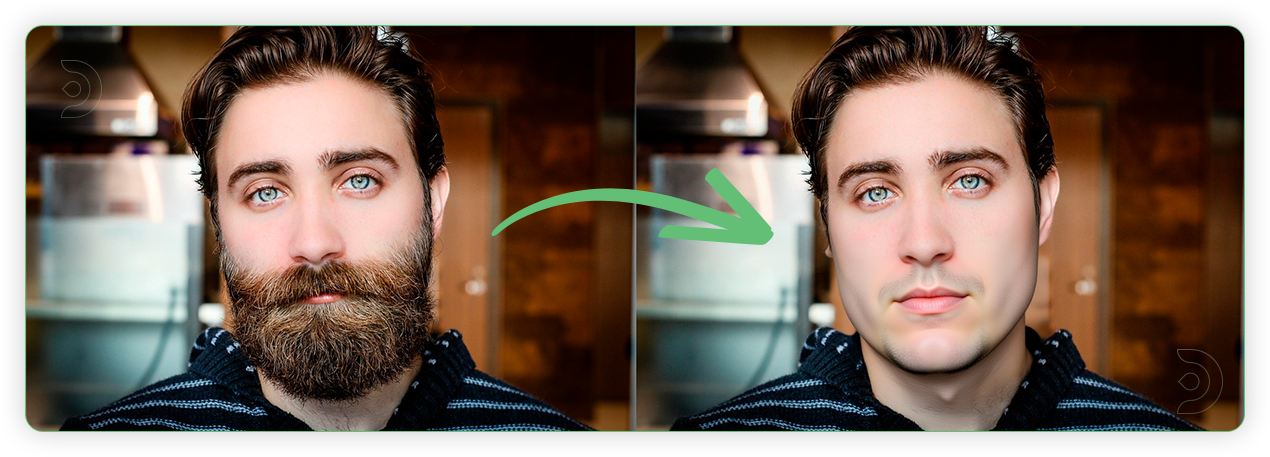
Character Consistency


Add / Edit Text


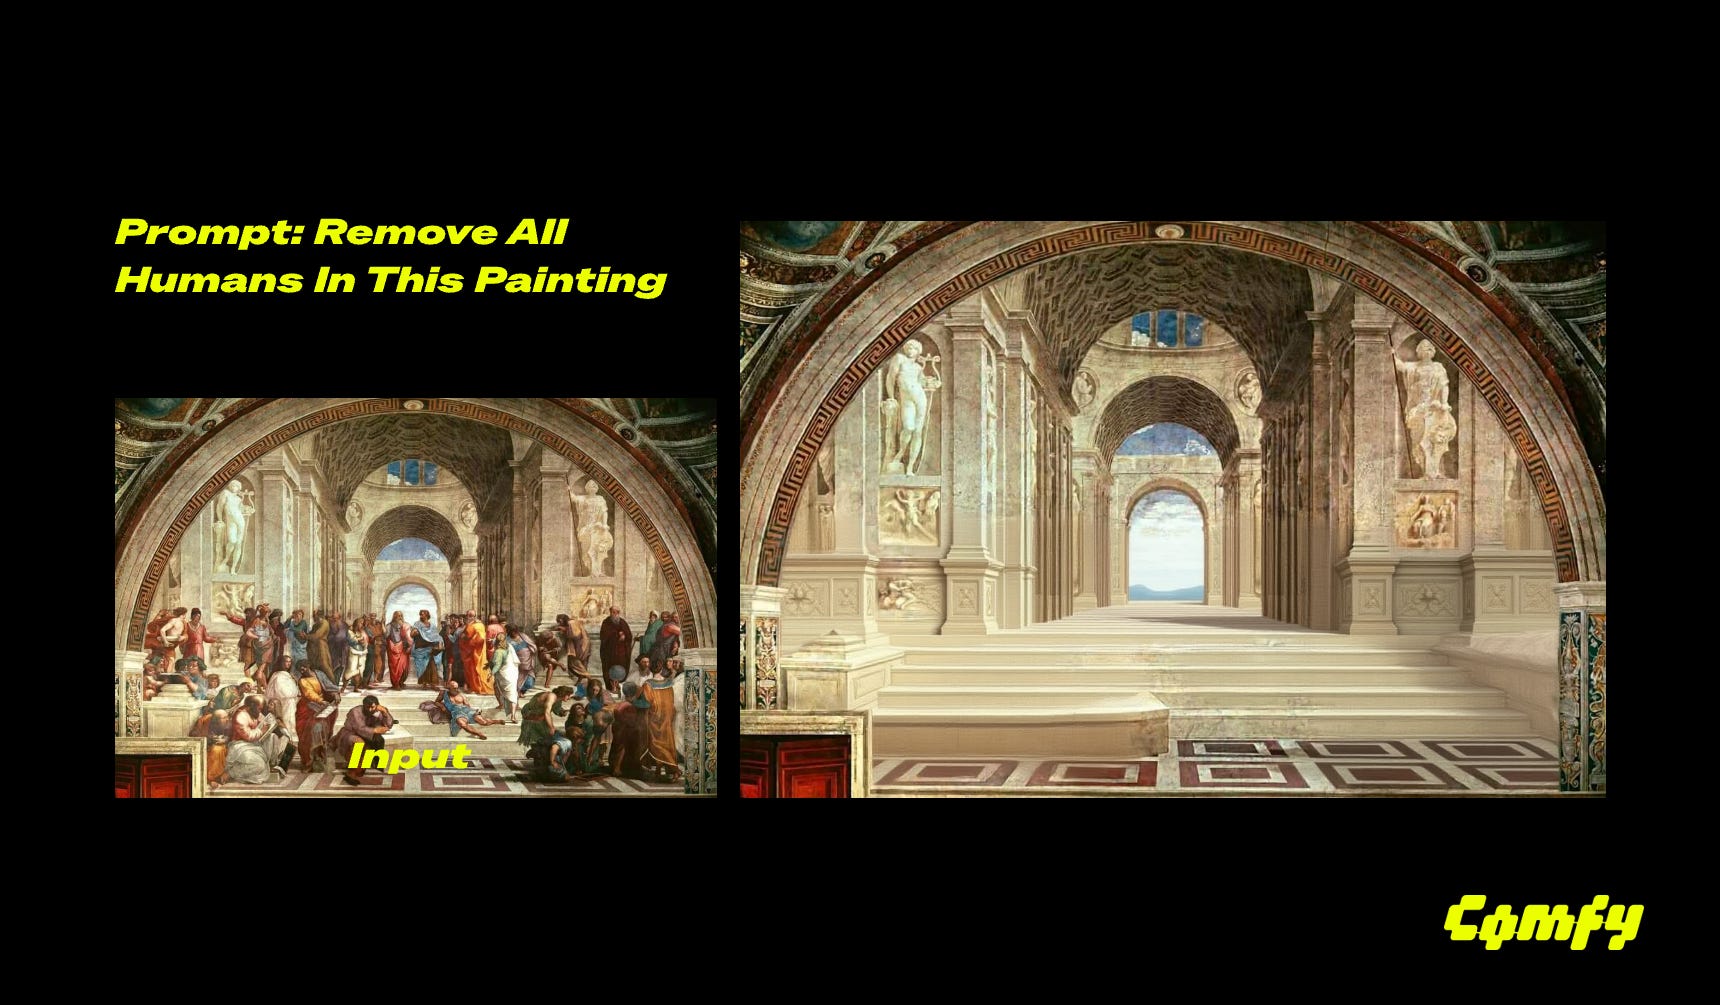
Remove Objects

Style Reference

Switch View


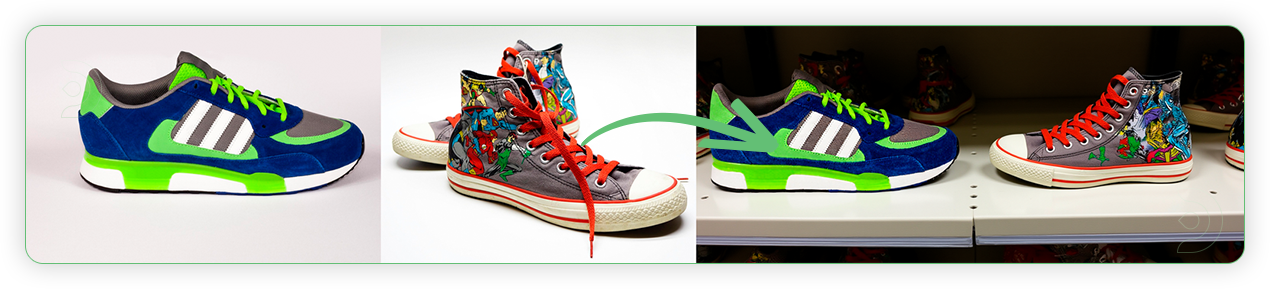
Multiple Input Images

Change Light

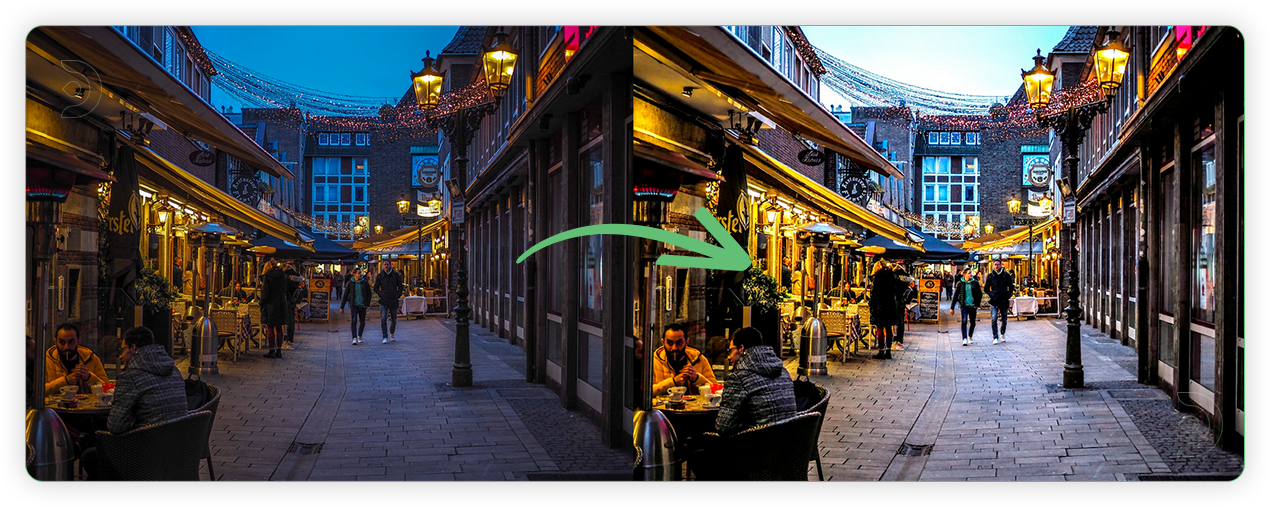
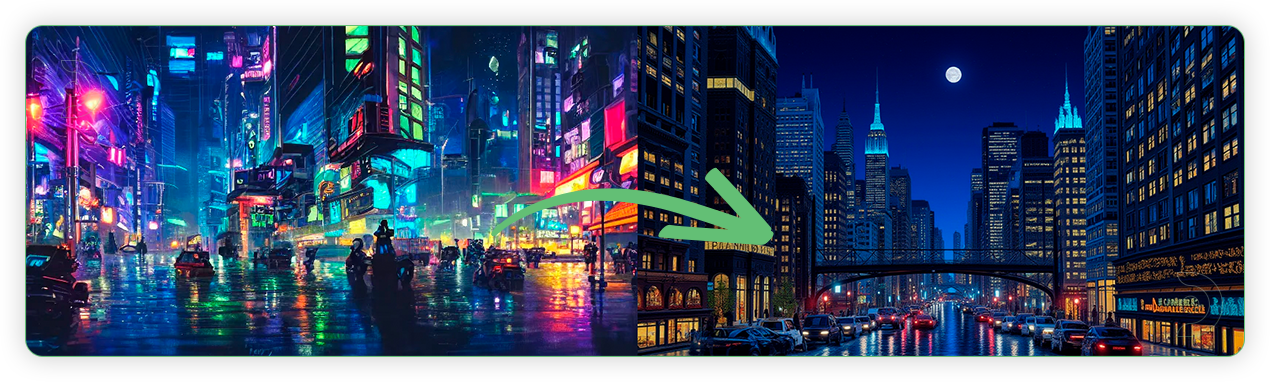
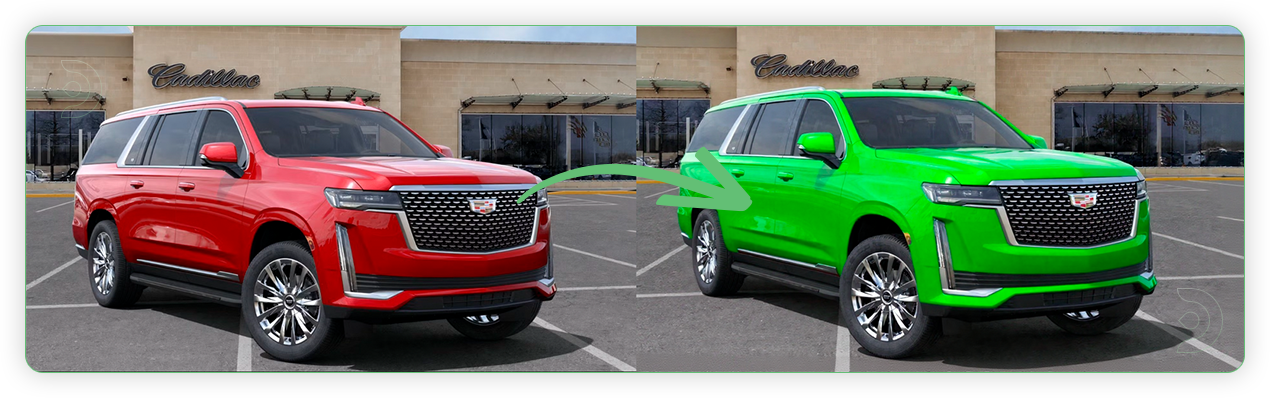
Image Editing

Restyle


Tips for Better Results
- Start simple: Begin with basic edits before complex changes
- Be specific: Clear descriptions work better than vague ones
- Check quality: Monitor for artifacts after each edit
- Limit iterations: Avoid more than 5-6 sequential edits
- Use good source images: High-quality inputs produce better outputs
Troubleshooting
- Red nodes: Install missing custom nodes via ComfyUI Manager
- Model errors: Verify all 4 models are downloaded correctly
- Poor results: Simplify prompts and retry
- Artifacts: Reduce CFG settings or start with fresh image
If you’re having issues with installation or slow hardware, you can try any of these workflows on a more powerful GPU in your browser with ThinkDiffusion.
Member discussion