
Change backgrounds. Swap objects. Add stuff. Remove stuff. Adjust styles. All through simple text prompts instead of wrestling with complicated tools.
Qwen is Alibaba's image editing model, built on their 20B-parameter foundation. It handles object manipulation, style transfers, and even text editing inside images. The results are surprisingly realistic, and it keeps context better than you'd expect.
Useful if you're creating content, designing stuff, running social media, or just want to edit images without learning Photoshop.
What we'll cover
- What Qwen Image Edit actually is and what makes it different
- Getting the workflow running on ThinkDiffusion
- Installing the models and custom nodes you need
- Walking through the workflow step-by-step
- Real examples of what it can do
- Common issues and how to fix them
What is Qwen Image Edit?
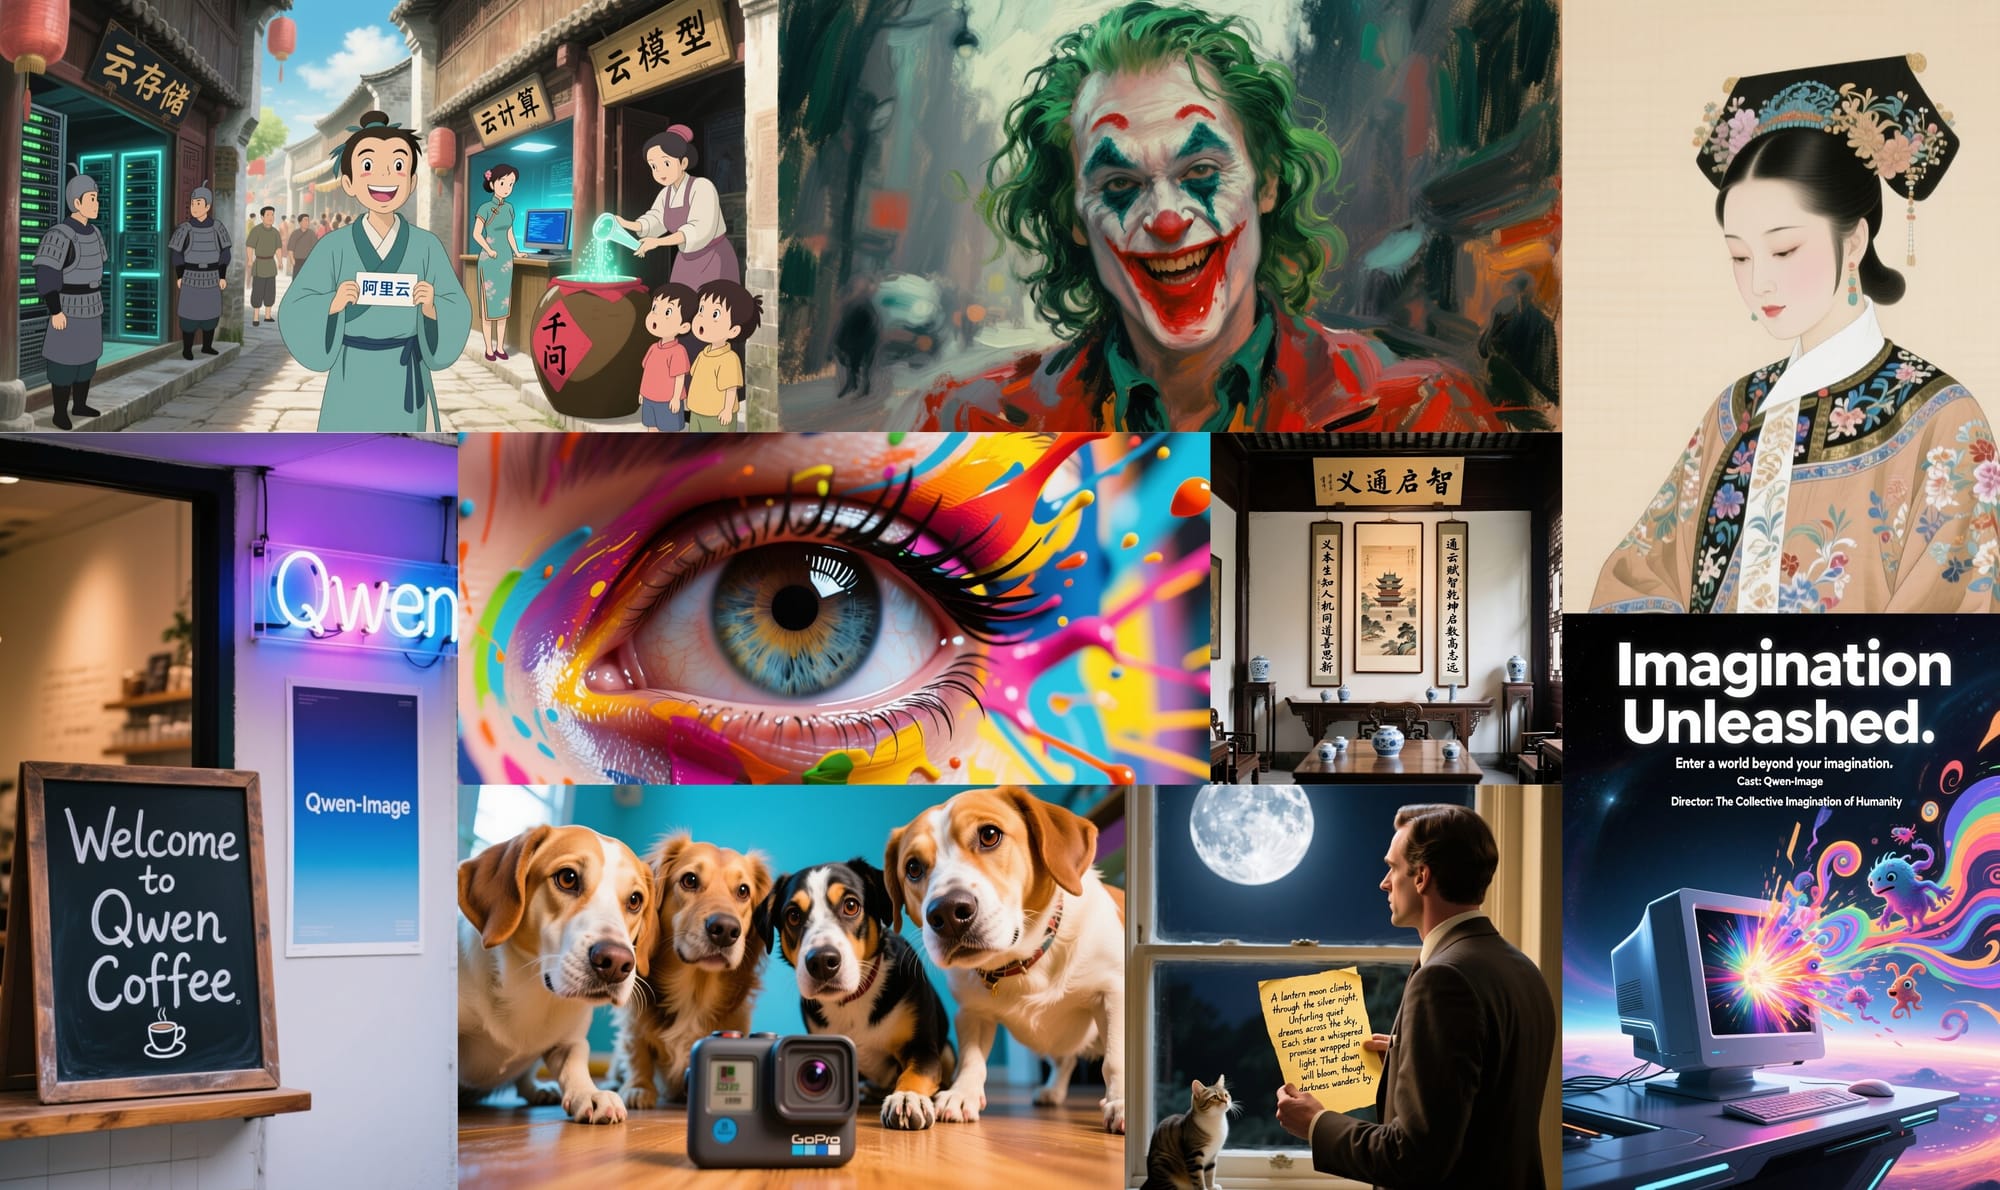
Qwen Image Edit is a model developed by Alibaba's Qwen team, built upon their robust 20B-parameter Qwen-Image foundation. This model brings precise object manipulation, accurate style and background transfer, and dual-language text editing directly within images. It does a solid job with realism and keeping details intact, even when you're asking it to do tricky edits.
Ideal for content creators, designers, marketers, social media teams, localization experts, e-commerce businesses, and anyone seeking intuitive, professional-grade image editing through the power of natural language.
So go ahead: give your edits a voice, and see just how far your words can take your next photo adventure!
Download Workflow
Installation guide
- Download the workflow file
- Open ComfyUI (local or ThinkDiffusion)
- Drag the workflow file into the ComfyUI window
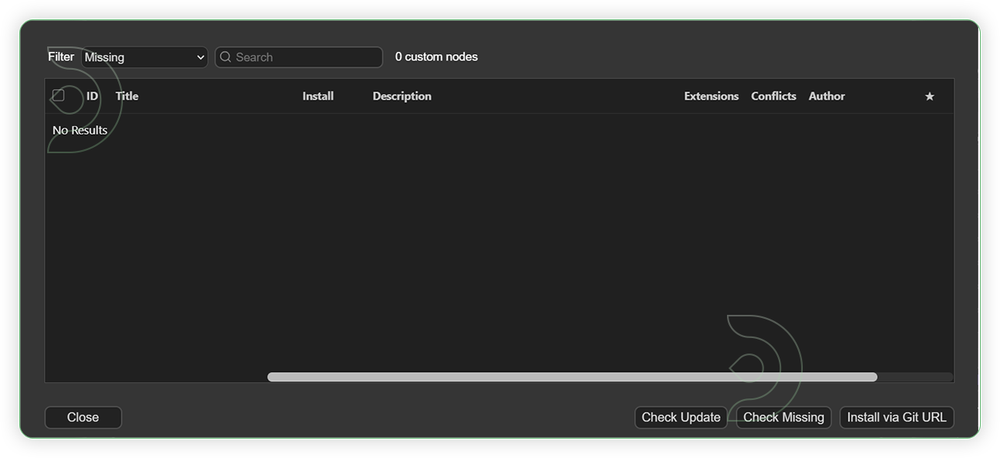
- If you see red nodes, install missing components:
- ComfyUI Manager > Install Missing Custom Nodes
Verified to work on ThinkDiffusion Build: September 5, 2025
ComfyUI v0.3.57 with the use qwen_image_edit_fp8_e4m3fn.safetensors
and qwen_2.5_vl_7b_fp8_scaled.safetensors
Note: We specify the build date because ComfyUI and custom node versions updated after this date may change the behavior or outputs of the workflow.
Minimum Machine Size: Ultra
Use the specified machine size or higher to ensure it meets the VRAM and performance requirements of the workflow
Custom Nodes
If there are red nodes in the workflow, it means that the workflow lacks the certain required nodes. Install the custom nodes in order for the workflow to work.
- Go to the ComfyUI Manager > Click Install Missing Custom Nodes

- Check the list below if there's a list of custom nodes that needs to be installed and click the install.
Required Models
For this guide you'll need to download these 3 recommended models.
2. qwen_2.5_vl_7b_fp8_scaled.safetensors
3. qwen_image_vae.safetensors
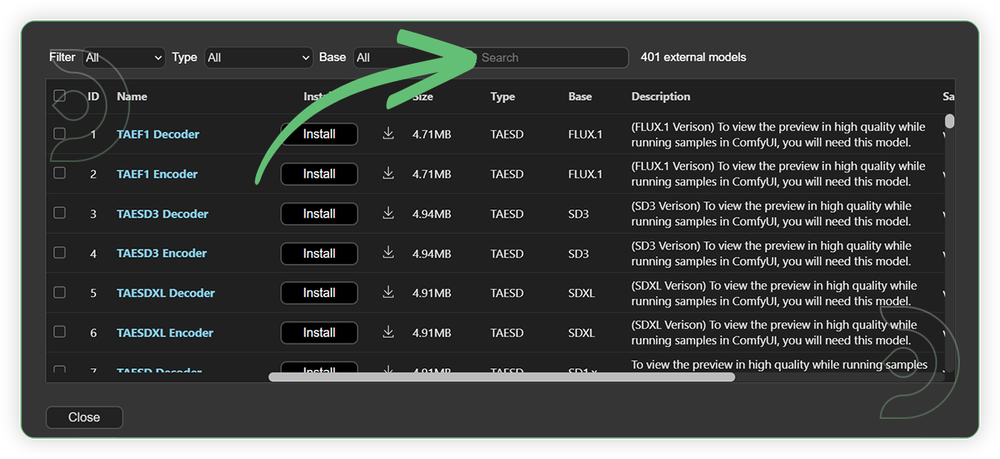
- Go to ComfyUI Manager > Click Model Manager
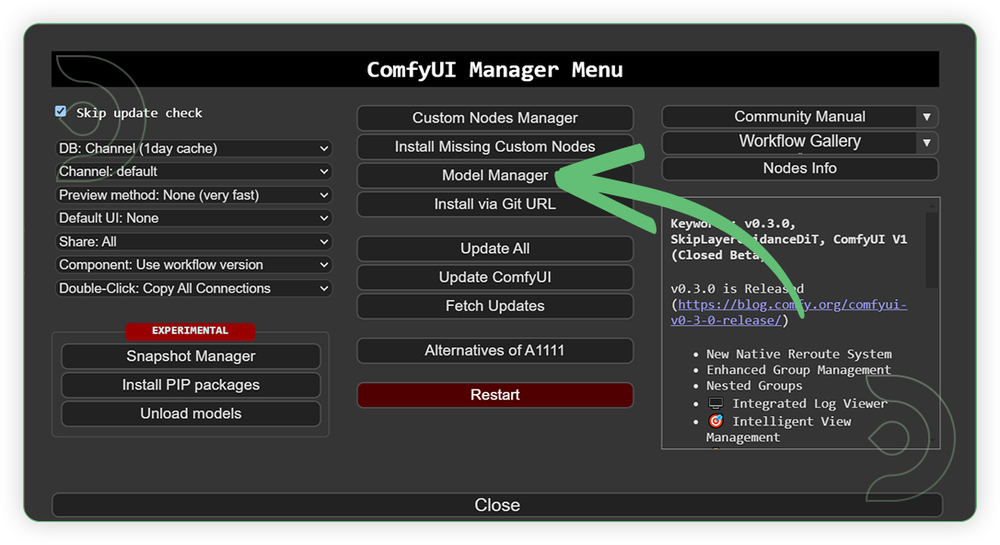
- Search for the models above and when you find the exact model that you're looking for, click install, and make sure to press refresh when you are finished.
If Model Manager doesn't have them: Use direct download links (included with workflow) and upload through ThinkDiffusion MyFiles > Upload URL. Refer our docs for more guidance on this.
You could also use the model path source instead: by pasting the model's link address into ThinkDiffusion MyFiles using upload URL.
| Model Name | Model Link Address | ThinkDiffusion Upload Directory |
|---|---|---|
| qwen_image_edit_fp8_e4m3fn.safetensors | .../comfyui/models/diffusion_models/ |
|
| qwen_2.5_vl_7b_fp8_scaled.safetensors | .../comfyui/models/text_encoders/ |
|
| qwen_image_vae.safetensors | .../comfyui/models/vae/ |
Step-by-step Workflow Guide
This workflow was pretty easy to set up and runs well from the default settings. Here are a few steps where you might want to take extra note.
| Steps | Recommended Nodes |
|---|---|
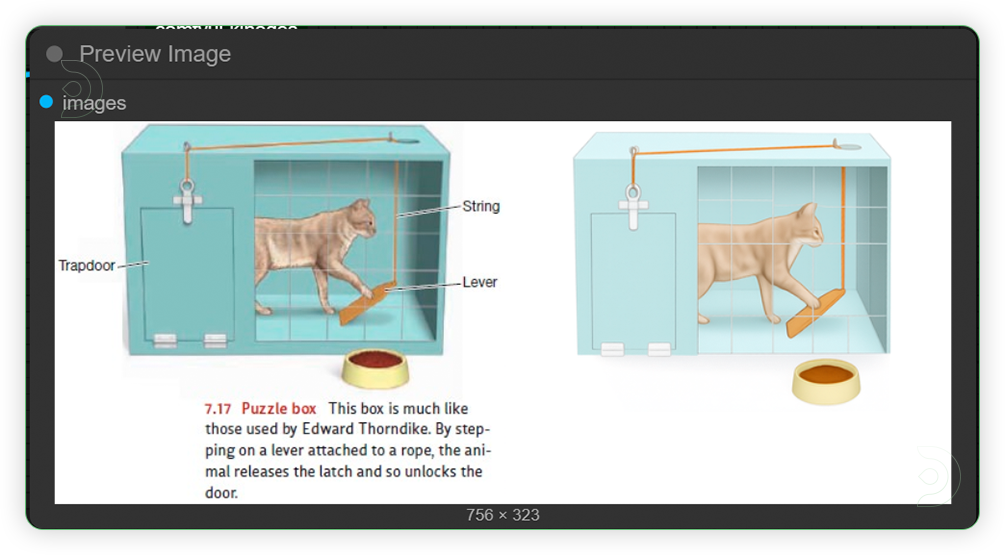
| 1. Load an Input Image Load an input image. Any minimal resolution will do as long it has a high quality image. |
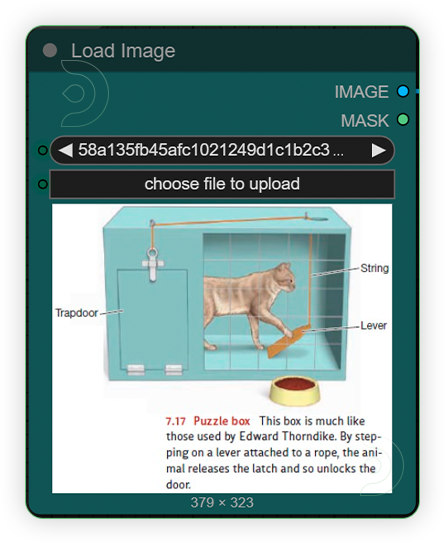 |
| 2. Set the Models Set the models as seen on the image. If you have good hardware you can use the full model but needs to be manual download. |
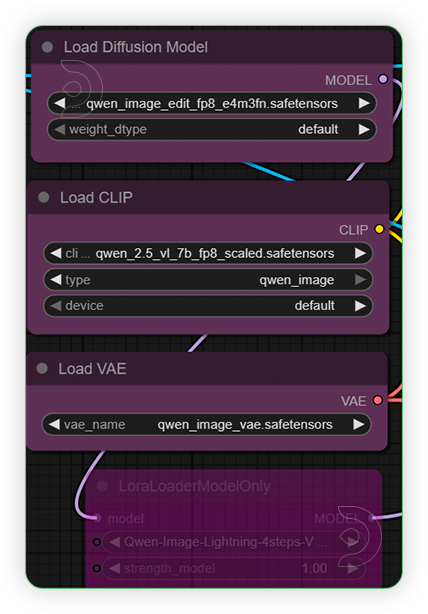 |
| 3. Write the Prompt Write a simple which serves as instruction of what kind image edit you want to initiate. |
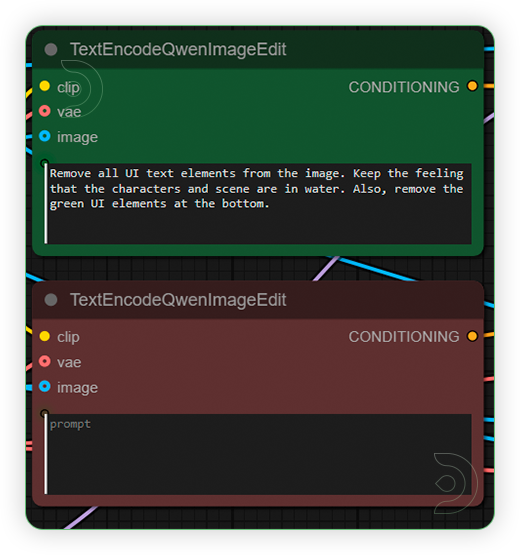 |
| 4. Check the Sampling Set the settings as seen on the image. |
 |
| 5. Check the Output |
 |
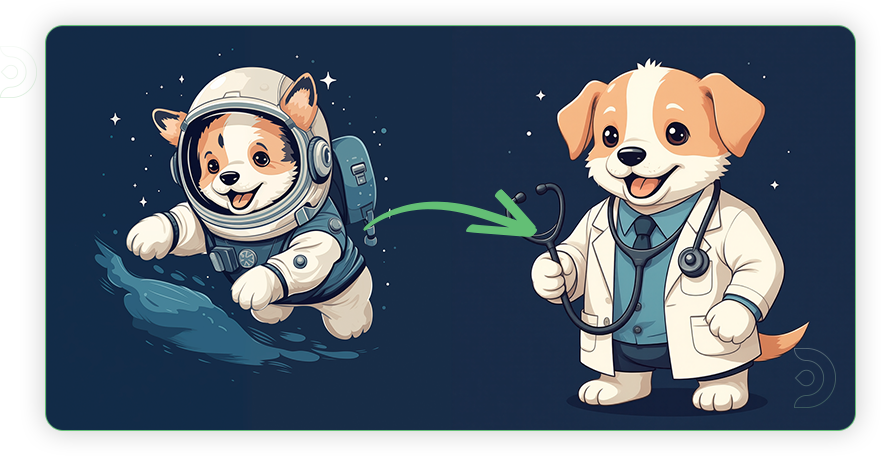
Examples
IP Creation
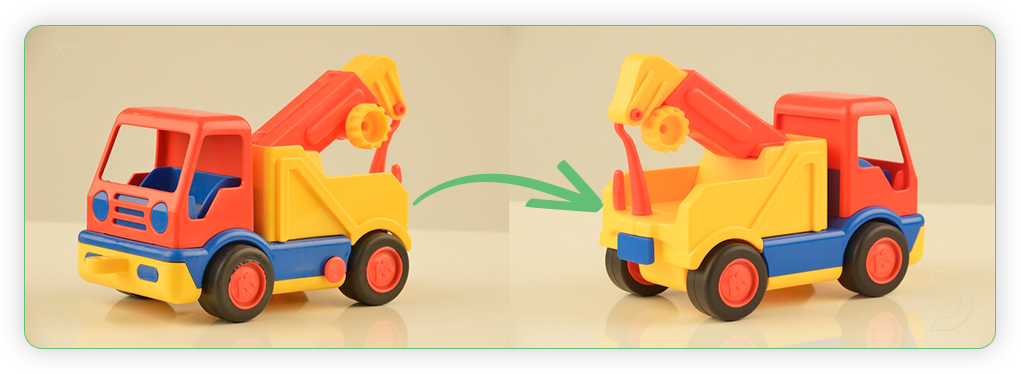
Novel View Synthesis
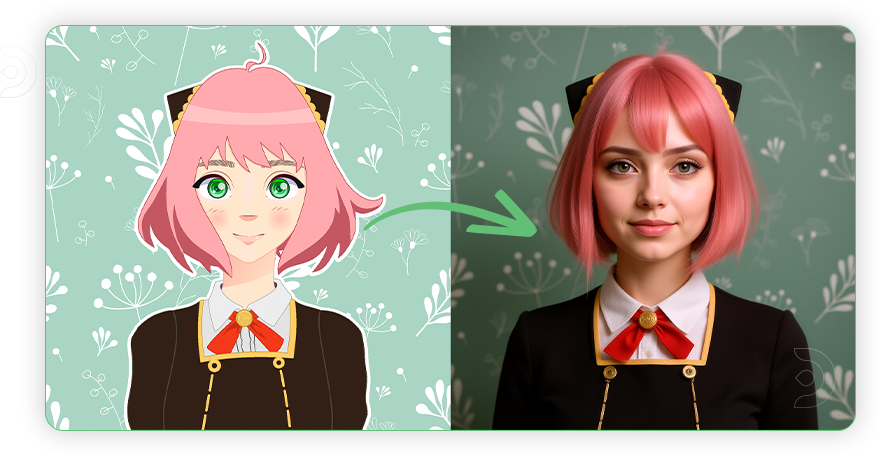
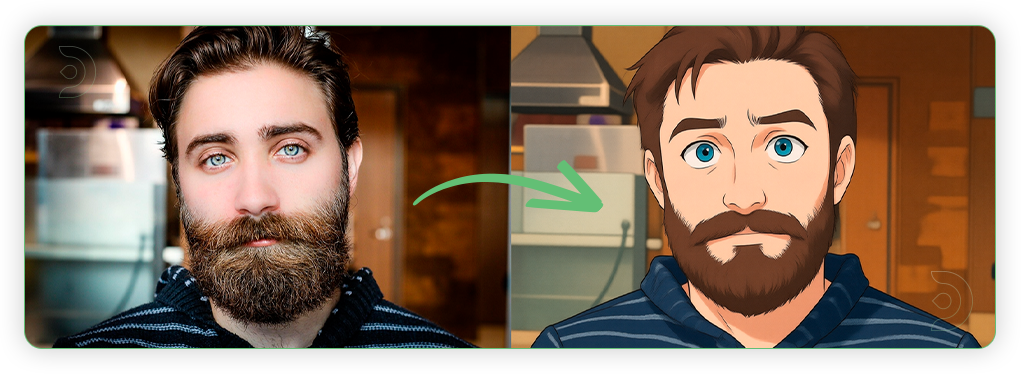
Avatar Creator
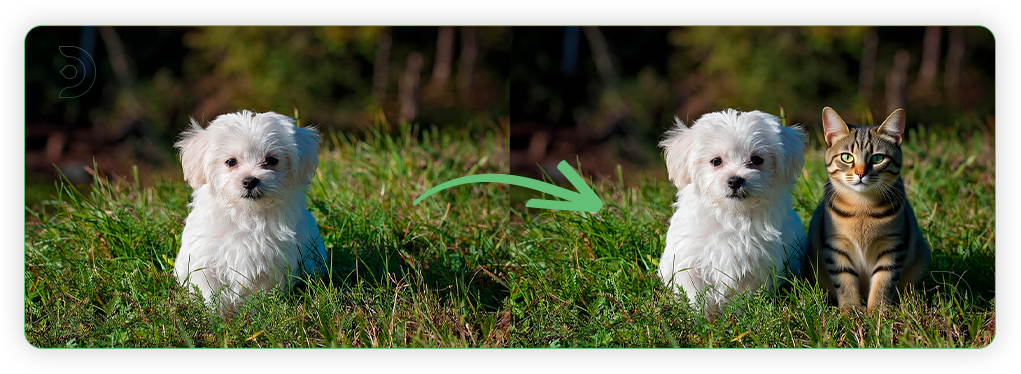
Object Add
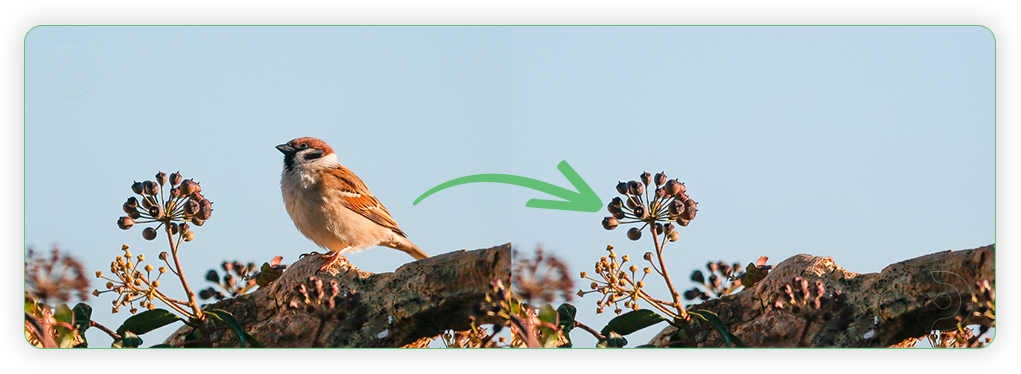
Object Removal
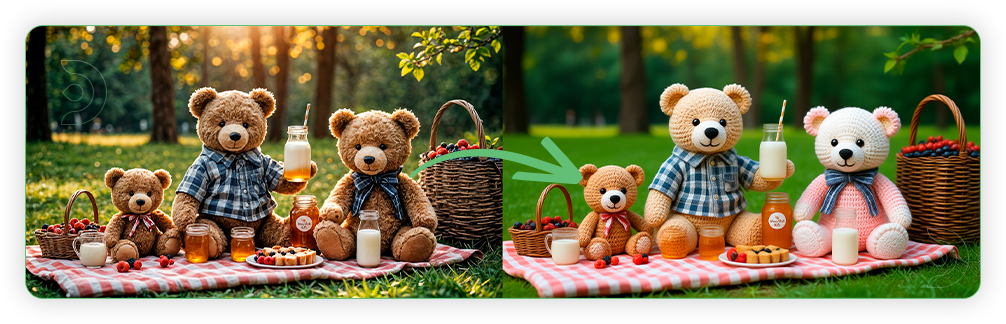
Object Replace

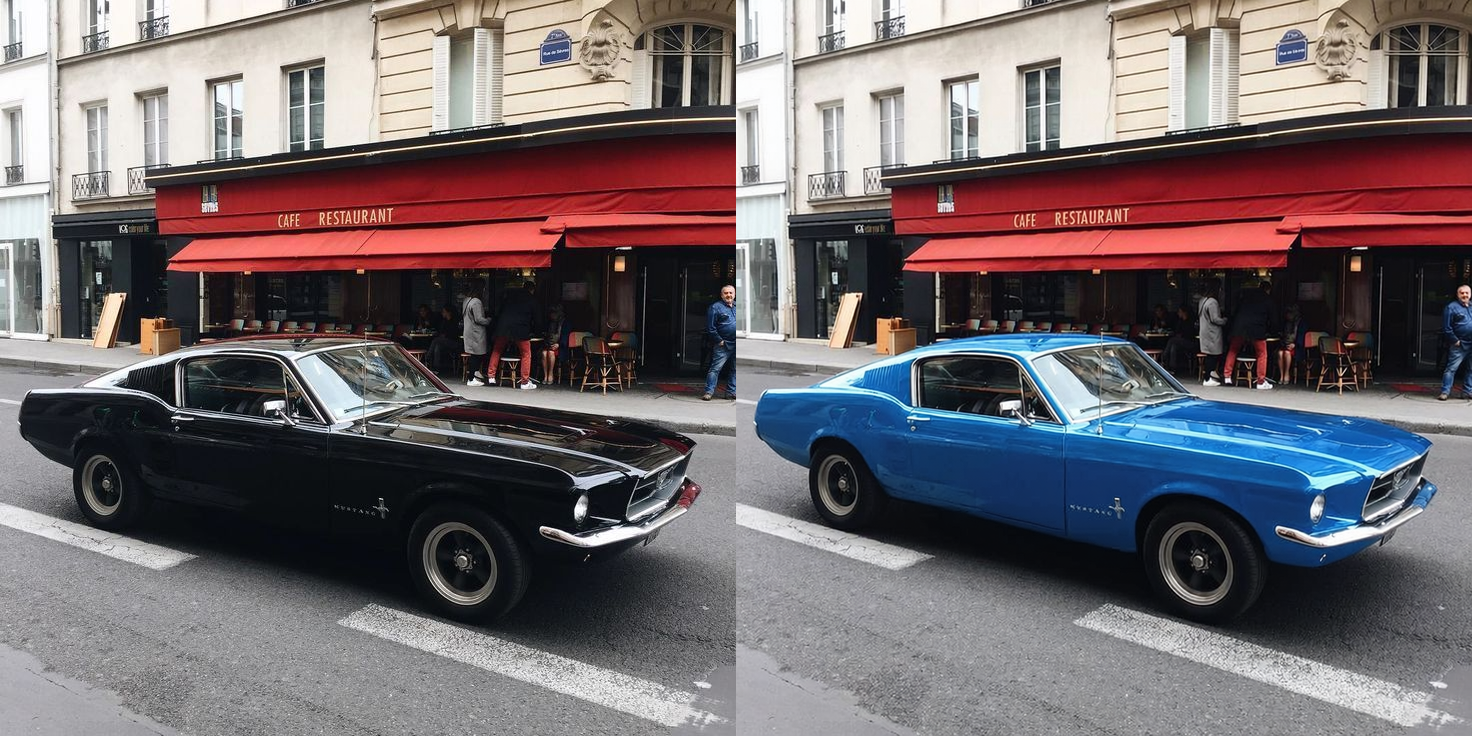
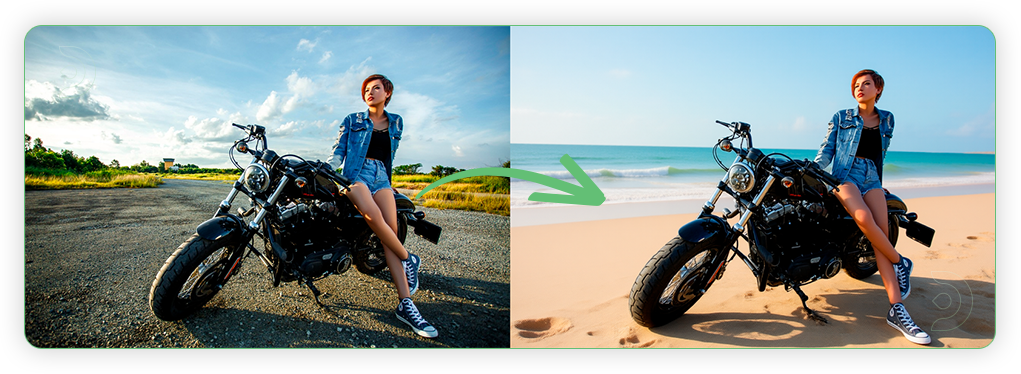
Background Swap
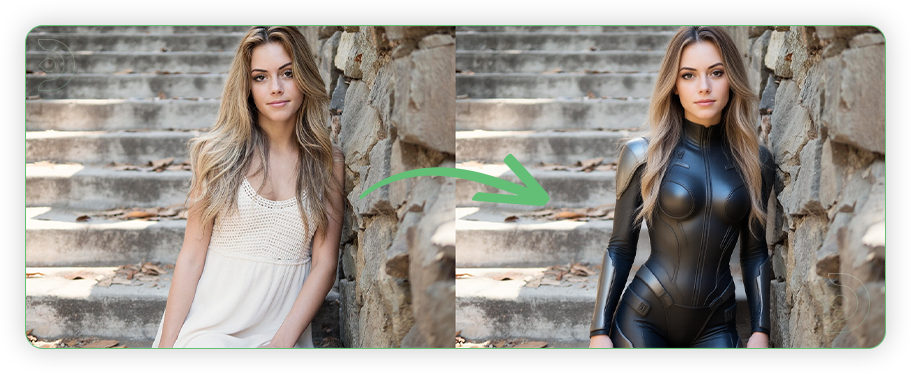
Virtual Try-On
Text Editing

Troubleshooting
Red Nodes: Install missing custom nodes through ComfyUI Manager
Out of Memory: Use smaller expansion factors or switch to Ultra machine
Poor Quality: Check input image resolution and adjust kontext strength
Visible Seams: Lower strength and ensure good prompt description
If you’re having issues with installation or slow hardware, you can try any of these workflows on a more powerful GPU in your browser with ThinkDiffusion.

Member discussion