
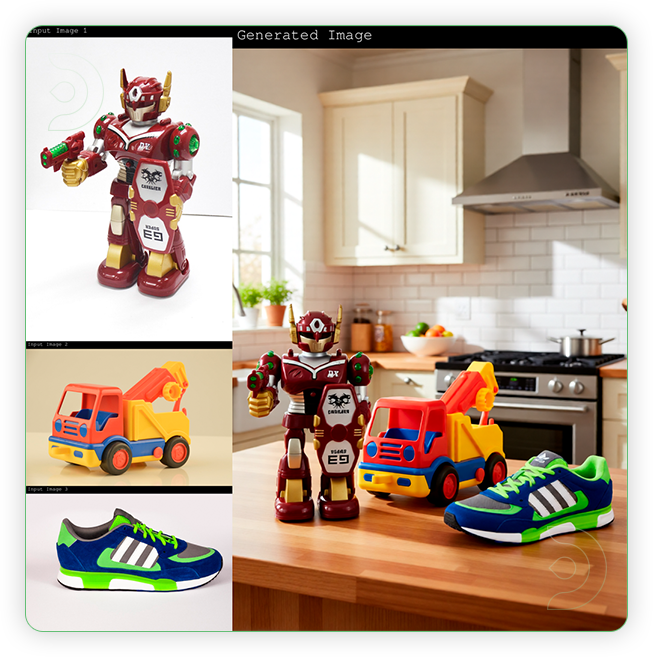
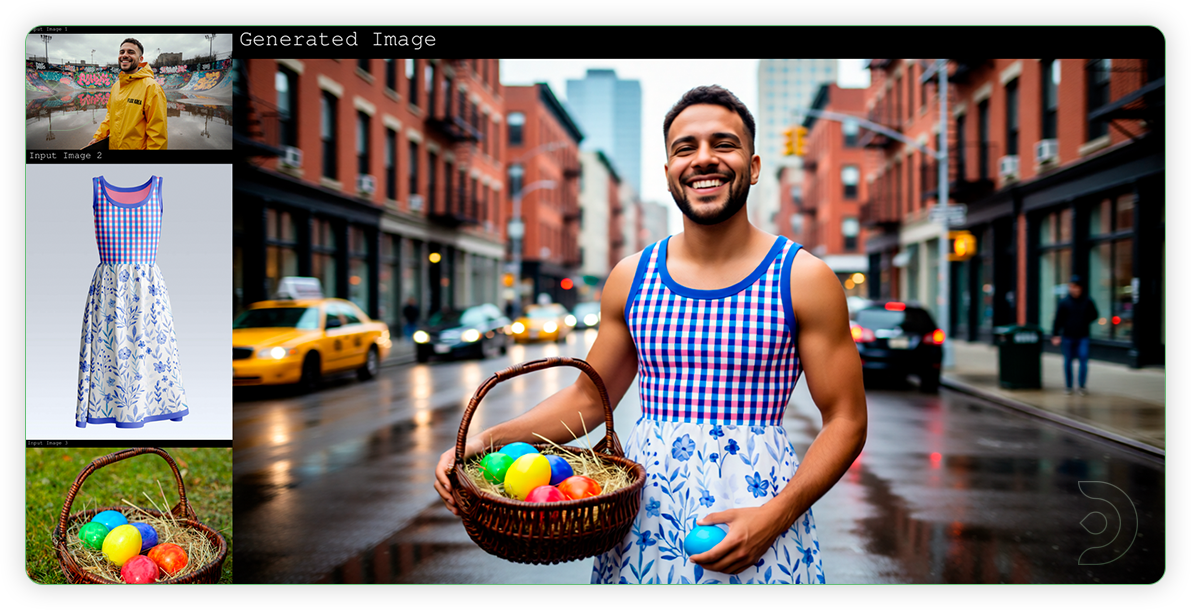
Ever wanted to merge the perfect outfit with the ideal pose, or showcase different products all in a single, seamless scene? Whether you’re a designer looking to preview fashion combinations, a marketer building composite product showcases, or an artist bringing creative concepts to life, this workflow gives you the power to experiment freely and see instant, consistent results.
What is Qwen Image Edit 2509? Why is it better?
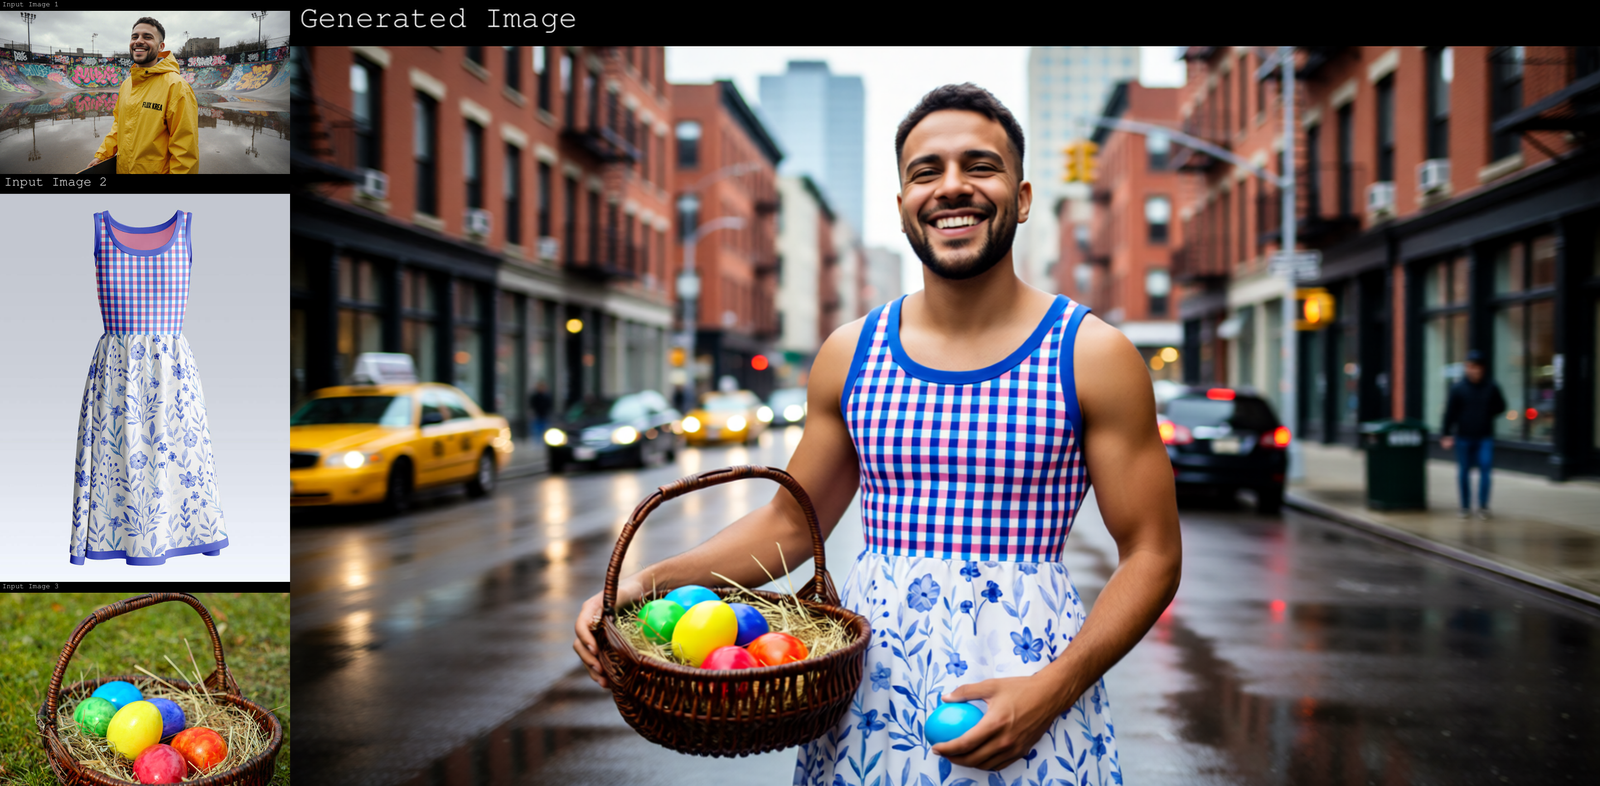
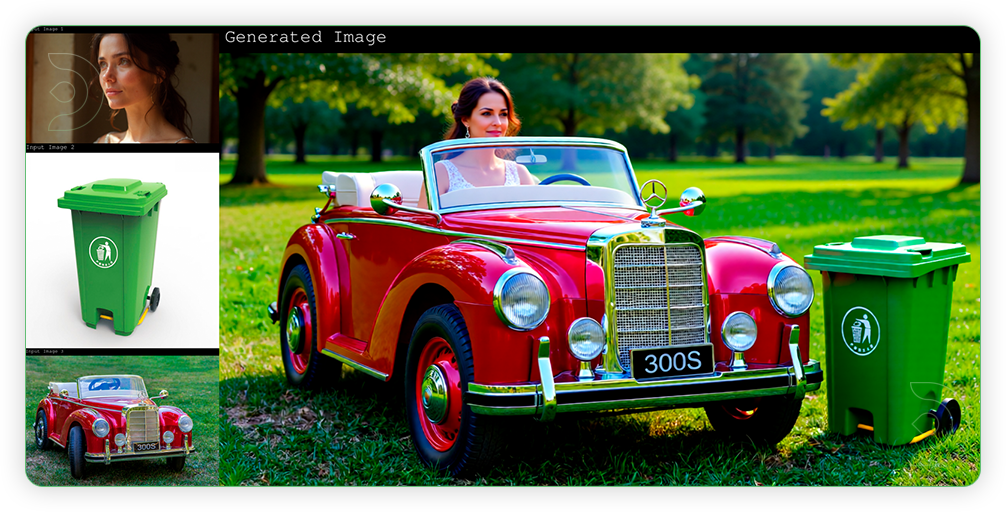
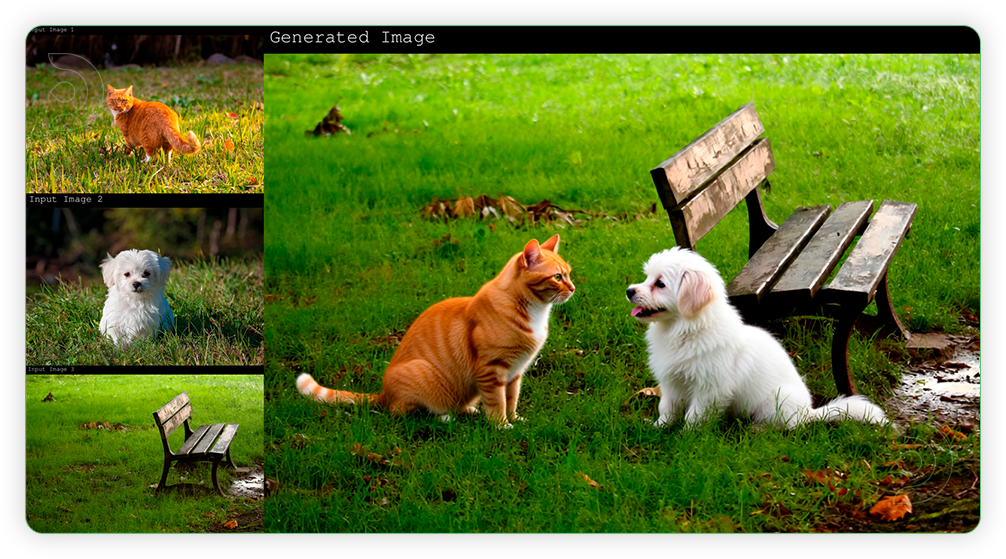
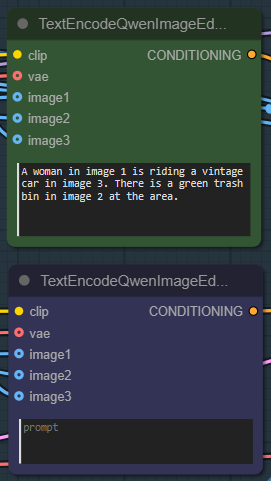
Qwen Image Edit 2509 lets you combine multiple images into a single scene using text prompts. Reference different images by number in your prompt-"image 1," "image 2," "image 3"-and the model places them together.
Released in September 2025 (the "2509" refers to the version and release date), this update handles complex multi-image edits better than the original Qwen. Faster processing, better alignment between elements, and more realistic results when combining different inputs.
Useful for product mockups, fashion previews, or any project where you need to merge different elements into one cohesive image.
Why settle for one-at-a-time edits, when your next masterpiece could start with everything you need, all at once?
Download Workflow
Installation guide
- Download the workflow file
- Open ComfyUI (local or ThinkDiffusion)
- Drag the workflow file into the ComfyUI window
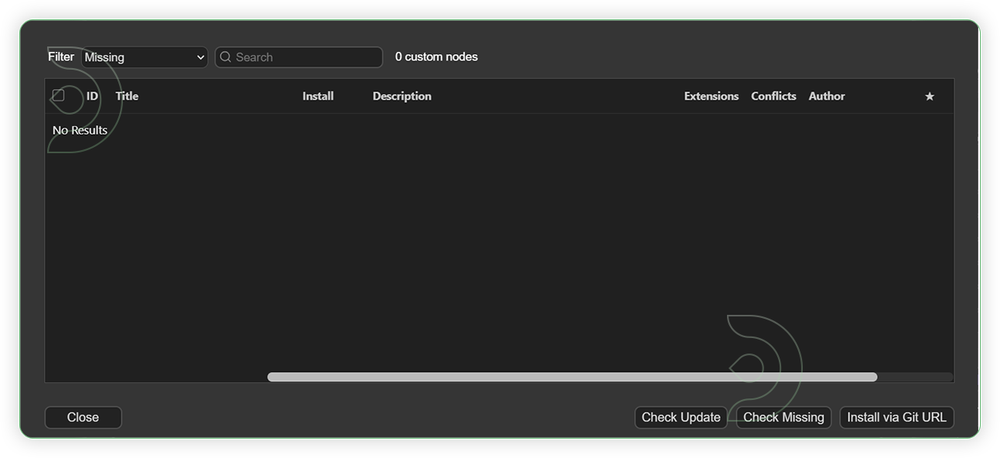
- If you see red nodes, install missing components:
- ComfyUI Manager > Install Missing Custom Nodes
Verified to work on ThinkDiffusion Build: September 29, 2025
ComfyUI v0.3.60 with the use qwen_image_edit_2509_fp8_e4m3fn.safetensors
model support
Minimum Machine Size: Ultra
Use the specified machine size or higher to ensure it meets the VRAM and performance requirements of the workflow
Custom Nodes
If there are red nodes in the workflow, it means that the workflow lacks the certain required nodes. Install the custom nodes in order for the workflow to work.
- Go to the ComfyUI Manager > Click Install Missing Custom Nodes

- Check the list below if there's a list of custom nodes that needs to be installed and click the install.
Required Models
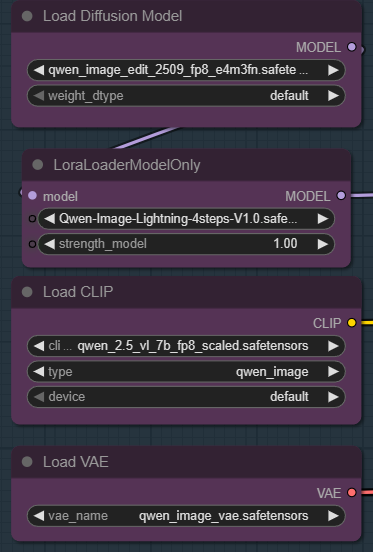
For this guide you'll need to download these 4 recommended models.
2. Qwen-Image-Lightning-4steps-v1.0.safetensors
3. qwen_2.5_vl_7b_fp8_scaled.safetensors
4. qwen_image_vae.safetensors
- Go to ComfyUI Manager > Click Model Manager

- Search for the models above and when you find the exact model that you're looking for, click install, and make sure to press refresh when you are finished.
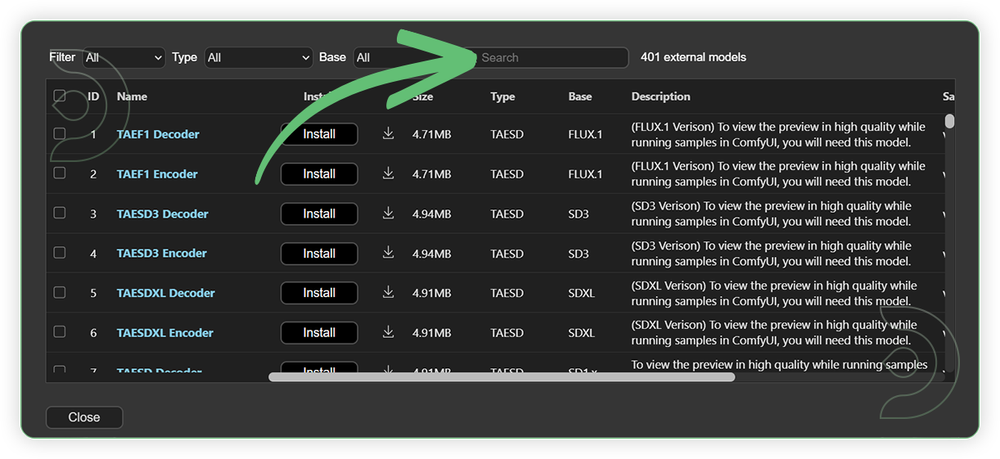
If Model Manager doesn't have them: Use direct download links (included with workflow) and upload through ThinkDiffusion MyFiles > Upload URL. Refer our docs for more guidance on this.
You could also use the model path source instead: by pasting the model's link address into ThinkDiffusion MyFiles using upload URL.
| Model Name | Model Link Address | ThinkDiffusion Upload Directory |
|---|---|---|
| qwen_image_edit_2509_fp8_e4m3fn.safetensors | .../comfyui/models/diffusion_models/ |
|
| Qwen-Image-Lightning-4steps-v1.0.safetensors | .../comfyui/models/lora/ |
|
| qwen_2.5_vl_7b_fp8_scaled.safetensors | .../comfyui/models/text_encoders/ |
|
| qwen_image_vae.safetensors | .../comfyui/models/vae/ |
Step-by-step Workflow Guide
This workflow was pretty easy to set up and runs well from the default settings. Here are a few steps where you might want to take extra note.
| Steps | Recommended Nodes |
|---|---|
| 1. Set the Models Set the required models as seen in the image. |
 |
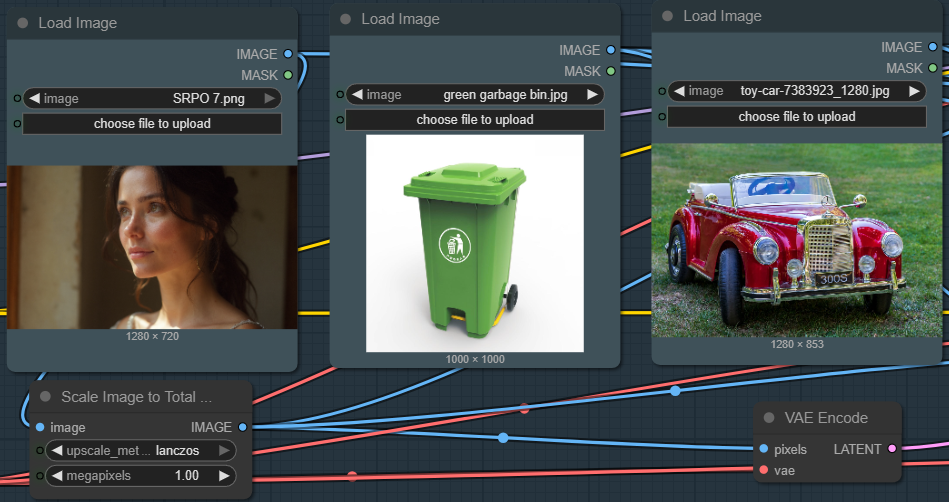
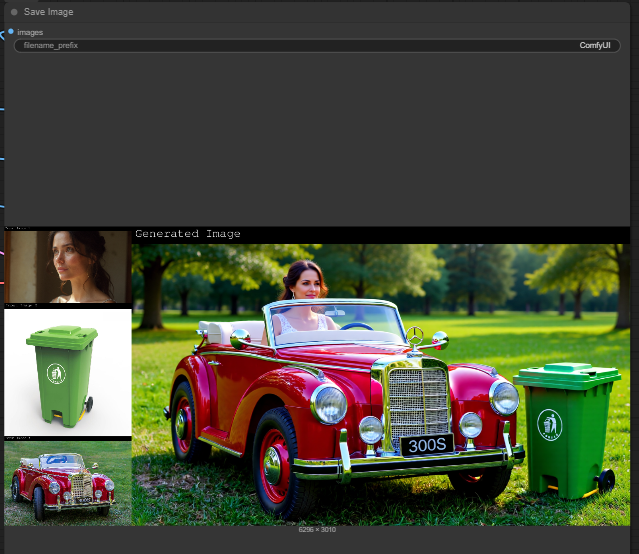
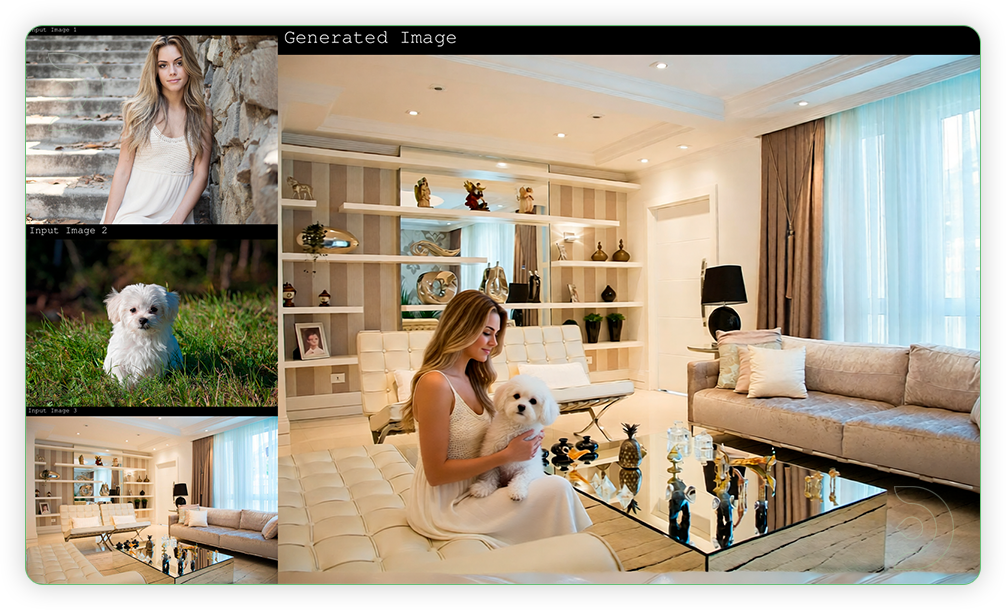
| 2. Load the Input Image Upload your input image. You can you either 1 up to 3 images only. It works even 1 input image only and just bypassed the other node. |
 |
| 3. Write the Prompt Write a detailed prompt. The should designate an image < number> in the prompt. You describe whatever you want and whatever action will be. |
 |
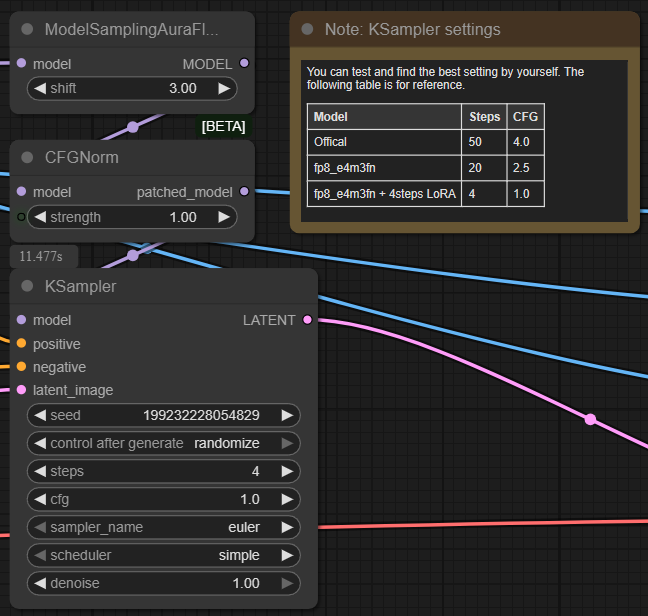
| 4. Check the Sampling Settings Check the sampling settings. If you want higher quality of output you can the full model but it needs a higher machine than Ultra. You can use the fp8 model instead. |
 |
| 5. Check the Output Image |
 |
Insights
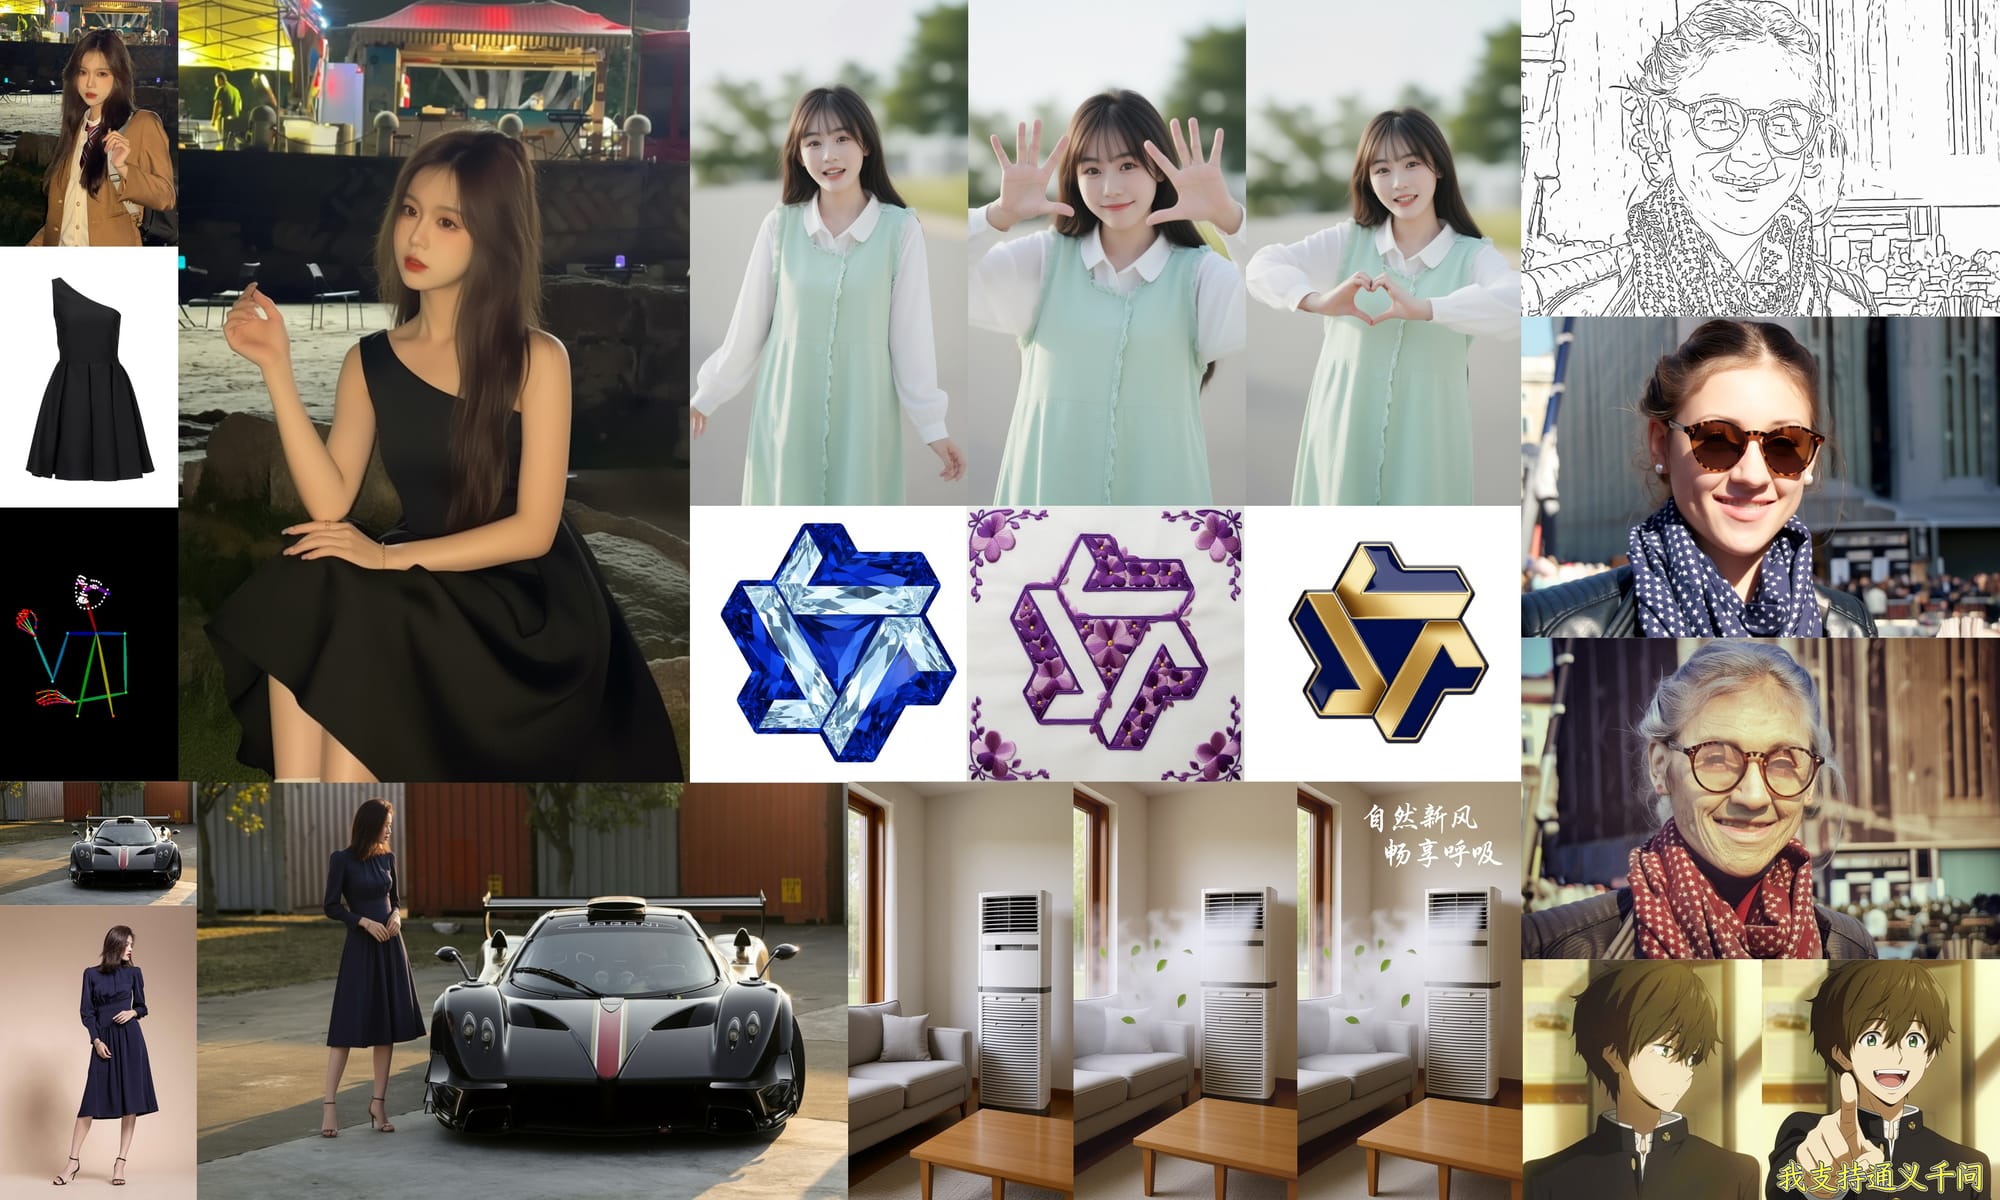
Examples
Troubleshooting
Red Nodes: Install missing custom nodes through ComfyUI Manager
Out of Memory: Use smaller expansion factors or switch to Ultra machine
Poor Quality: Check input image resolution and adjust kontext strength
Visible Seams: Lower strength and ensure good prompt description
If you’re having issues with installation or slow hardware, you can try any of these workflows on a more powerful GPU in your browser with ThinkDiffusion.
Member discussion