
Prompt: A cute white cat walking along the park. A big green trash bin is visible near the cat.
MAGREF lets you create videos from multiple reference images while keeping each person or object looking consistent throughout the video. Instead of generating random characters, you can use your own photos to control exactly who or what appears in the final video. This guide shows you how to set up and use MAGREF in ComfyUI to create videos with multiple subjects that maintain their original appearance.
What is MAGREF?
Source: MAGREF
MAGREF, or Masked Guidance for Any-Reference Video Generation, is a diffusion-based AI framework that generates videos from multiple reference images while preserving subject identity. It uses region-aware dynamic masking to handle any number of subjects and pixel-wise channel concatenation to maintain fine details. This makes it especially useful for creating videos where specific people, objects, or backgrounds need to appear exactly as they do in your source images.
MAGREF is especially valuable for creators, animators, and researchers seeking to produce customizable, multi-subject videos with exceptional fidelity and control, making it a standout solution for both creative and professional video generation needs.
Types of MAGREF
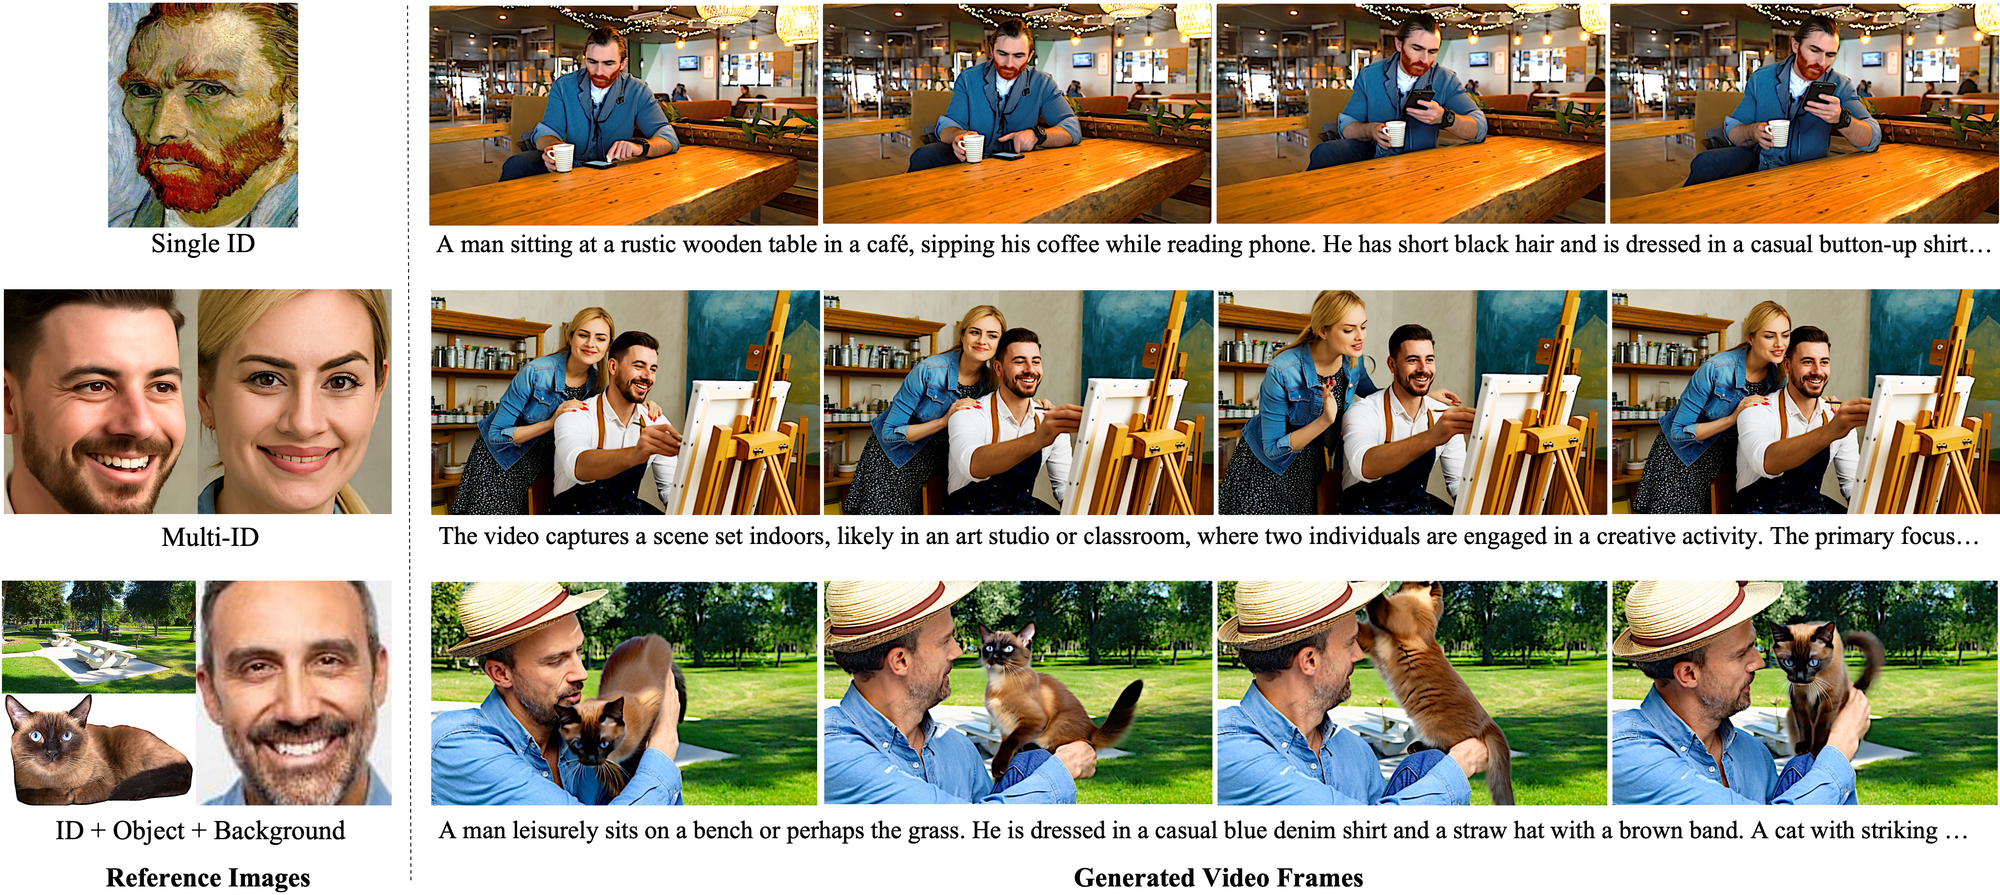
MAGREF offers three flexible video generation modes:
- Single ID, which uses one reference image to keep a single subject consistent throughout the video;
- Multi-ID, which allows multiple subjects from different reference images to appear together while maintaining their unique identities;
- ID-Object-Background, which lets users combine references for people, objects, and backgrounds to create complex, multi-layered scenes. These options make MAGREF suitable for everything from simple, personalized videos to rich, detailed multi-subject compositions.
Prompt: A man and woman happily hug each other.
With just a few easy steps, you’ll see how effortless and fun it can be to bring your memories to life in ways you never thought possible!
How to Use Wan MAGREF for Video Generation
Installation guide
- Download the workflow file
- Open ComfyUI (local or ThinkDiffusion)
- Drag the workflow file into the ComfyUI window
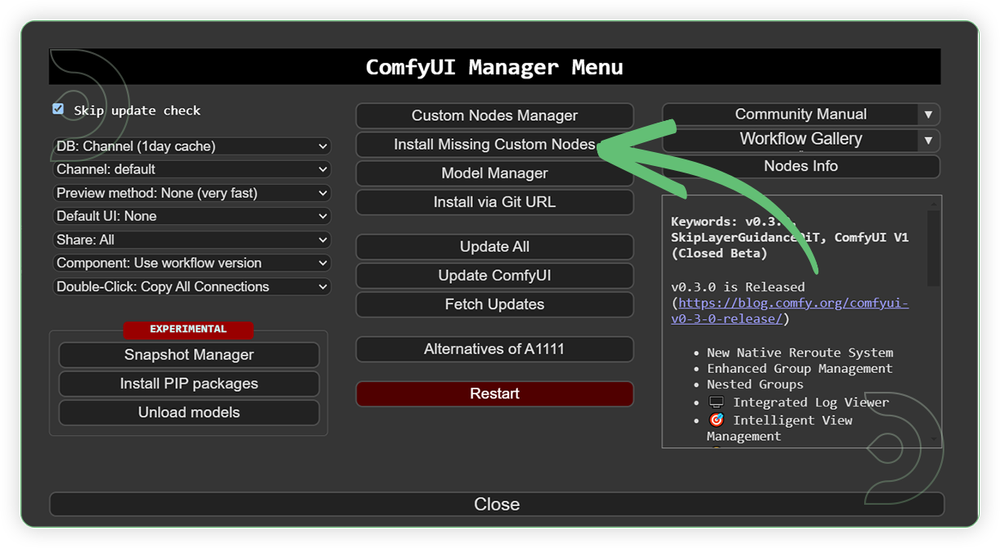
- If you see red nodes, install missing components:
- ComfyUI Manager > Install Missing Custom Nodes
Verified to work on ThinkDiffusion Build: June 6, 2025
ComfyUI v0.3.47 with the support of
Wan2_1-Wan-I2V-MAGREF-14B_fp16_pure.safetensors model
Note: We specify the build date because ComfyUI and custom node versions updated after this date may change the behavior or outputs of the workflow.
Minimum Machine Size: Ultra
Use the specified machine size or higher to ensure it meets the VRAM and performance requirements of the workflow
Custom Nodes
If there are red nodes in the workflow, it means that the workflow lacks the certain required nodes. Install the custom nodes in order for the workflow to work.
- Go to the ComfyUI Manager > Click Install Missing Custom Nodes
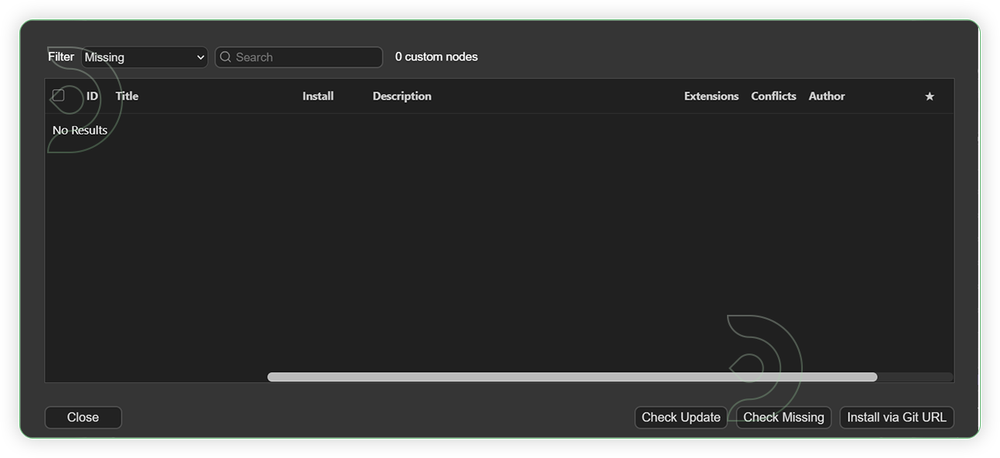
- Check the list below if there's a list of custom nodes that needs to be installed and click the install.
Required Models
For this guide you'll need to download these 5 recommended models.
2. umt5_xxl_fp16.safetensors
3. wan_2.1_vae.safetensors
4. Wan21_T2V_14B_lightx2v_cfg_step_distill_lora_rank32.safetensors
5. clip_vision_h.safetensors
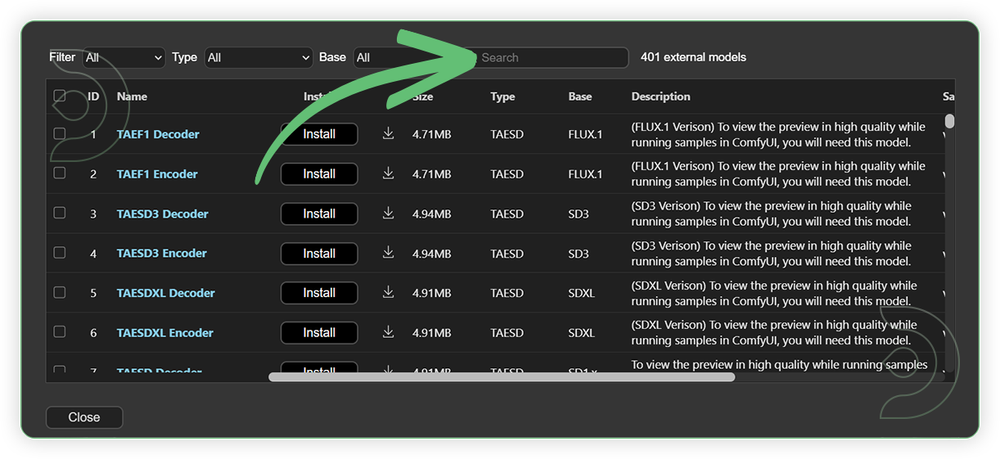
- Go to ComfyUI Manager > Click Model Manager
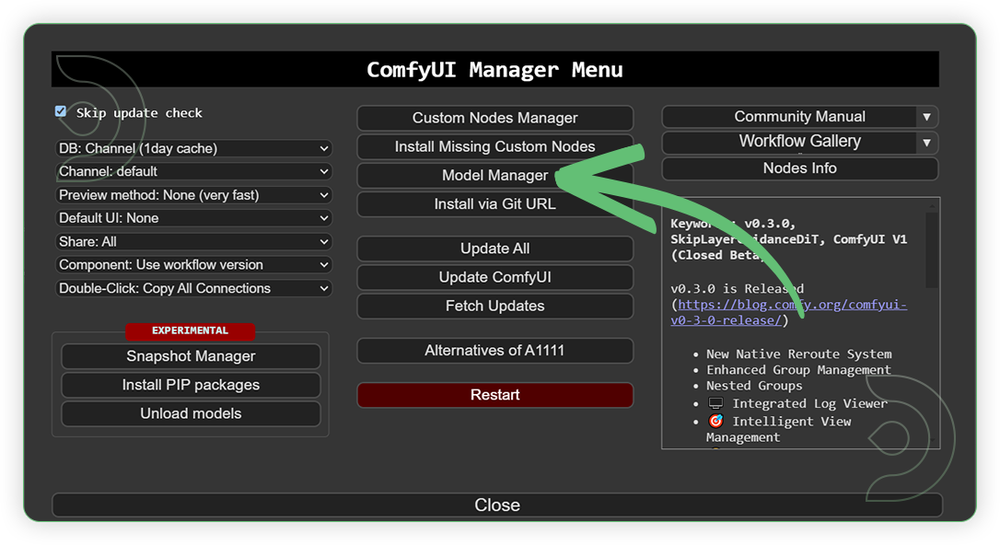
- Search for the models above and when you find the exact model that you're looking for, click install, and make sure to press refresh when you are finished.
If Model Manager doesn't have them: Use direct download links (included with workflow) and upload through ThinkDiffusion MyFiles > Upload URL. Refer our docs for more guidance on this.
You could also use the model path source instead: by pasting the model's link address into ThinkDiffusion MyFiles using upload URL.
| Model Name | Model Link Address | ThinkDiffusion Upload Directory |
|---|---|---|
Wan2_1-Wan-I2V-MAGREF-14B_fp16_pure.safetensors |
.../comfyui/models/diffusion_models/ |
|
| umt5_xxl_fp16.safetensors | .../comfyui/models/text_encoders/ |
|
| wan_2.1_vae.safetensors | .../comfyui/models/vae/ |
|
| Wan21_T2V_14B_lightx2v_cfg_step_distill_lora_rank32.safetensors | .../comfyui/models/lora/ |
|
| clip_vision_h.safetensors | .../comfyui/models/clip_vision/ |
Step-by-step Workflow Guide
This workflow was pretty easy to set up and runs well from the default settings. Here are a few steps where you might want to take extra note.
There are 2 Group Nodes that you need to remember.
You can disable first the 2nd Group Node, so you can test first the brightness or saturation each of the input image of 1st Group node before you can run full run of workflow. Different tone of brightness/saturation of each image may lead to uneven color at the output.
| Steps | Recommended Nodes |
|---|---|
| 1. Load Image (1st Group) Load a high quality and should not be pixelated and blurred. Just follow the settings as seen on the image. |
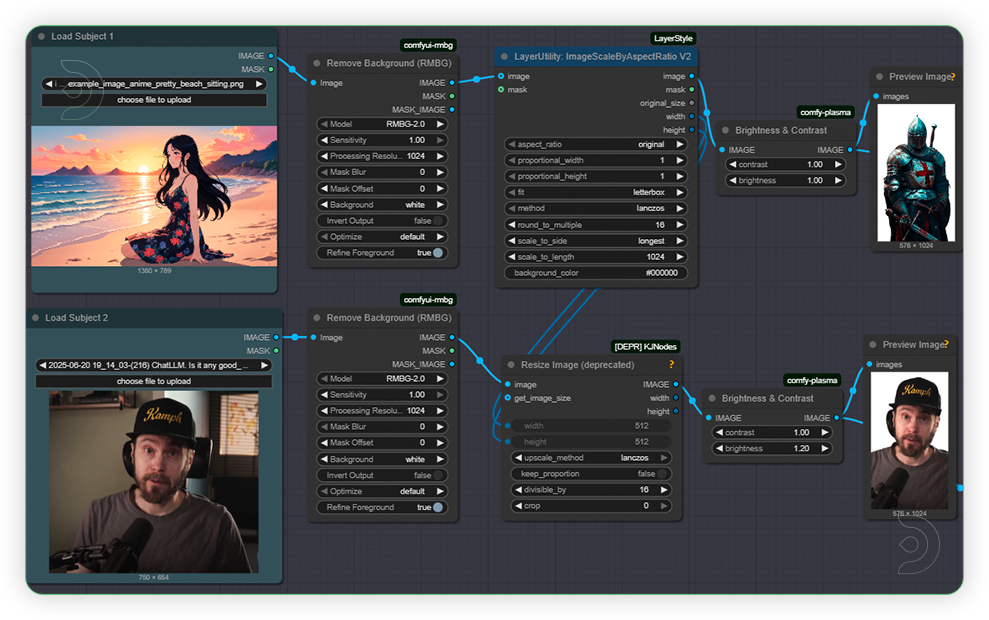 |
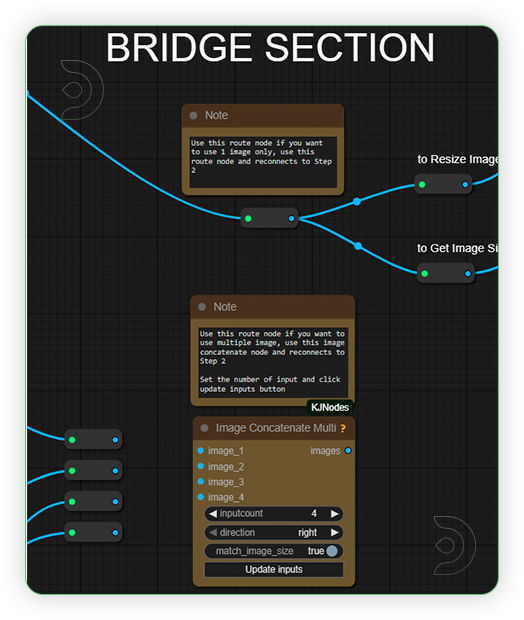
| Check Bridge Settings (optional) This area is optional on which you set on what type of MAGREF you want to use. If you'll a 1 image only, then use a 1 route bridge only and connect to Resize Image and Get Image Size node. If you need multiple, then use the Image Concatenatte Multi node and reconnect the connection according to your number to inputs and reconnects to the other side. |
 |
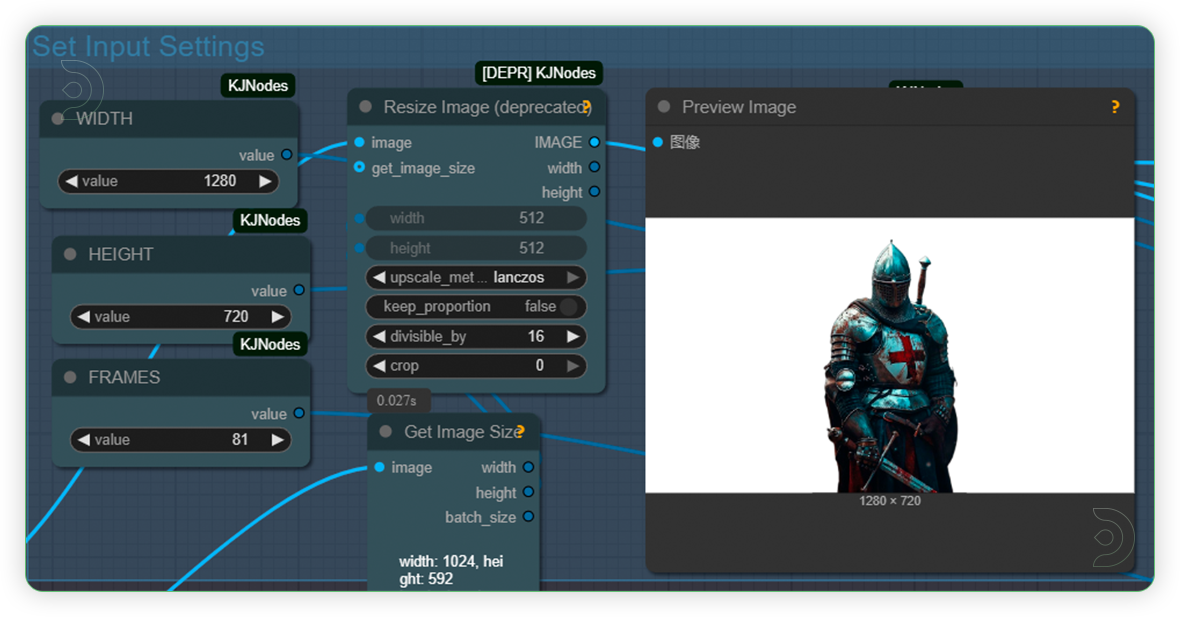
| 2. Set Input Settings (2nd Group) Set the input settings for the image. The model is only compatible to 480p and 720p. Take note that frames should be higher than 81 as it may crashed if goes beyond it. |
 |
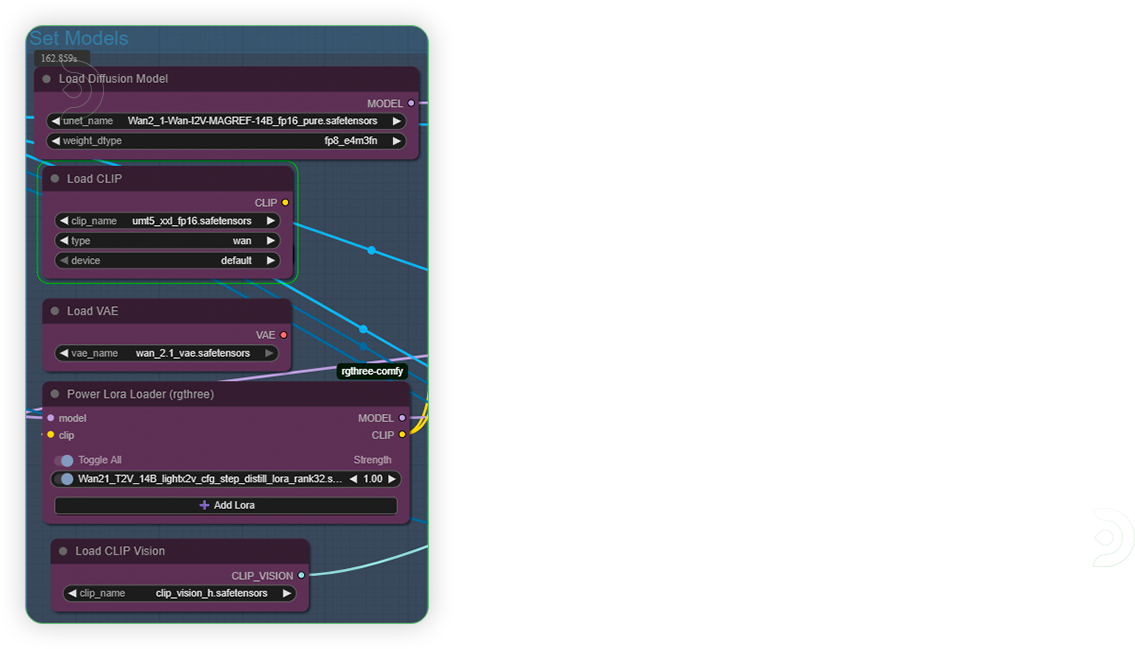
| 3. Set Models (2nd Group) Set the models as seen on the image. |
 |
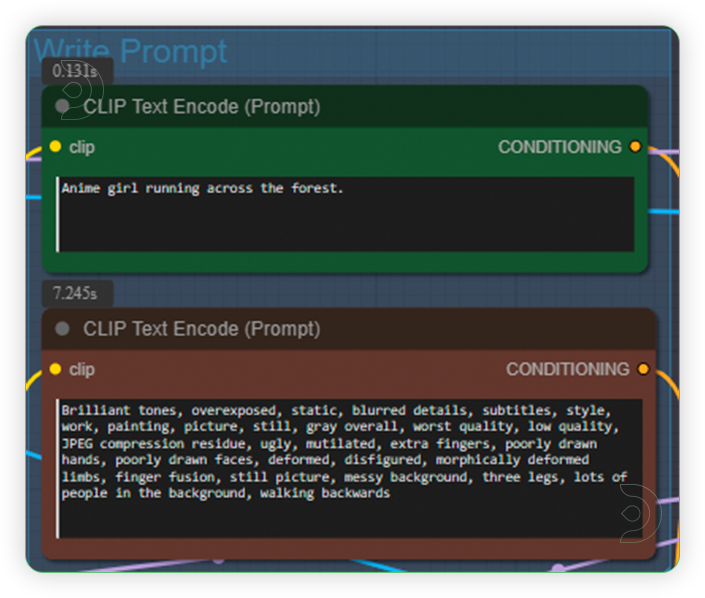
| 4. Write Prompt (2nd Group) Write a simple prompt and you don't need to be specific and super detailed. Write that describes the noun and add some simple action words. |
 |
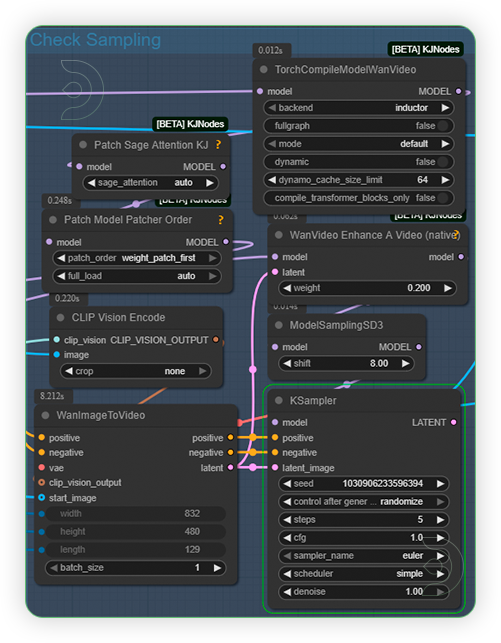
| 5. Check Sampling Settings (2nd Group) Check the samplings settings as seen on the image. Steps should be only 4-6 and CFG should 1-2 only and nothing else. |
 |
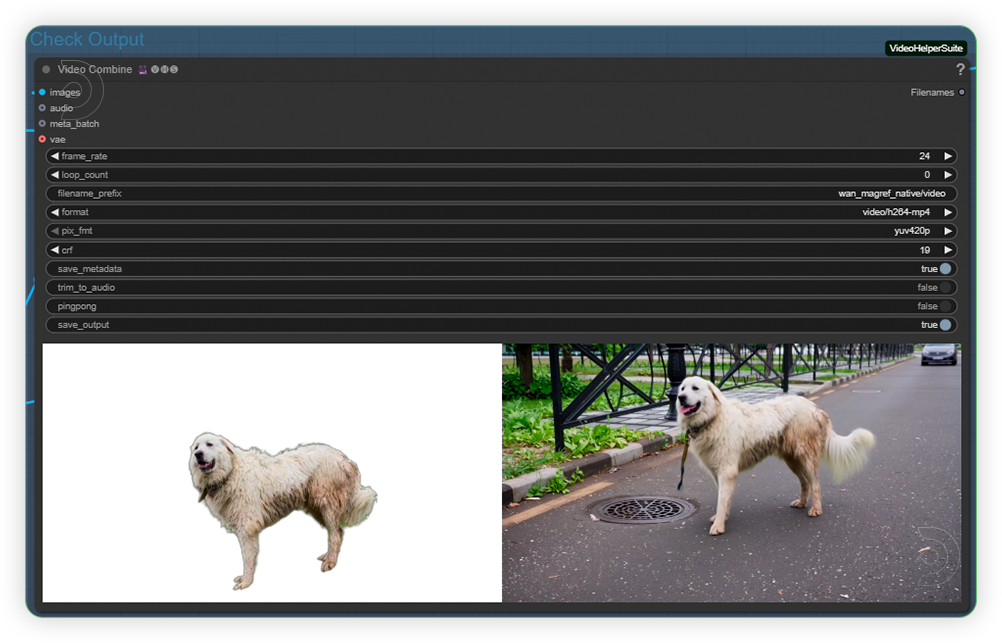
| 6. Check Output (2nd Group) Check the generated output. Output may not perfect at one test. If you're not okay with result, just tweak the prompt and rerun the workflow. |
 |
Examples
Single ID Video
Prompt: A man is having a concert at the stage, behind him are his band mates holding instrument.
Prompt: A man wearing this shirt and he is walking at the street.
Multi-ID Video
Prompt: 4 persons are having a meeting at the office, discussing some serious matter.
Prompt: A donkey, an orange cat and a cute white dog were seen walking at the farm.
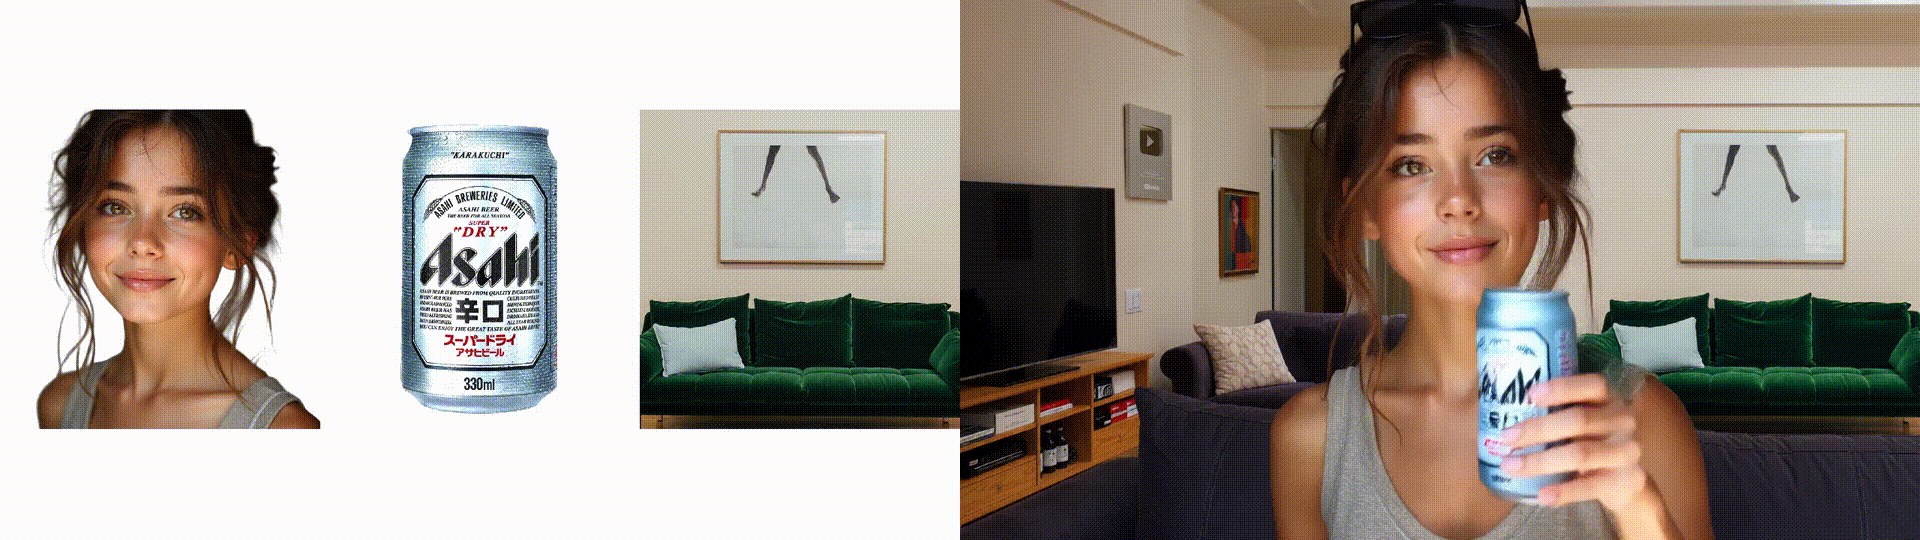
ID + Object + Background
Prompt: A girl is drinking an Asahi canned beer at her living room with green sofa.
Prompt: A girl reading the Holy Bible in her room.
If you’re having issues with installation or slow hardware, you can try any of these workflows on a more powerful GPU in your browser with ThinkDiffusion.
Member discussion