

Imagine being able to turn your creative ideas into stunning, realistic videos with perfect depth and structure—all without needing expensive equipment or complex setups. Sounds exciting, right? That’s where the Wan 2.1 Depth Control LoRAs come in. These smart tools make video generation easier and more accurate by using depth maps, which act like blueprints to show the distance and shape of objects in a scene. Whether you’re an artist, designer, or just someone who loves exploring new technology, these LoRAs can help you create videos that look natural and professional. Ready to bring your ideas to life with better structure and quality? Let’s dive into how these LoRAs can transform your video creation experience!
Why Depth Control LoRAs Are Important
Depth Control LoRAs are important because they ensure videos have accurate depth and structure, making them look more realistic and visually appealing. By using depth maps, these LoRAs guide the video generation process to maintain proper spatial relationships between objects, which is crucial for creating animations, architectural designs, or realistic landscapes. Unlike heavier systems like ControlNet, Depth Control LoRAs are lightweight and efficient, adding almost no extra strain on your computer during video creation.
How to run Wan 2.1 Video2Video using Depth Control LoRAs
Installation guide
Custom Nodes
If you see red nodes in your workflow, it means you're missing some required custom nodes. Follow these steps to install them so your workflow can function properly.
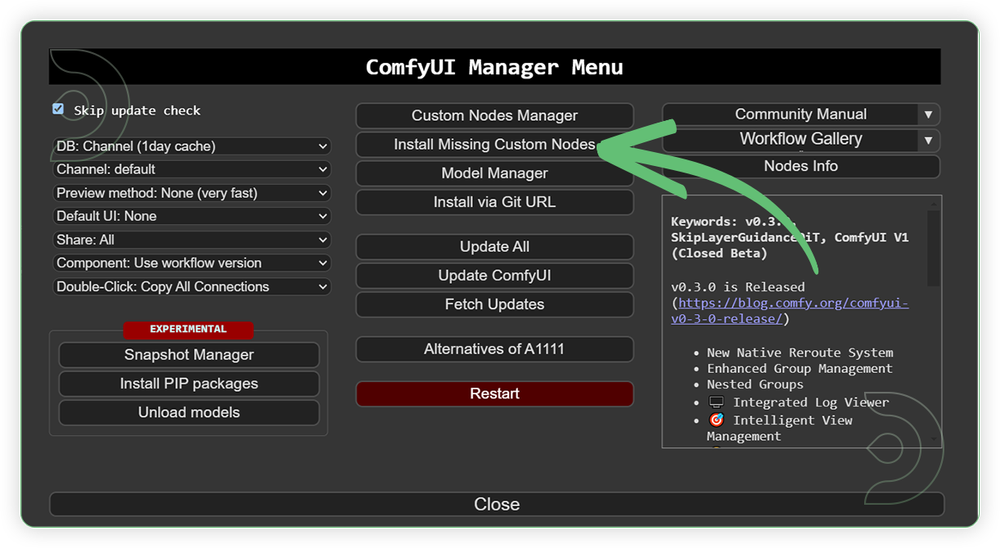
- Go to ComfyUI Manager > Click Install Missing Custom Nodes
- Check the list below if there's a list of custom nodes that needs to be installed and click the install.

Models
For this guide you'll need 4 recommended models to be downloaded.
2. umt5_xxl_fp8_e4m3fn.safetensors
3. Wan2_1_VAE_bf16.safetensors
4. wan2.1-1.3b-control-lora-depth-v0.1_comfy.safetensors
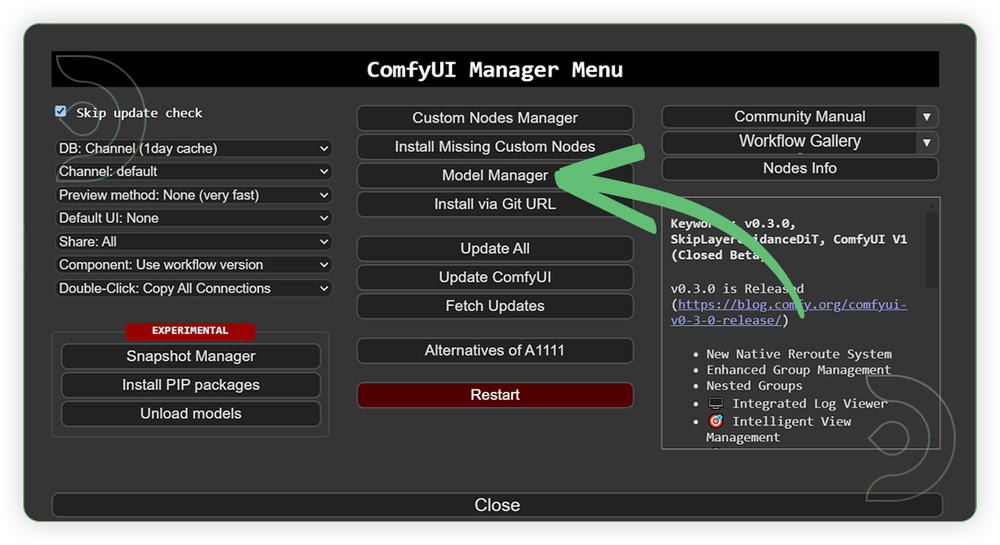
- Go to ComfyUI Manager > Click Model Manager
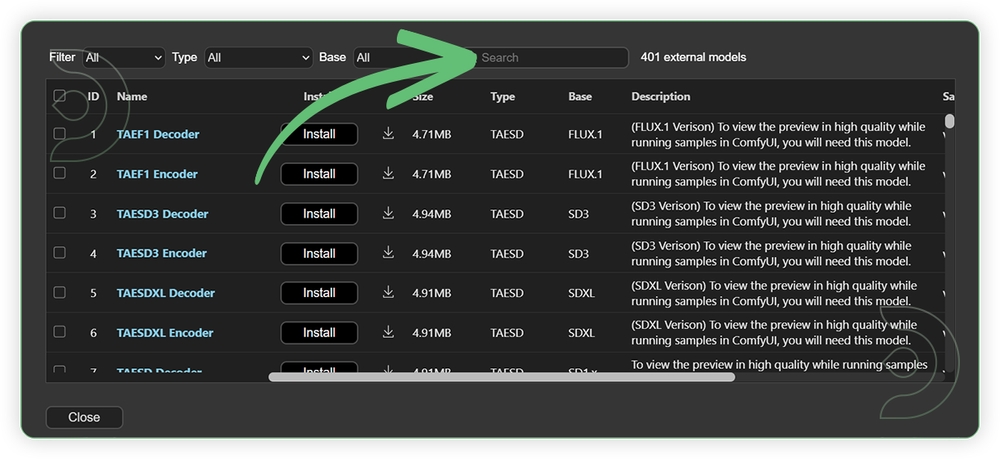
- Search for the models above and when you find the exact model that you're looking for, click install and make sure to press refresh when you are finished.
Model Path Source
Some of my models may not be available in the model manager. Use the model path source instead if you prefer to install the models using model's link address and paste into ThinkDiffusion MyFiles using upload URL.
| Model Name | Model Link Address | ThinkDiffusion Upload Directory |
|---|---|---|
wan2.1_t2v_1.3B_fp16.safetensors |
.../comfyui/models/diffusion_models/ |
|
| umt5_xxl_fp8_e4m3fn.safetensors | .../comfyui/models/clip/ |
|
| Wan2_1_VAE_bf16.safetensors | .../comfyui/models/vae/ |
|
| wan2.1-1.3b-control-lora-depth-v0.1_comfy.safetensors | .../comfyui/models/lora/ |
Step-by-step Workflow Guide
This workflow was pretty easy to set up and runs well from the default settings. Here are a few steps where you might want to take extra note.
| Steps | Recommended Nodes |
|---|---|
| 1. Load a Video Load a video and set the resolution up to 854x480. The video must be in good quality and there should be a subject such as person, thing or an animal. Avoid going beyond that resolution as it will degrade the quality. Set the length of frames up to 97. |
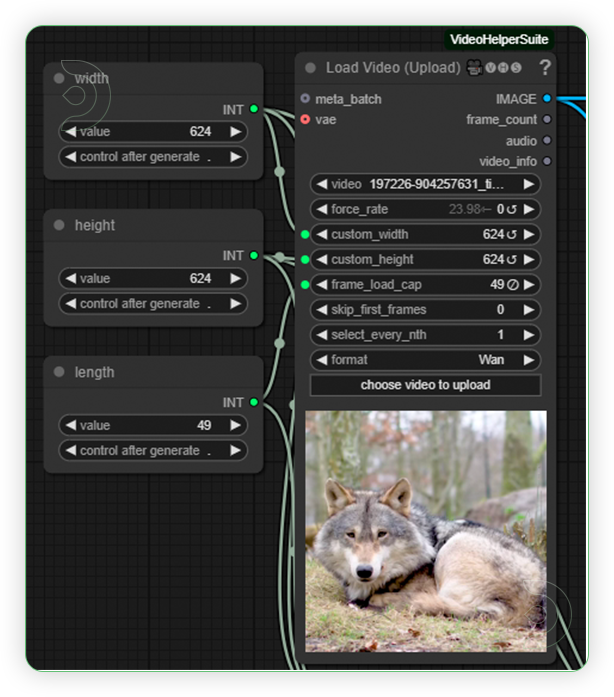 |
| 2. Check the Depth Mask Check the depth of mask and set the depth model (DepthyAnythingV2) as seen on the image. |
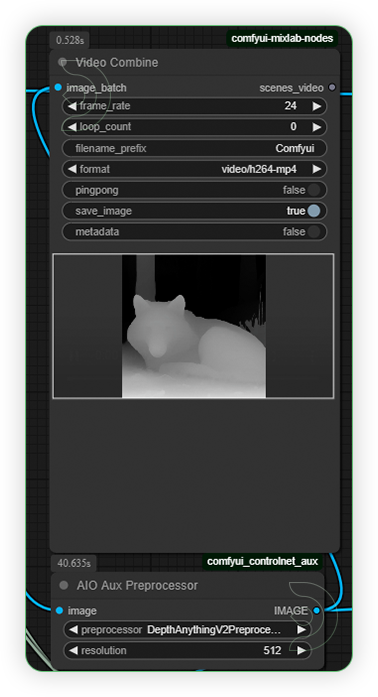 |
| 3. Set the Models Set the required models as seen on the image. |
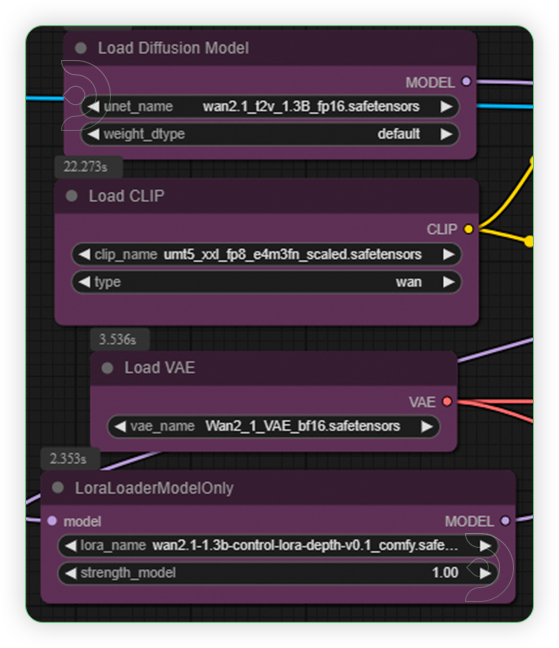 |
| 4. Write a Prompt Write a simple prompt to describe the changes you want to see on the subject. |
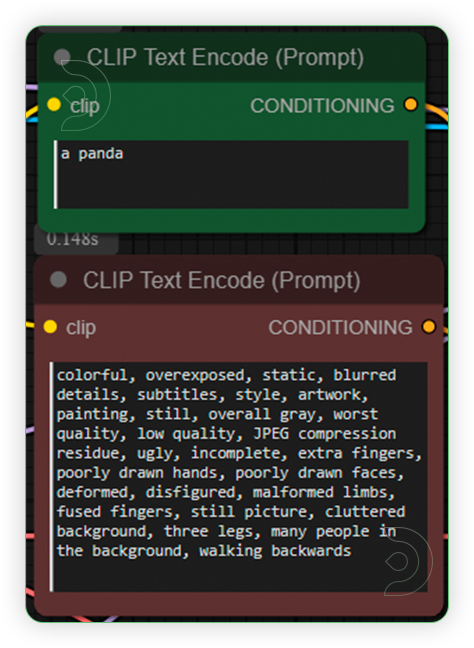 |
| 5. Check the Settings Check the settings as seen on the image. |
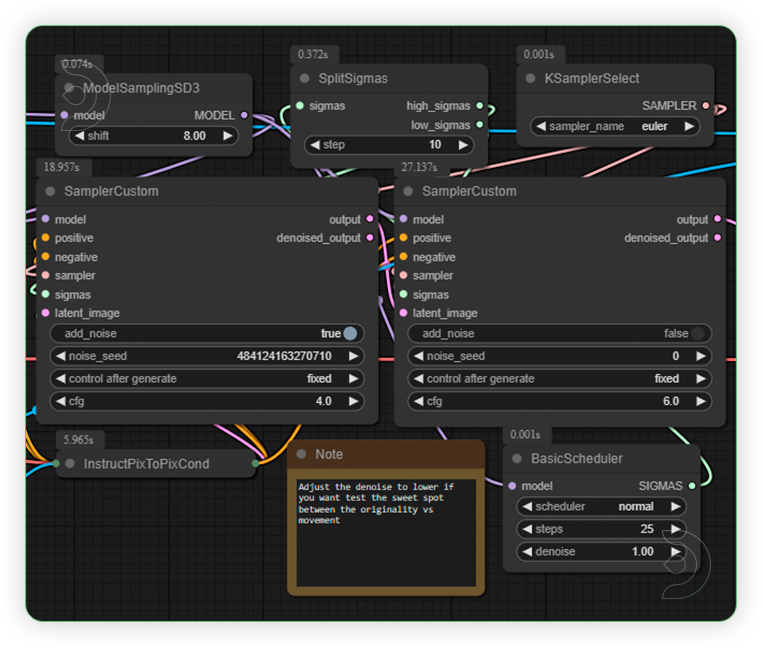 |
| 6. Check the Generated Video Check the generated video. If sometimes the video shows morphed subjects, just rerun the prompt and choose the best video generated. |
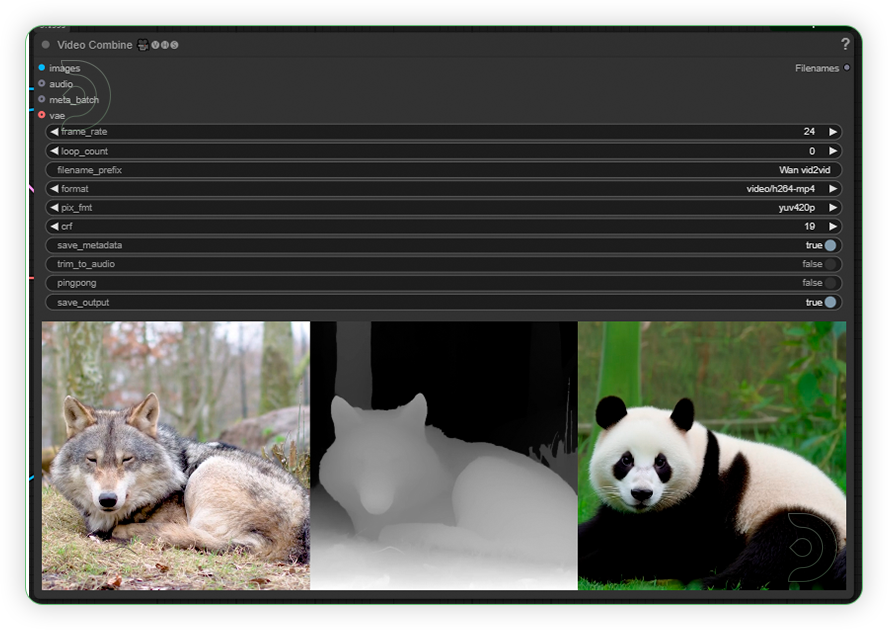 |
Examples
If you’re having issues with installation or slow hardware, you can try any of these workflows on a more powerful GPU in your browser with ThinkDiffusion.
If you enjoy ComfyUI and you want to test out SkyReels with Hunyuan, then feel free to check out this Pushing Boundaries in AI Video Generation with Skyreels and Hunyuan. And have fun out there with your videos!
Member discussion