
What is ComfyUI?
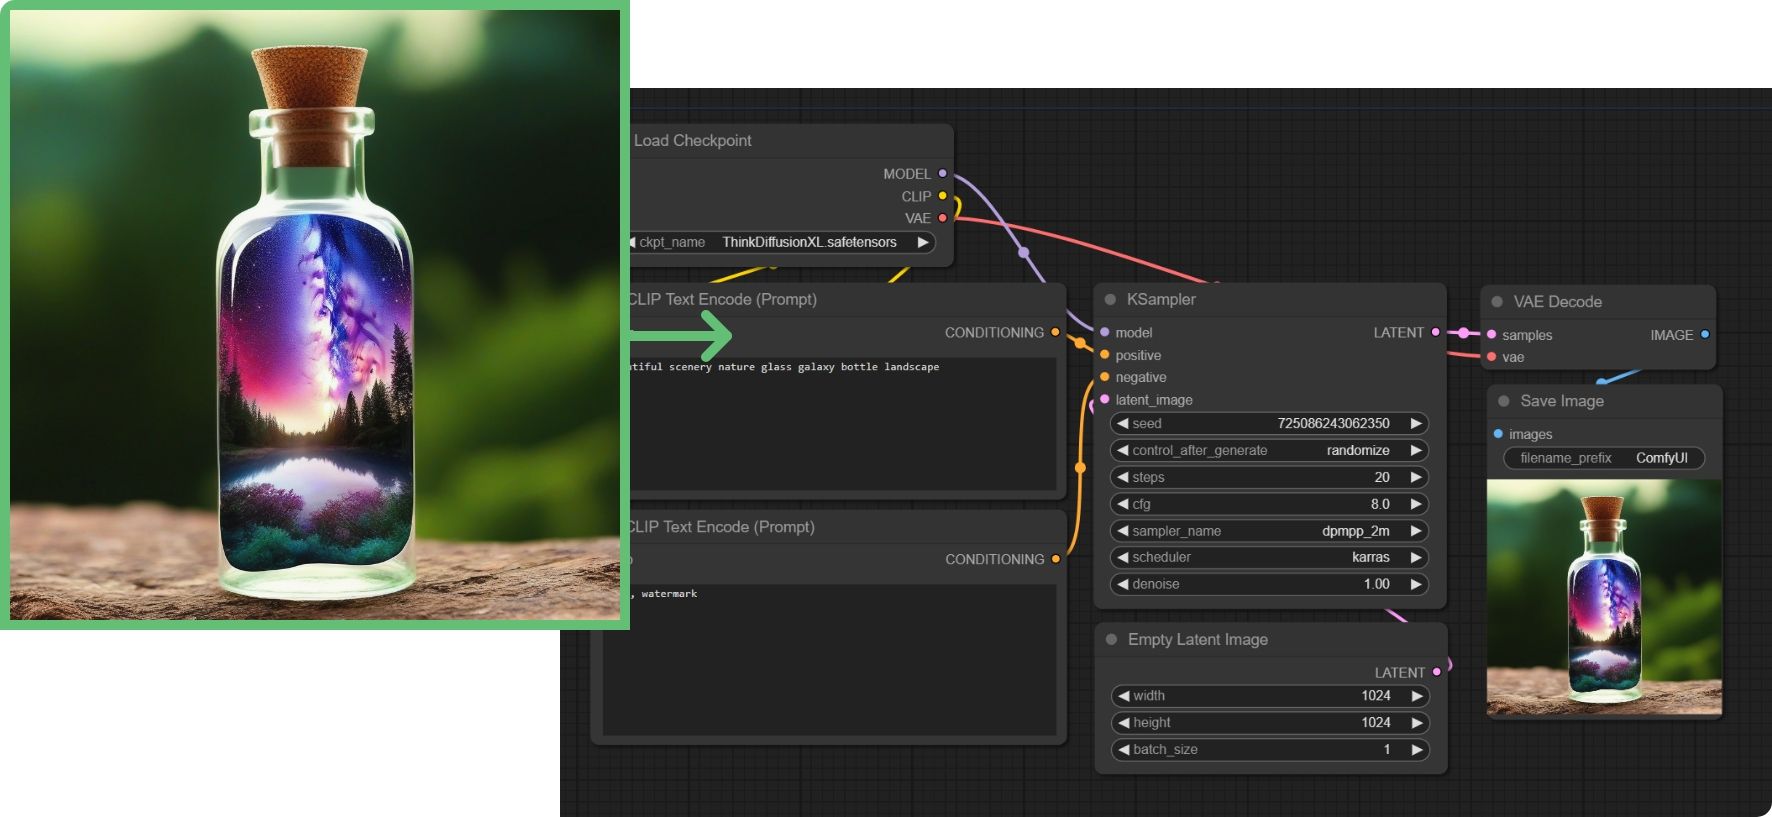
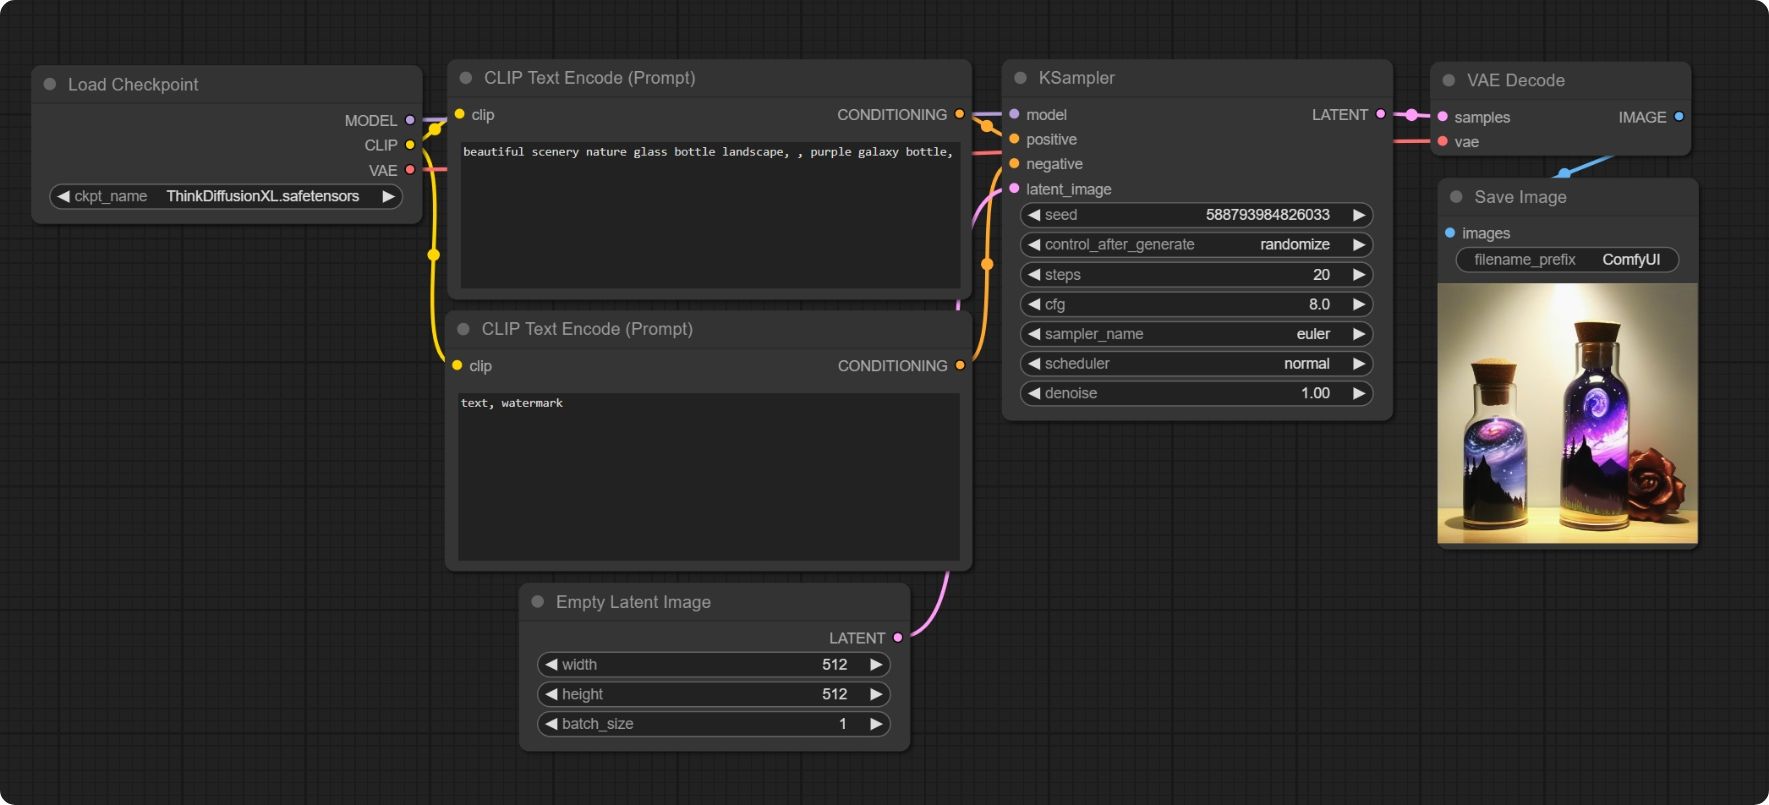
ComfyUI serves as a node-based graphical user interface for Stable Diffusion. Users have the ability to assemble a workflow for image generation by linking various blocks, referred to as nodes. These nodes include common operations such as loading a model, inputting prompts, defining samplers and more. ComfyUI dissects a workflow into adjustable components, enabling users to customize their own unique processes.
Nodes and why it's easy
Nodes work by linking together simple operations to complete a larger complex task. It might seem daunting at first, but you actually don't need to fully learn how these are connected. The way ComfyUI is built up, every image or video saves the workflow in the metadata, which means that once an image has been generated with ComfyUI, you can simply drag and drop it to get that complete workflow. No need to connect anything yourself if you don't want to!
In this post we'll show you some example workflows you can import and get started straight away.

Easy starting workflow
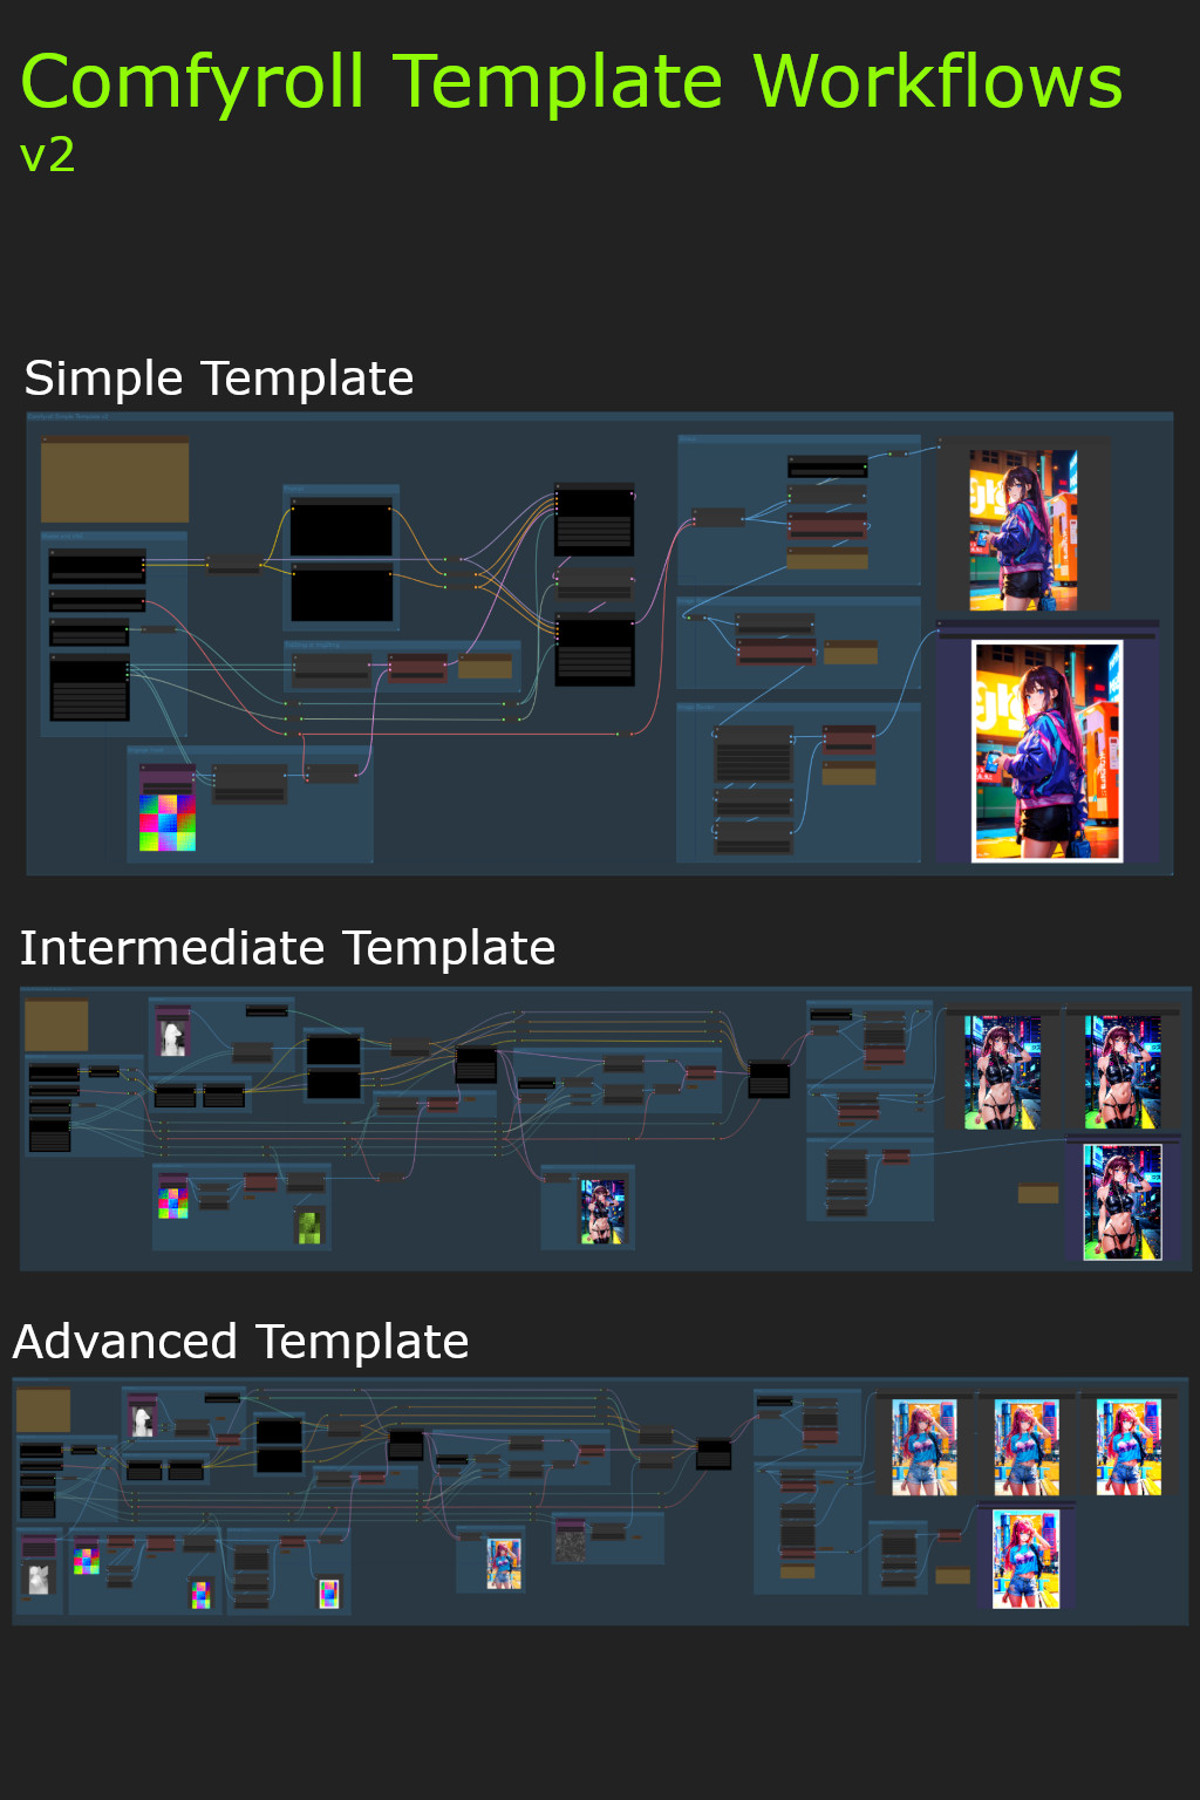
These versatile workflow templates have been designed to cater to a diverse range of projects, making them compatible with any SD1.5 checkpoint model. The initial set includes three templates:
- Simple Template
- Intermediate Template
- Advanced Template
Primarily targeted at new ComfyUI users, these templates are ideal for their needs.
Searge's Advanced SDXL workflow
SeargeXL is a very advanced workflow that runs on SDXL models and can run many of the most popular extension nodes like ControlNet, Inpainting, Loras, FreeU and much more. It's running custom image improvements created by Searge and if you're an advanced user, this will get you a starting workflow where you can achieve almost anything when it comes to still image generation. This workflow is not for the faint of heart, if you're new to ComfyUI, we recommend selecting one of the simpler workflows above.
You will only need to load the .json file or drag & drop an image. All the custom nodes come pre-installed with ThinkDiffusion.


Make your own animations with AnimateDiff
AnimateDiff is a powerful tool to make animations with generative AI. In these ComfyUI workflows you will be able to create animations from just text prompts but also from a video input where you can set your preferred animation for any frame that you want.


How to use AnimateDiff
Load the workflow, in this example we're using Basic Text2Vid
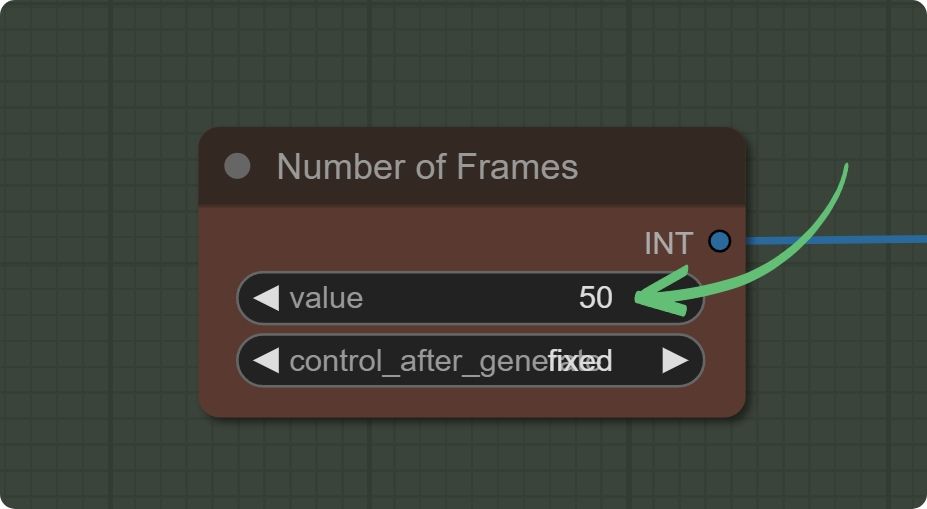
Set your number of frames. Depending on your frame-rate, this will affect the length of your video in seconds. It will always be this frame amount, but frames can run at different speeds. For example, 50 frames at 12 frames per second will run longer than 50 frames at 24 frames per second.
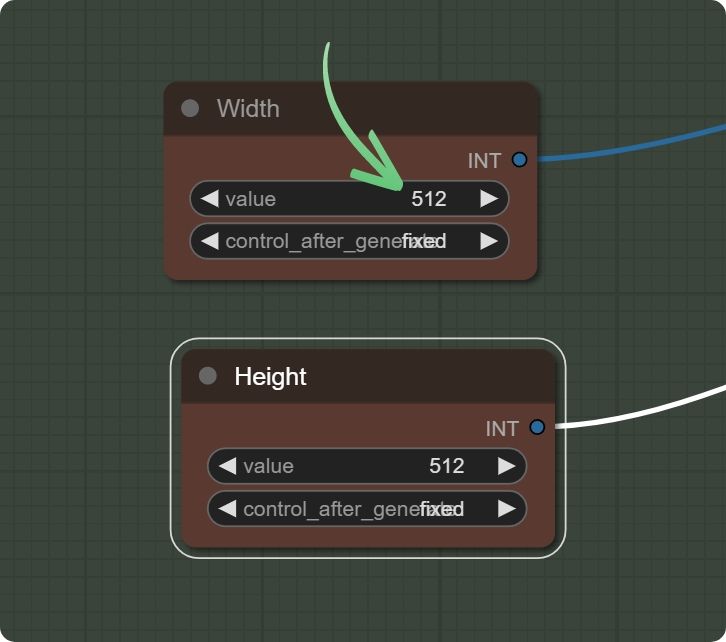
Set your desired size, we recommend starting with 512x512 or 768x768.
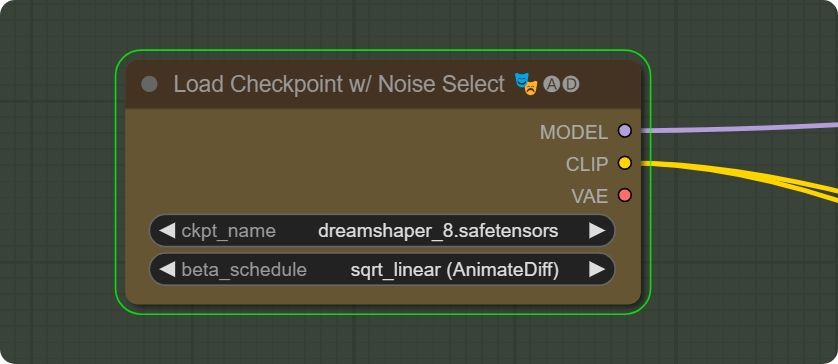
Select your desired model, make sure it's an 1.5 model. That means no model named SDXL or XL. Dreamshaper is a good starting model.
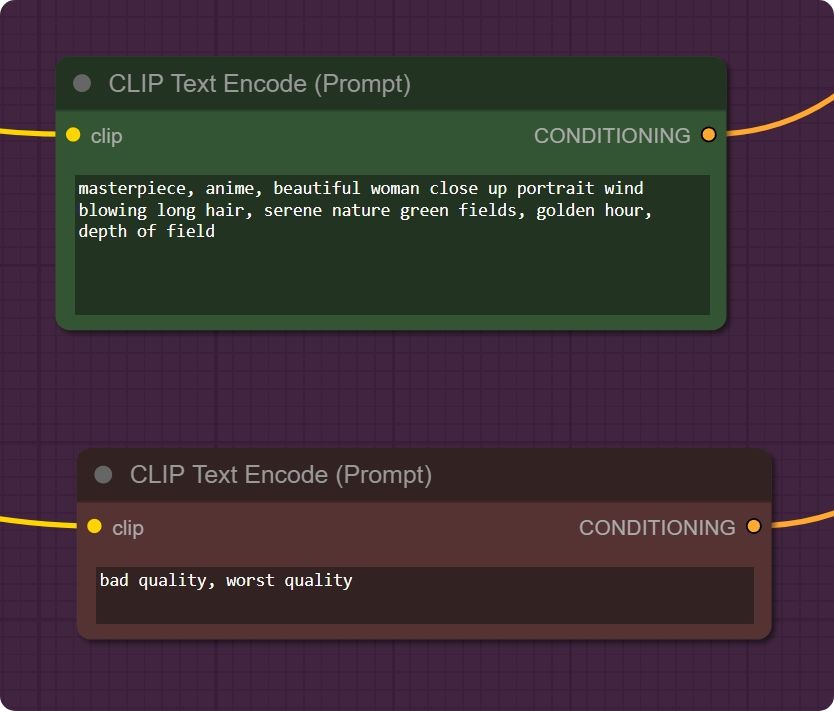
Set your desired positive and negative prompt (this is what you want, and don't want, to see)
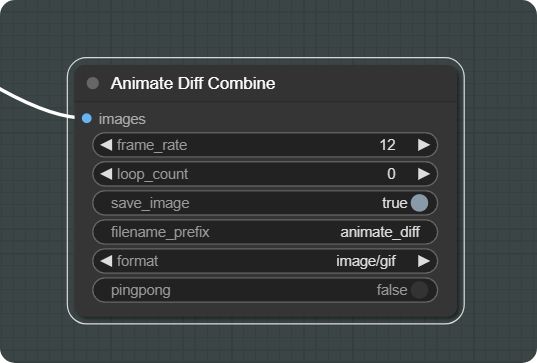
Set your desired frame rate and format (gif, mp4, webm). Pingpong means that in the end, the animation will reverse and keep looping by reversing.
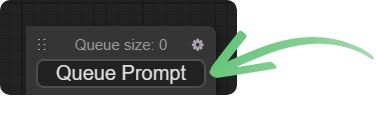
Start your generation by pressing Queue Prompt!
Get creating!
ComfyUI and these workflows can be run on a local version of SD but if you’re having issues with installation or slow hardware, you can start creating today in your browser with ThinkDiffusion.
Oh, and share your art!
So go out there and create! And while you're at it, come join our Discord server and share your art for everyone to enjoy https://discord.gg/Wg2VExCrnS

Member discussion